
I figured I would take advantage of the Canadian long weekend this morning. My daughter was still at her friends house from a sleep over and my wife had headed to the gym. So it was an early start to the day by pulling apart the BlackBerry PlayBook that I’m using for the BatBerry.
The PlayBook will likely only be used for it’s housing and the touch screen. At least that’s what I’m thinking for now. That will allow me to have better granular control of turning on/off power to the system without having to deal with the PlayBook internal power management and batteries. I’ll be using the PlayBook screen as the touch display for my Brainiac unit that will control the BatBerry’s systems.

Taking the PlayBook apart was a pretty simple process by following an online “tear down” tutorial. So now I just have the outer housing that will still fit perfectly in the dash, and the the touch display itself. Now I just need to figure out what kind of ribbon cable it was using so that I can convert it over to an LVDS signal.
Next was pulling different parts back out of storage so that I could bolt them onto the car. While I was at it I figured I would also give some of the parts a fresh coat of paint before installing them.
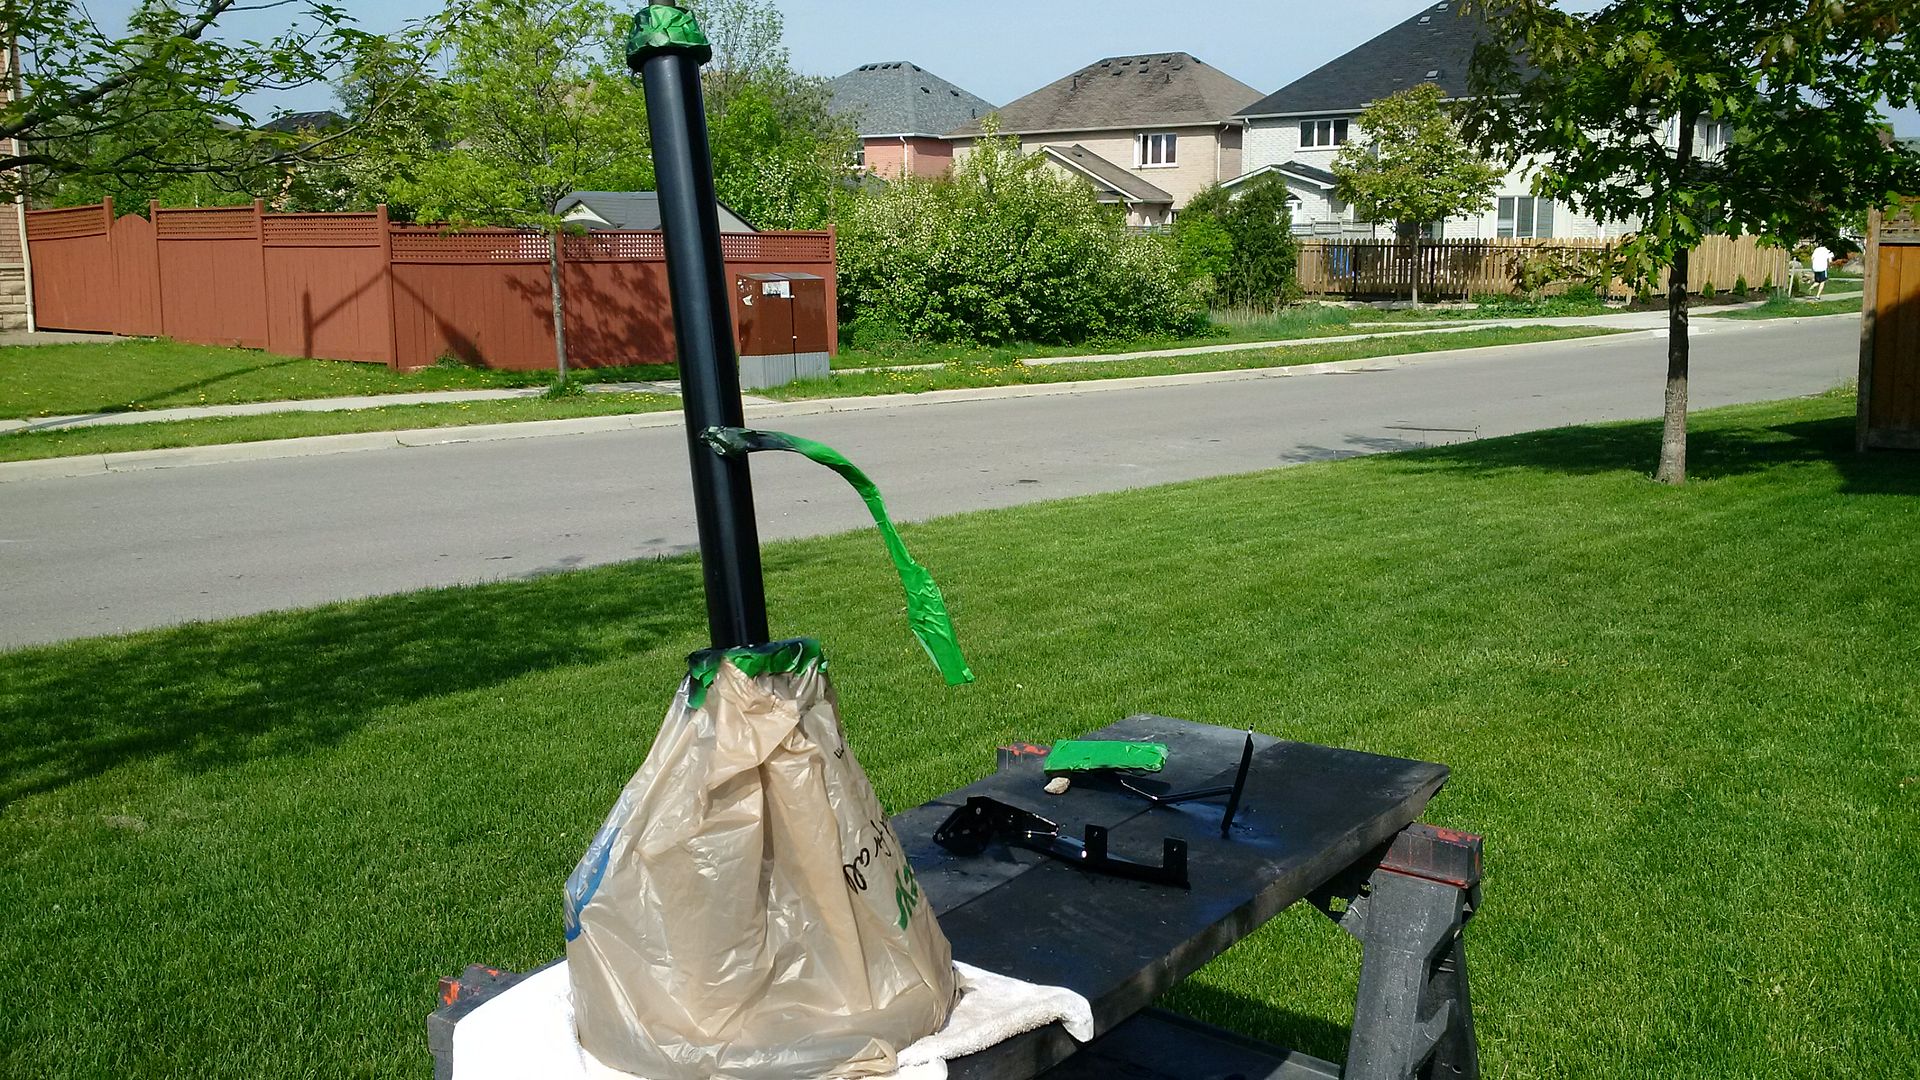
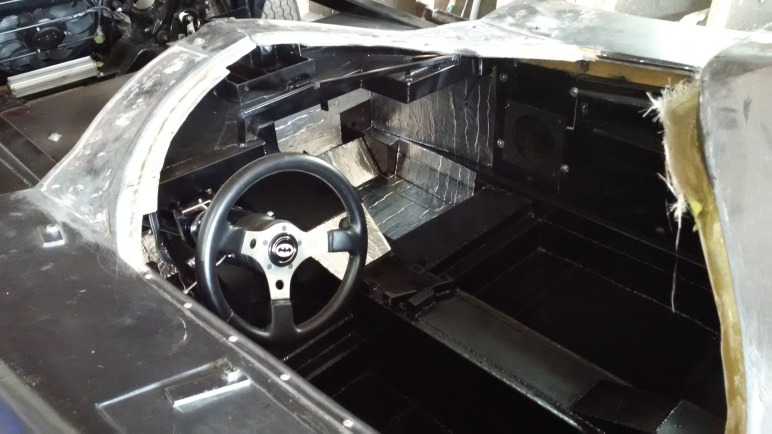
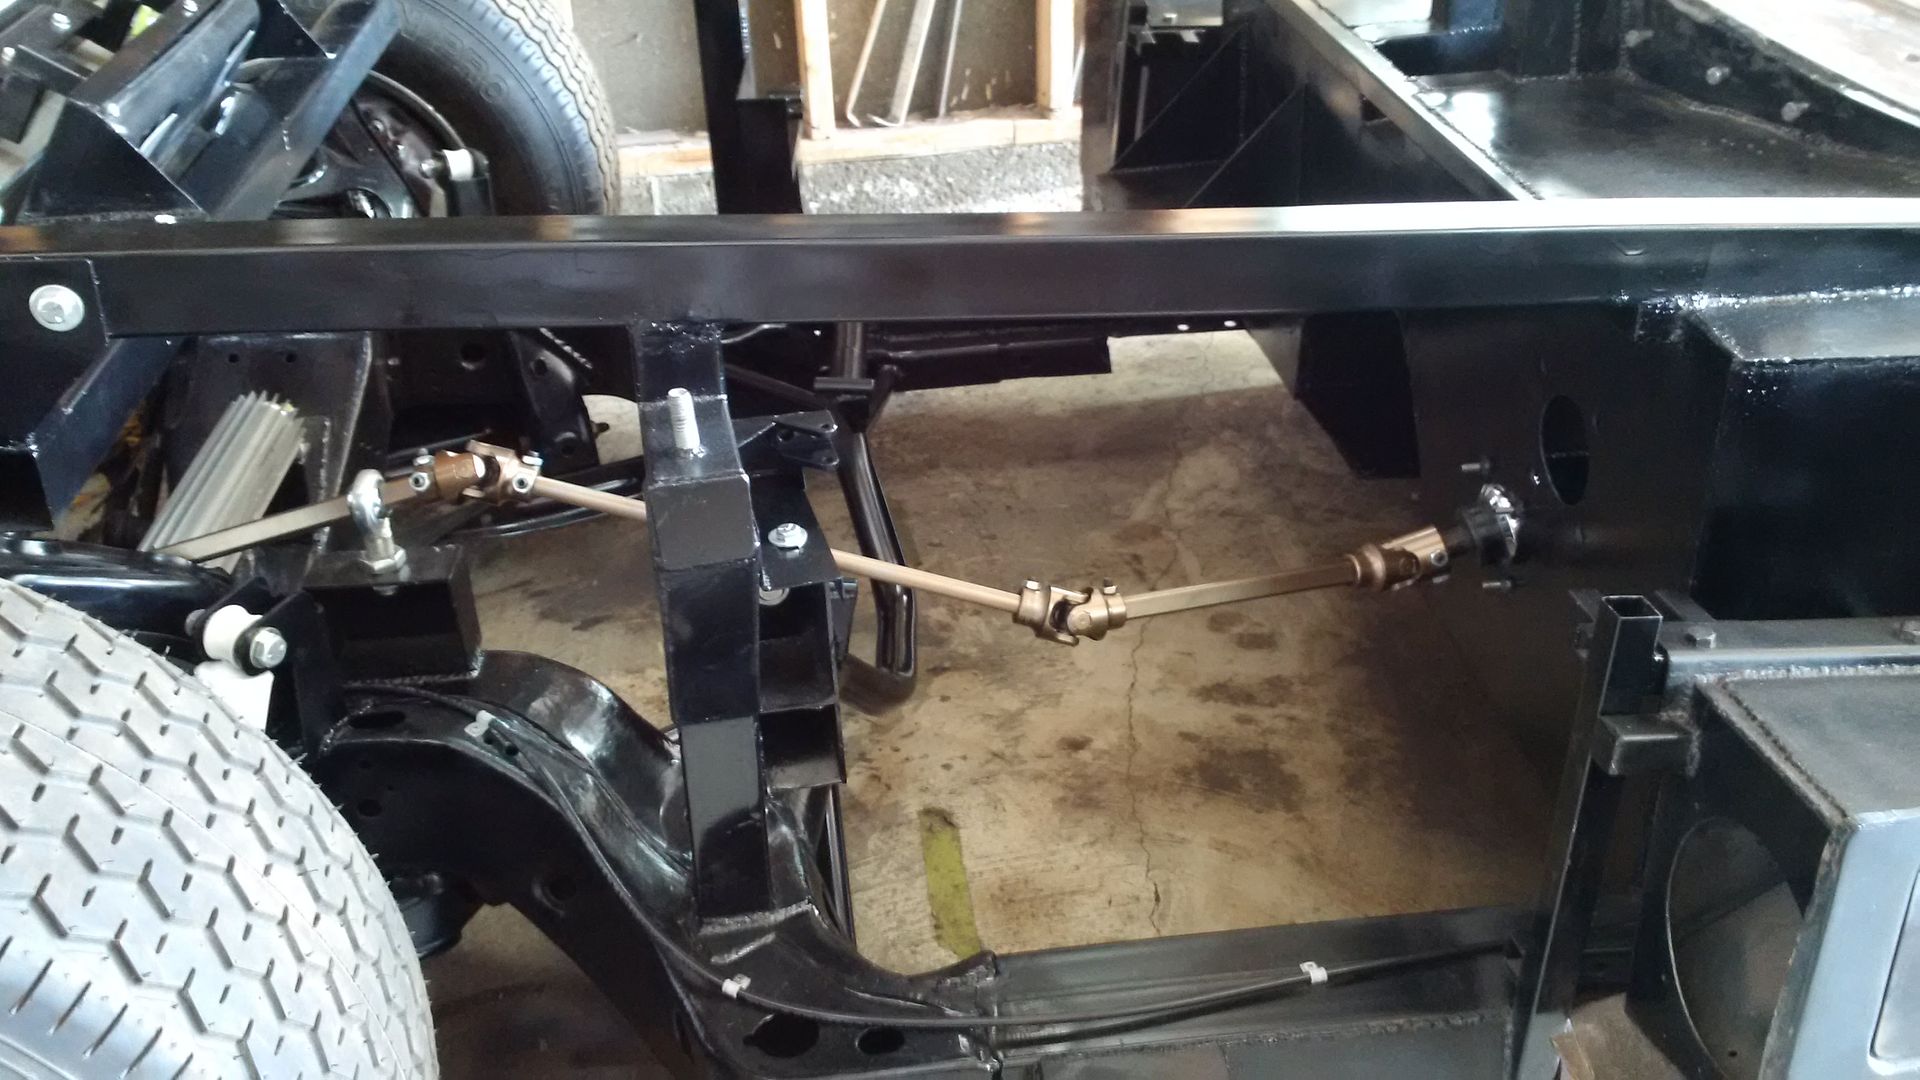
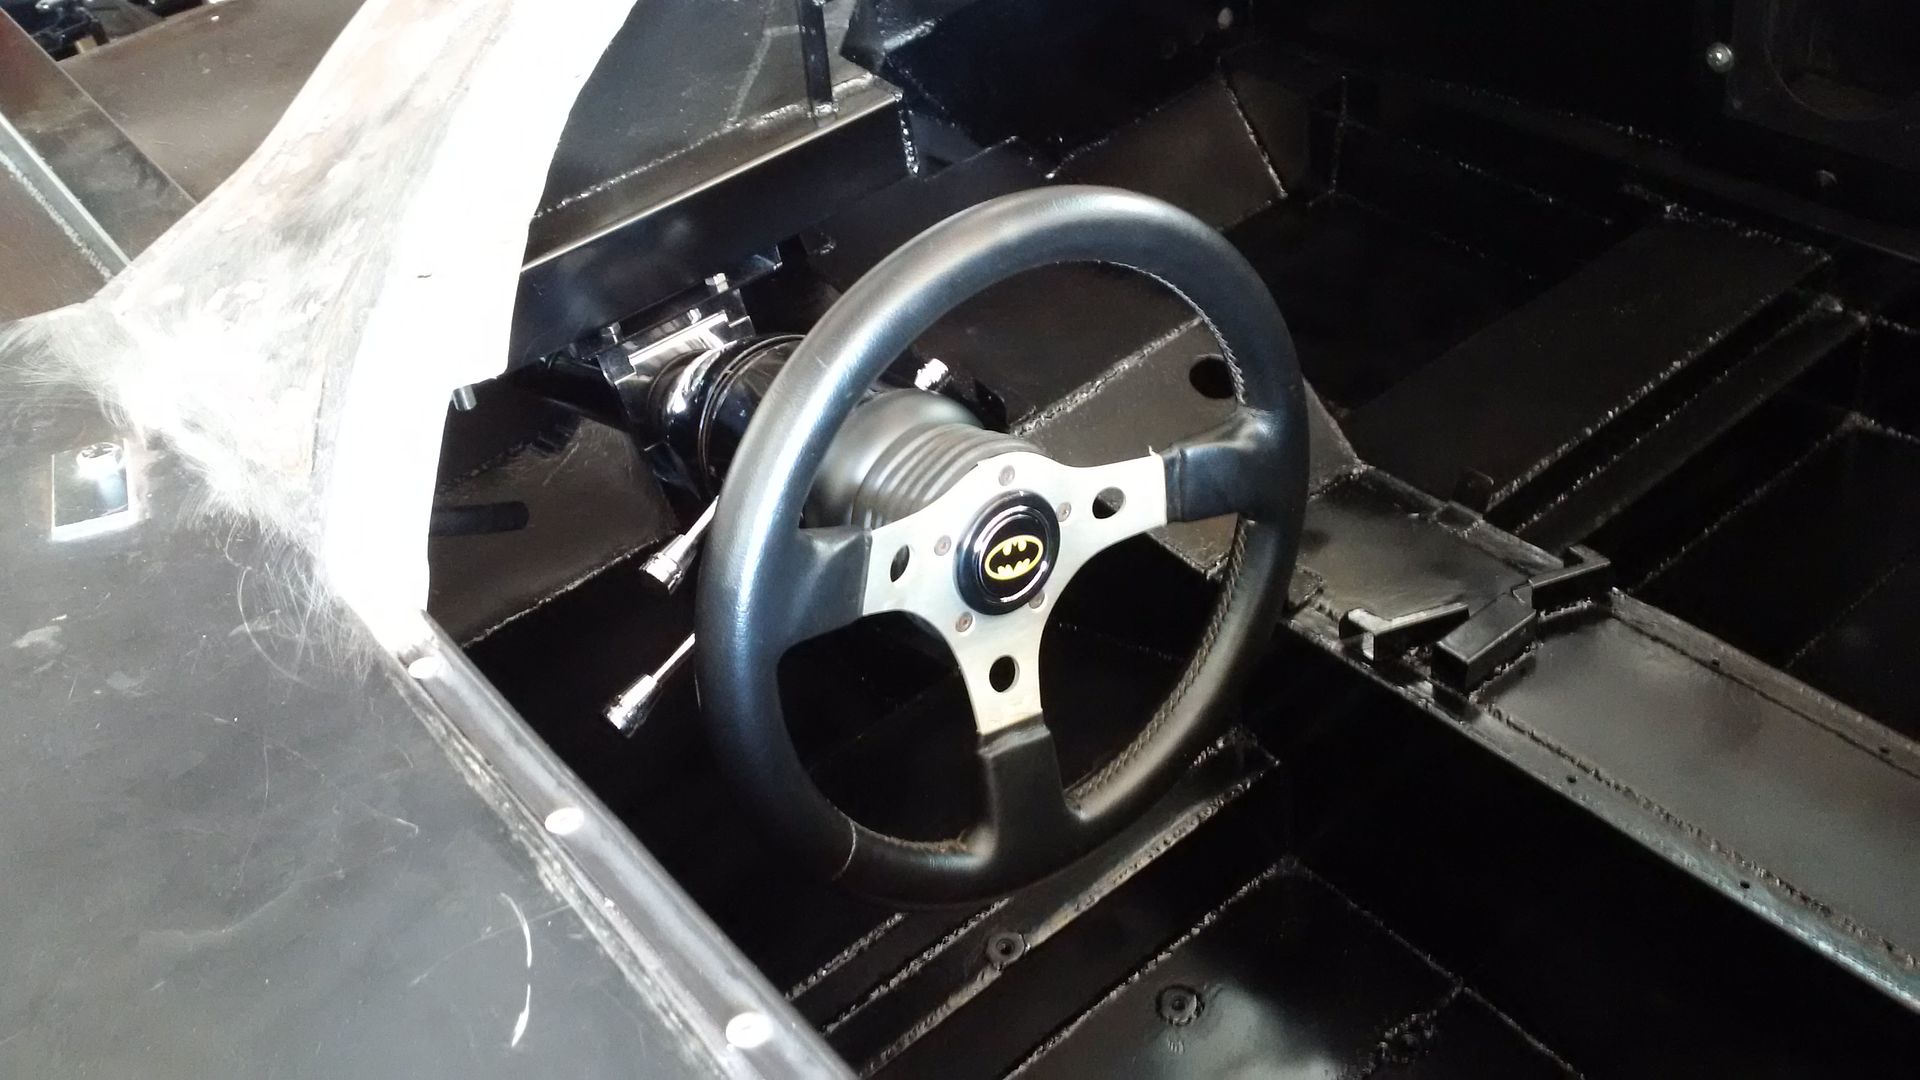
First job was getting the steering column installed and all of the steering shafts and u-joints connected and tested. Of course this was an entire pain in the ass trying to get all the shafts, supports and u-joints to line up, tight and tested. For testing I simply put the front end of the car up in the air and turned the steering wheel from full lock left to full lock right. I wanted to make sure that there wasn’t any binding in any of the u-joints. While I was at it I installed my fancy Batman horn button 🙂
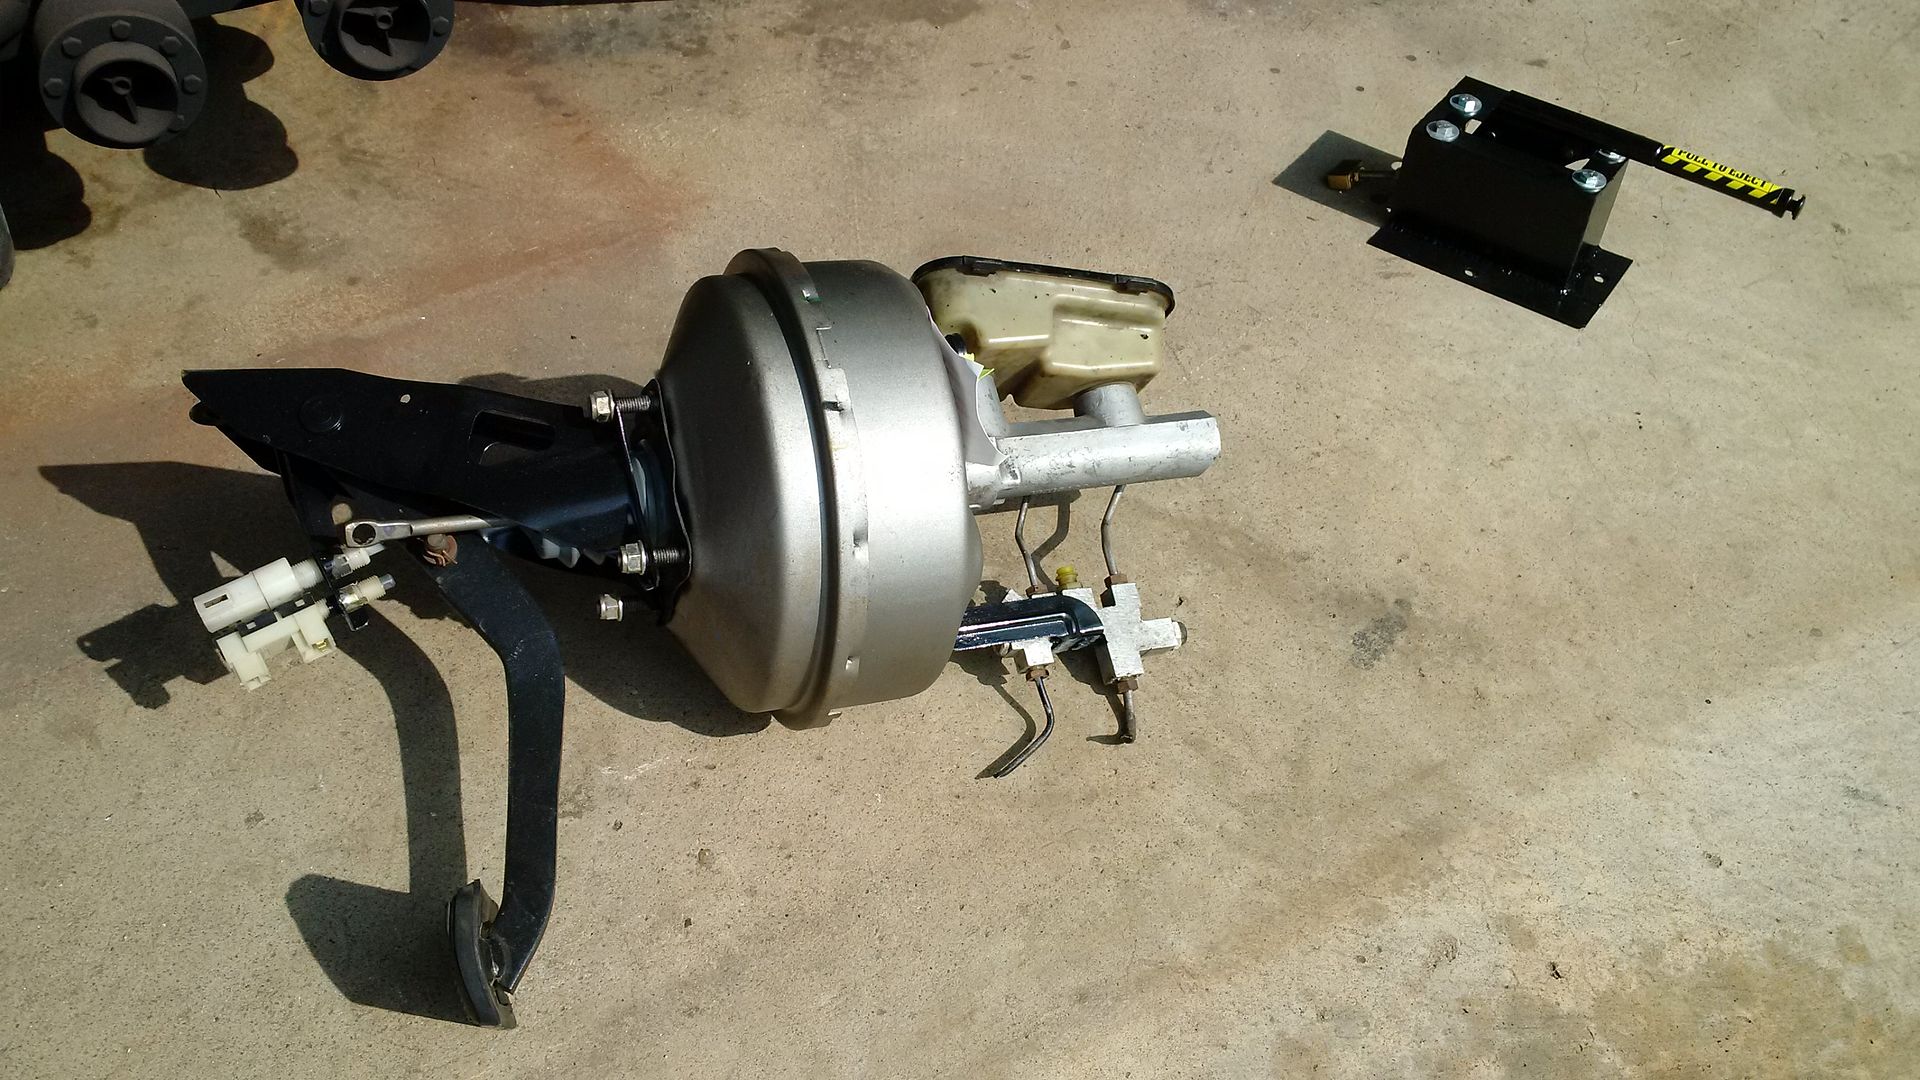
Next on the list of TODOs was the brake booster. I purchased a re-built brake booster last fall since it was cheaper than going through all the effort to try and refinish the one that came from the donor car. Bolting on the brake booster was pretty simple, but as always there was a catch. After I finished the install and connected the pedal to the booster rod I gave the pedal a try. Turns out that the top brace of the brake pedal needs a support anchor or the pedal will slightly sway back and forth under the pressure of the booster. This didn’t come up in my early testing since I didn’t have the rod for the booster connected to the pedal when doing clearance testing. I can tell you that a solid brake pedal mount is a must!
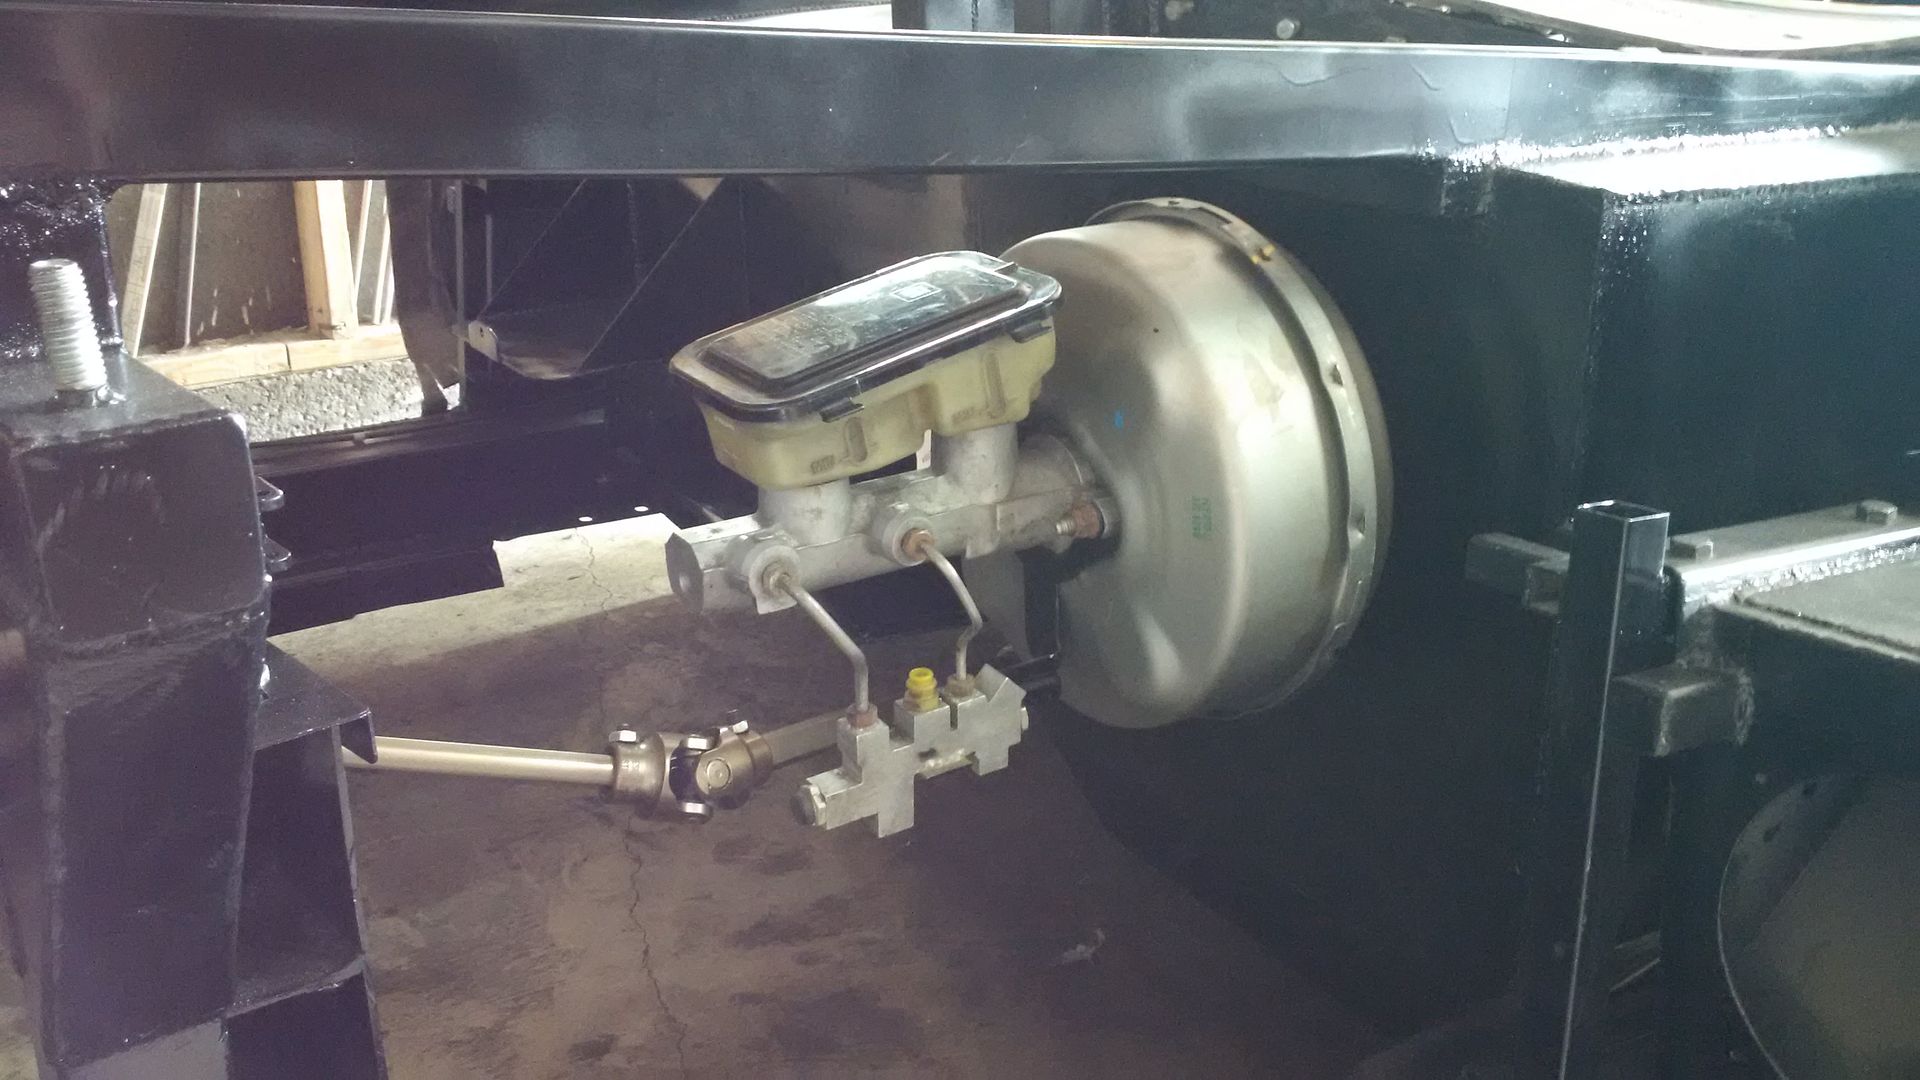
I ended up spending the next hour or so building a bracket that I could wedge up between the top brace of the brake pedal and the inner ceiling of the cabin. Pretty simple fabrication but just a pain in the ass location to try and get to. I build myself a little box with a hole on the top and bottom. Bottom bolted to the top of the brake pedal brace and the top bolted through a hole I drilled in the ceiling of the cabin. Problem solved, but it wasn’t time I was planning on spending today 😦
One of the reasons I wanted to get the steering column and brake pedal installed was to figure out what areas I could cover with the sound deadening material. This stuff is good old peel and stick material that should help get rid of road noise while driving the car. By having the brakes and steering wheel installed I could cut out sections to go around those areas. I also made sure I left an spot that Ill be able to drill for passing wires through the firewall to the engine bay.
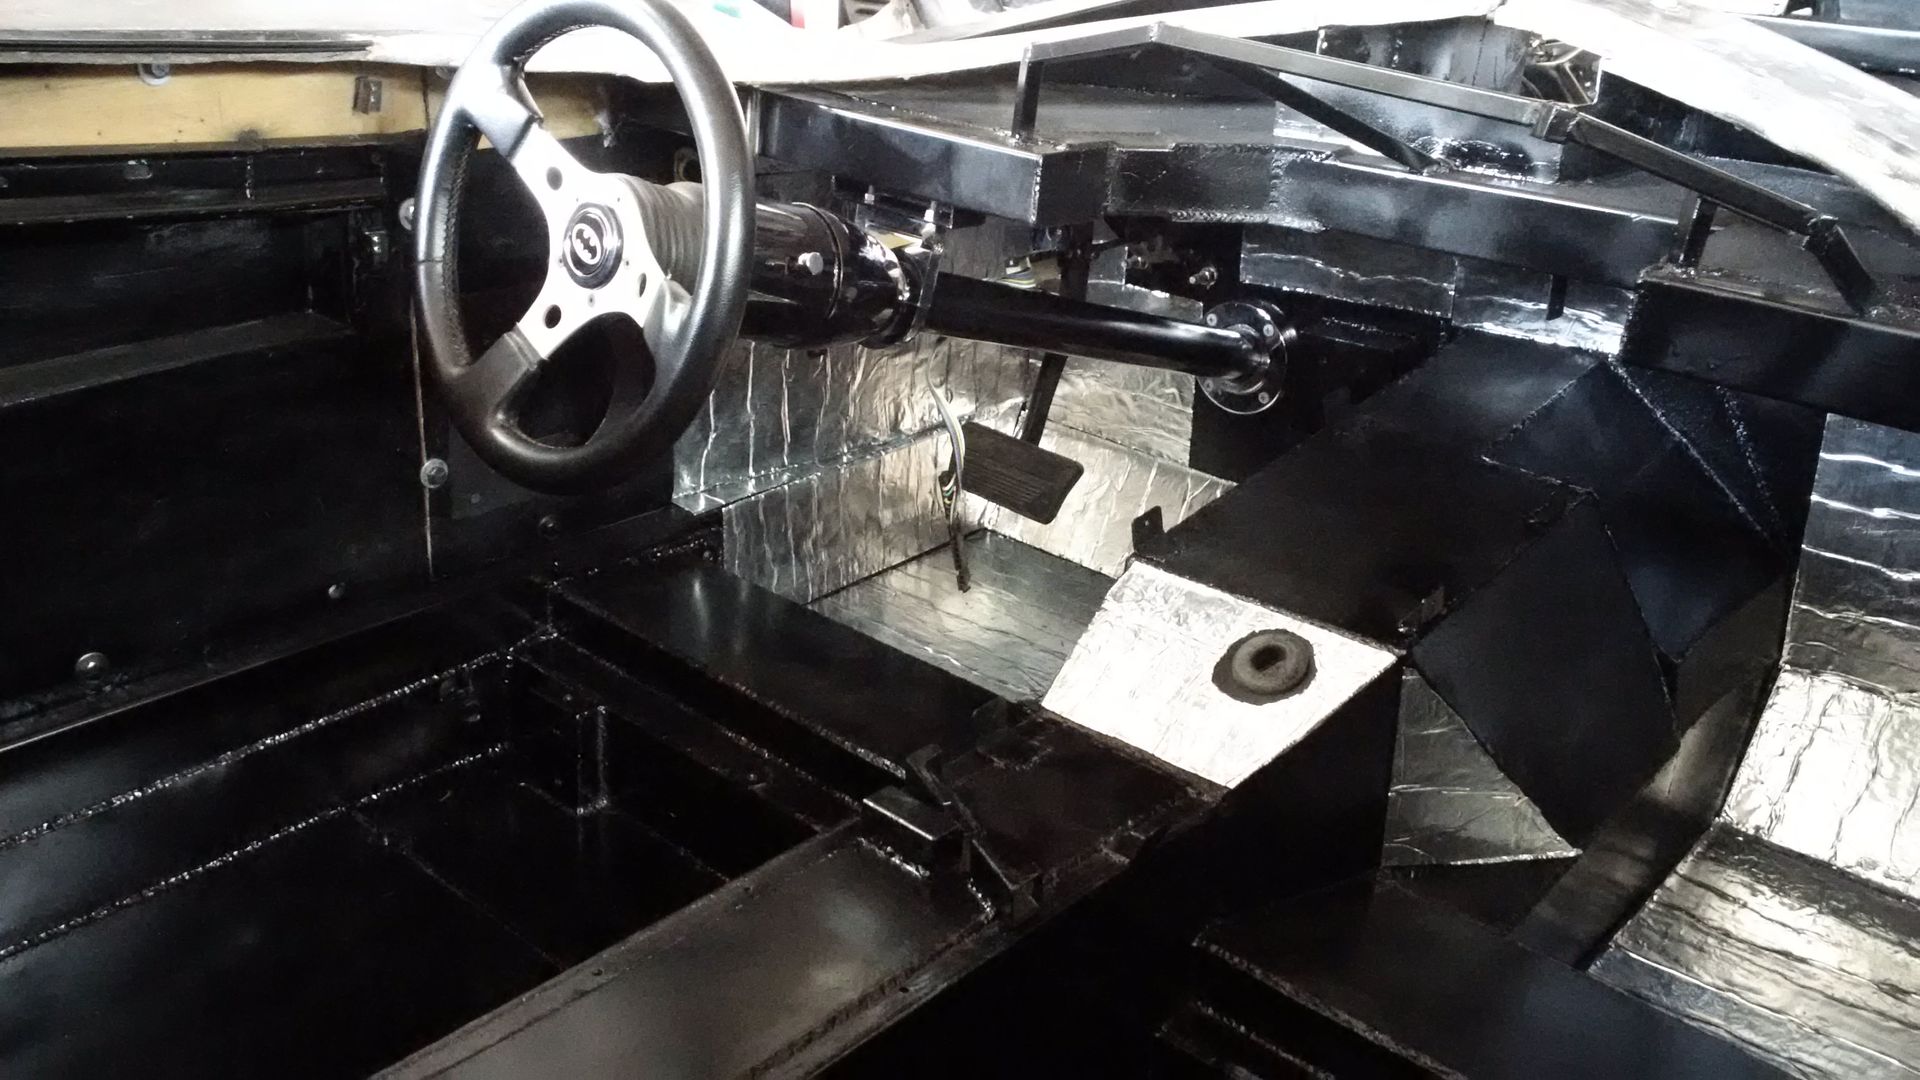
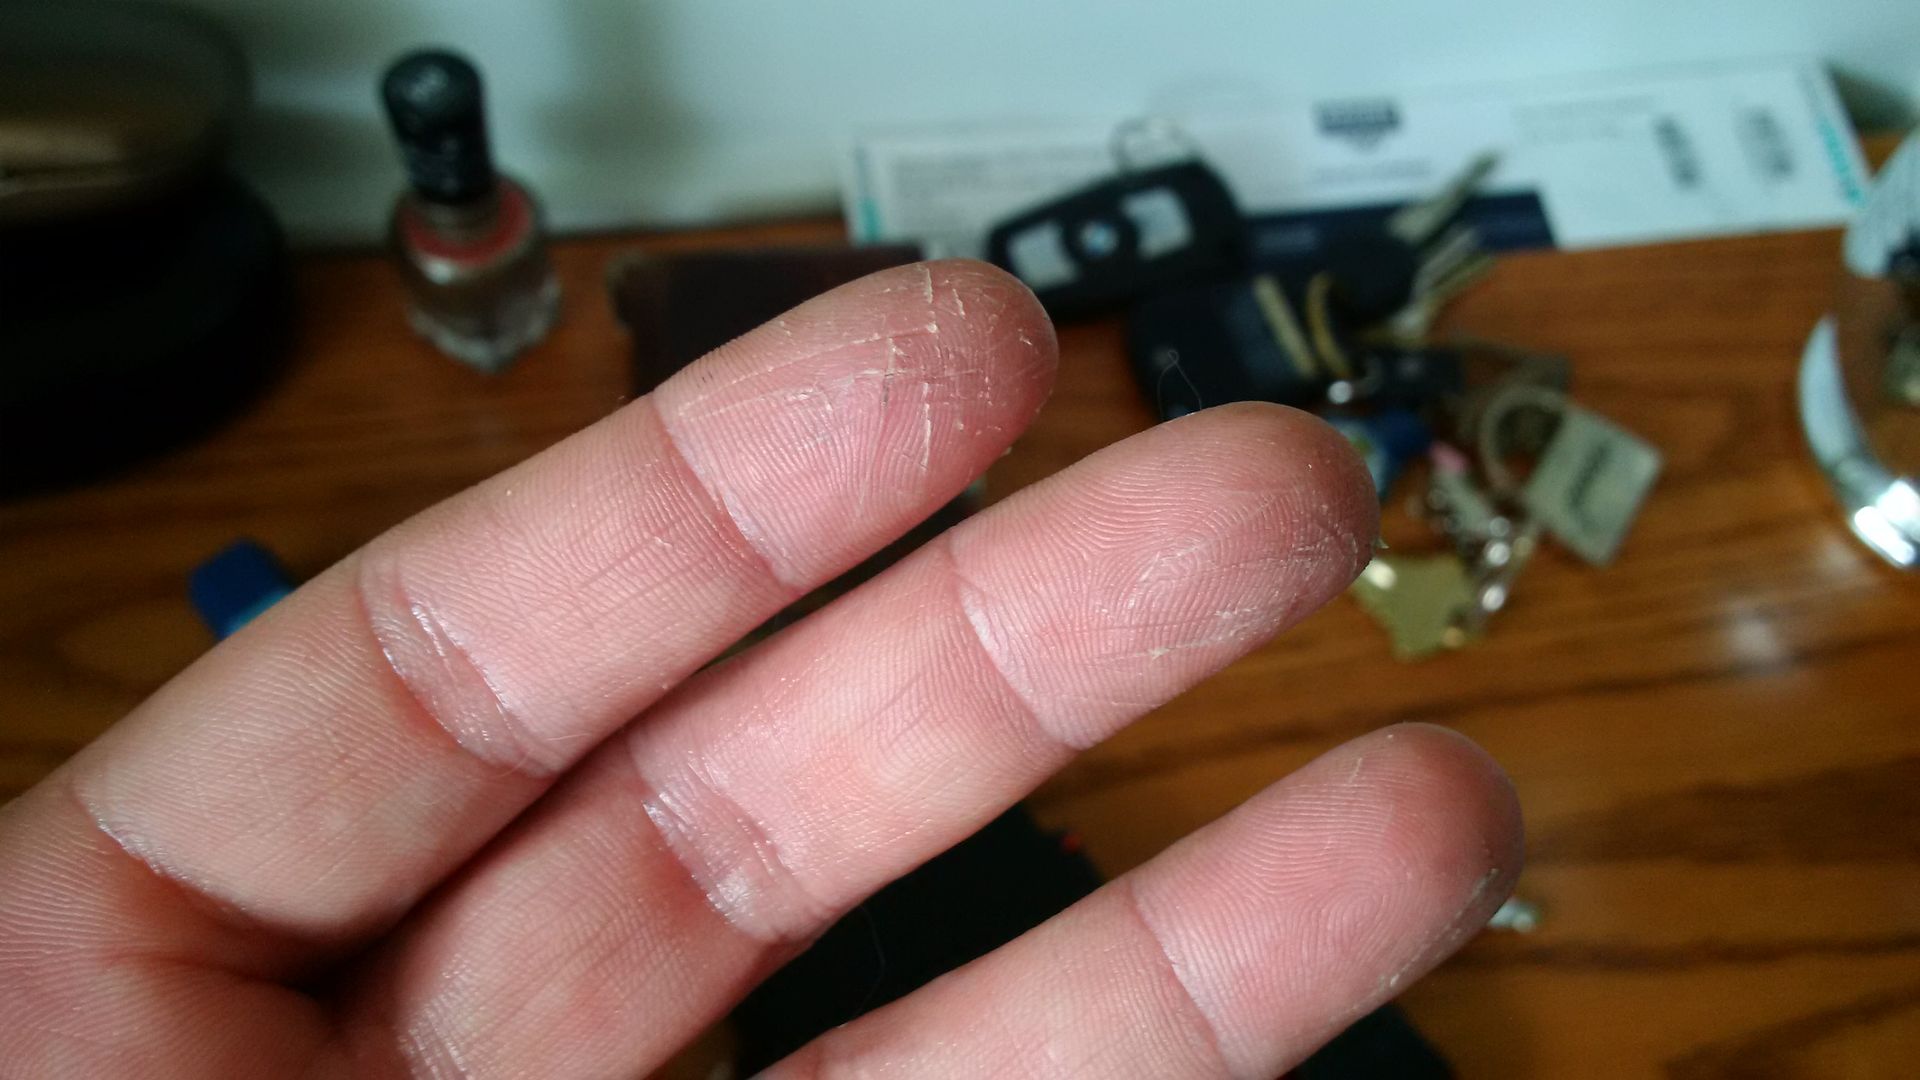
I still have a bunch more to cover but the side walls of the cabin being fiberglass sandwiched plywood, they will act as a natural sound barrier so I’ll be focusing on sticking the sound deadening material to the floors, transmission tunnel, firewall and rear cabin wall. I also learned that you should probably wear gloves when handling that material. The aluminium like sheet doesn’t give you “big” cuts but it does give lots of little slices!
I was hoping to finish the sound deadening material today, but time and my knees decided otherwise. So it will have to wait for another day!

I think you should take out the hub of the steering wheel, insert some LED lighting behind the bat symbol, then have it flash in time to the beat of the music playing. 🙂
LOL.. that would be fun wouldn’t it 🙂