
Today started off with 3 hours of filling, smoothing and sanding of the trunk vents… AGAIN… I thought I had them the way I liked but then realized that from different angles you could still see rough material on the inside edges. However, once it started raining I packed up the trunk lid and started on the Bat-disc doors!
You can check out the video above to see the Bat-disc doors in action and also check out the details below covering the work needed to make everything function properly.
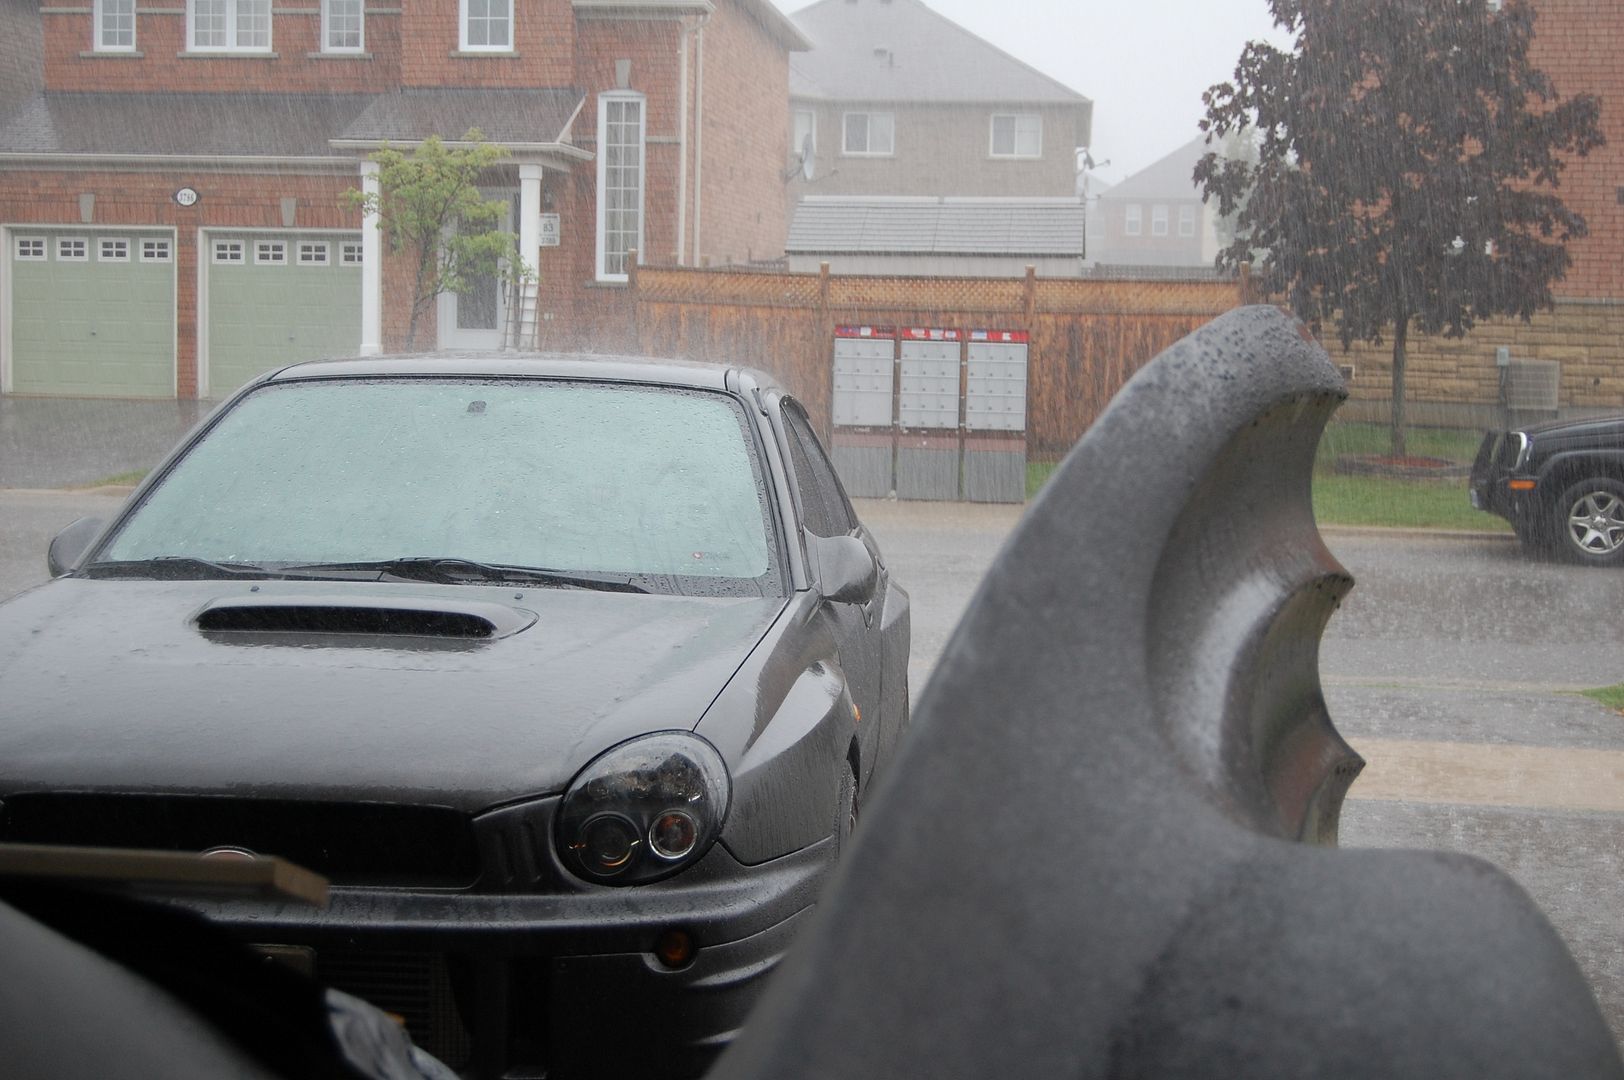
Also, when I mentioned that it “started raining” I mean cats & dogs rain! I had to cover up the back of the vents so that water wouldn’t spray inside the car.
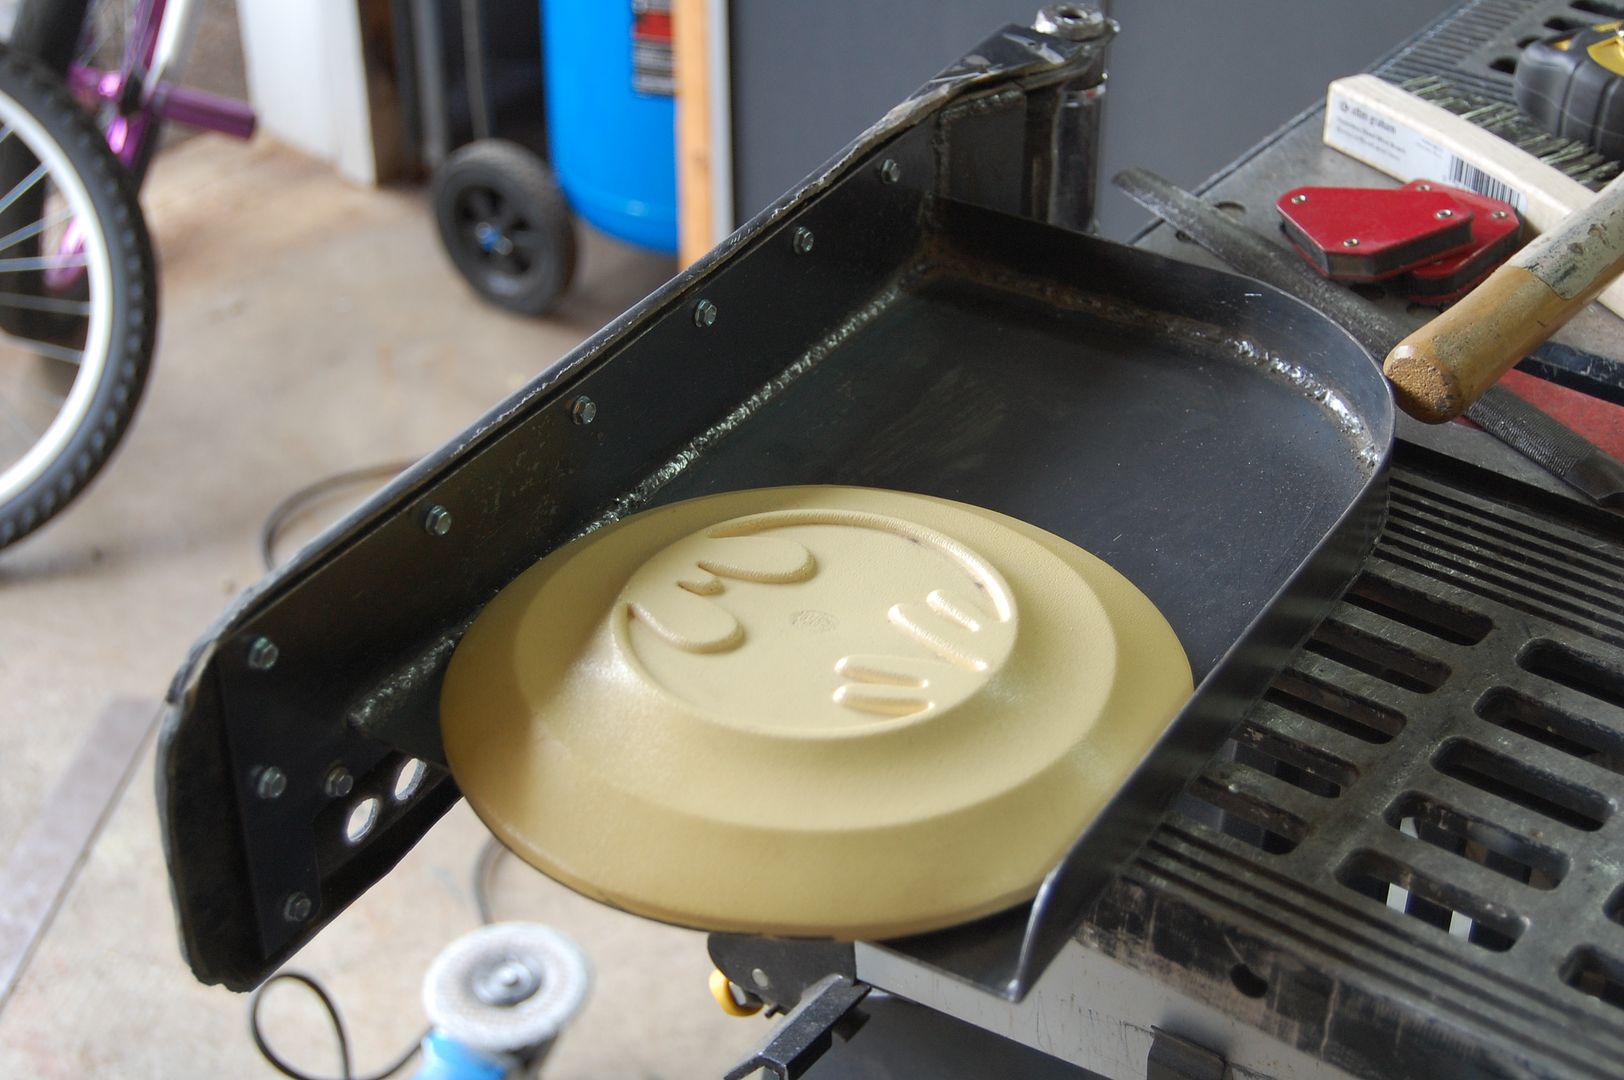
The first thing that needed to be completed before working on the actuators was to finish up the metal fabrication on the passenger side Bat-disc door. This was simply a repeat of the driver’s side. I also managed to drill the holes on the hood for the door hinges and successfully hung the passenger door.
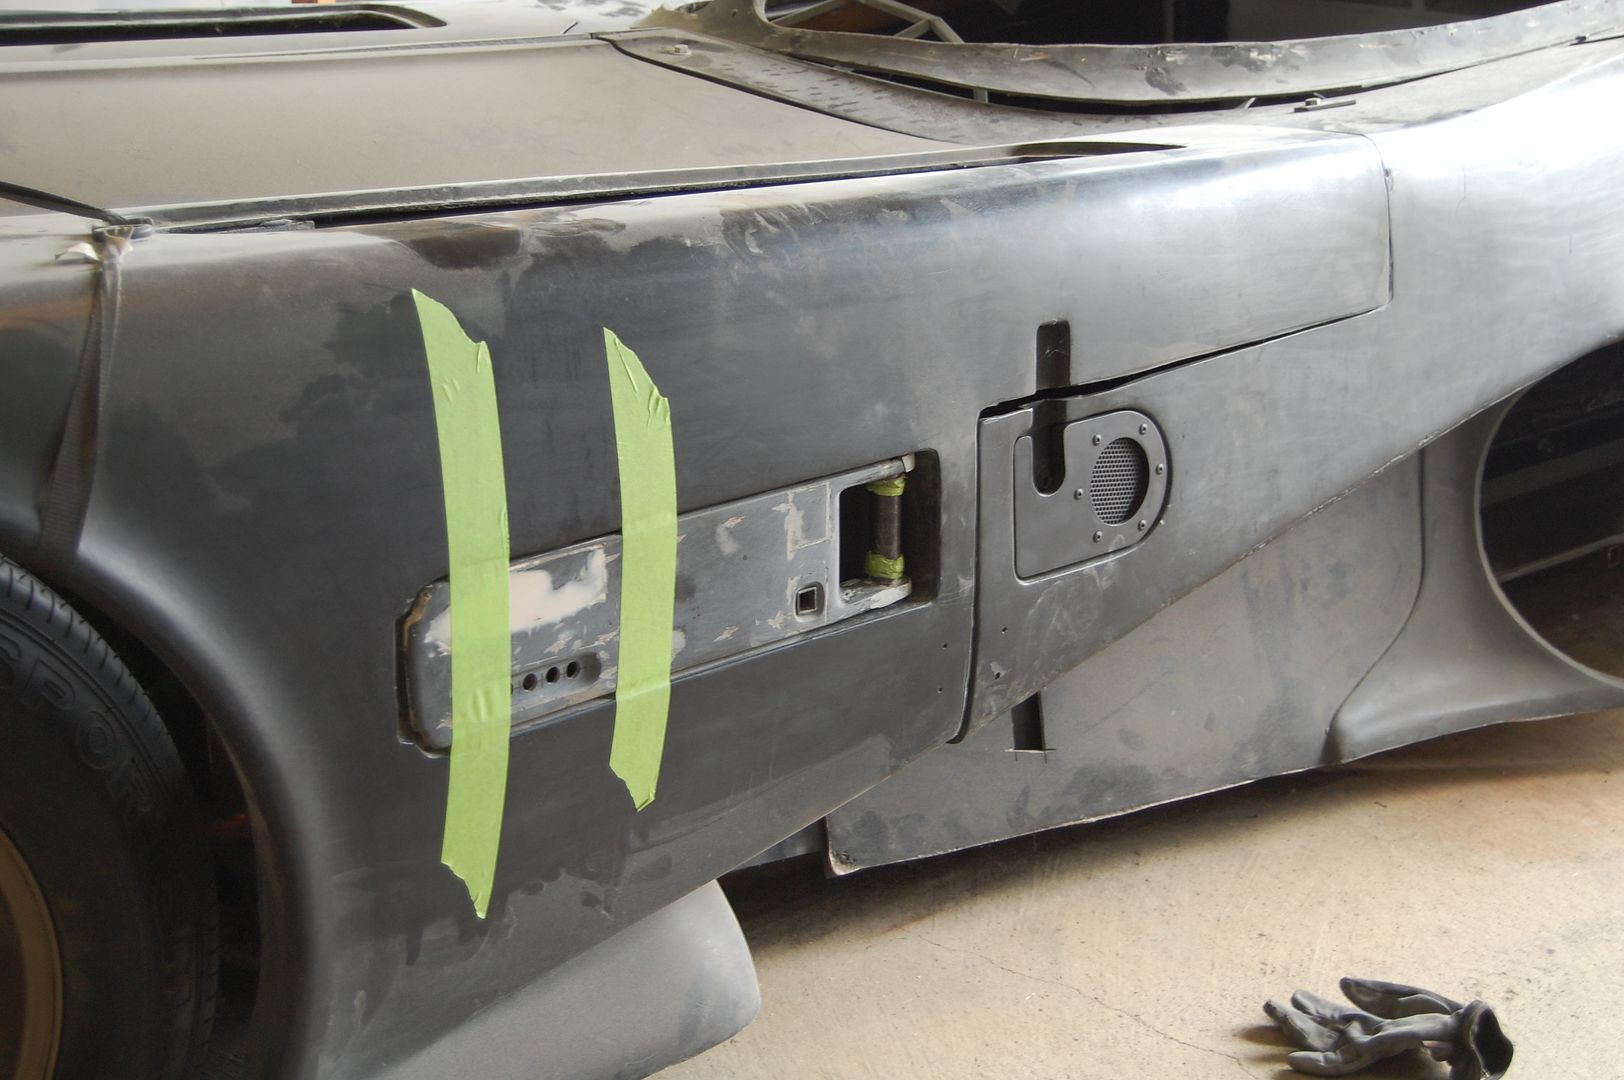
Then it was on to mounting the driver’s side actuator. This involved lowering the hood onto the car and taping the Bat-disc door shut. That allowed me to clamp the actuator in-place with a clevis on each end which allows the actuator to pivot.

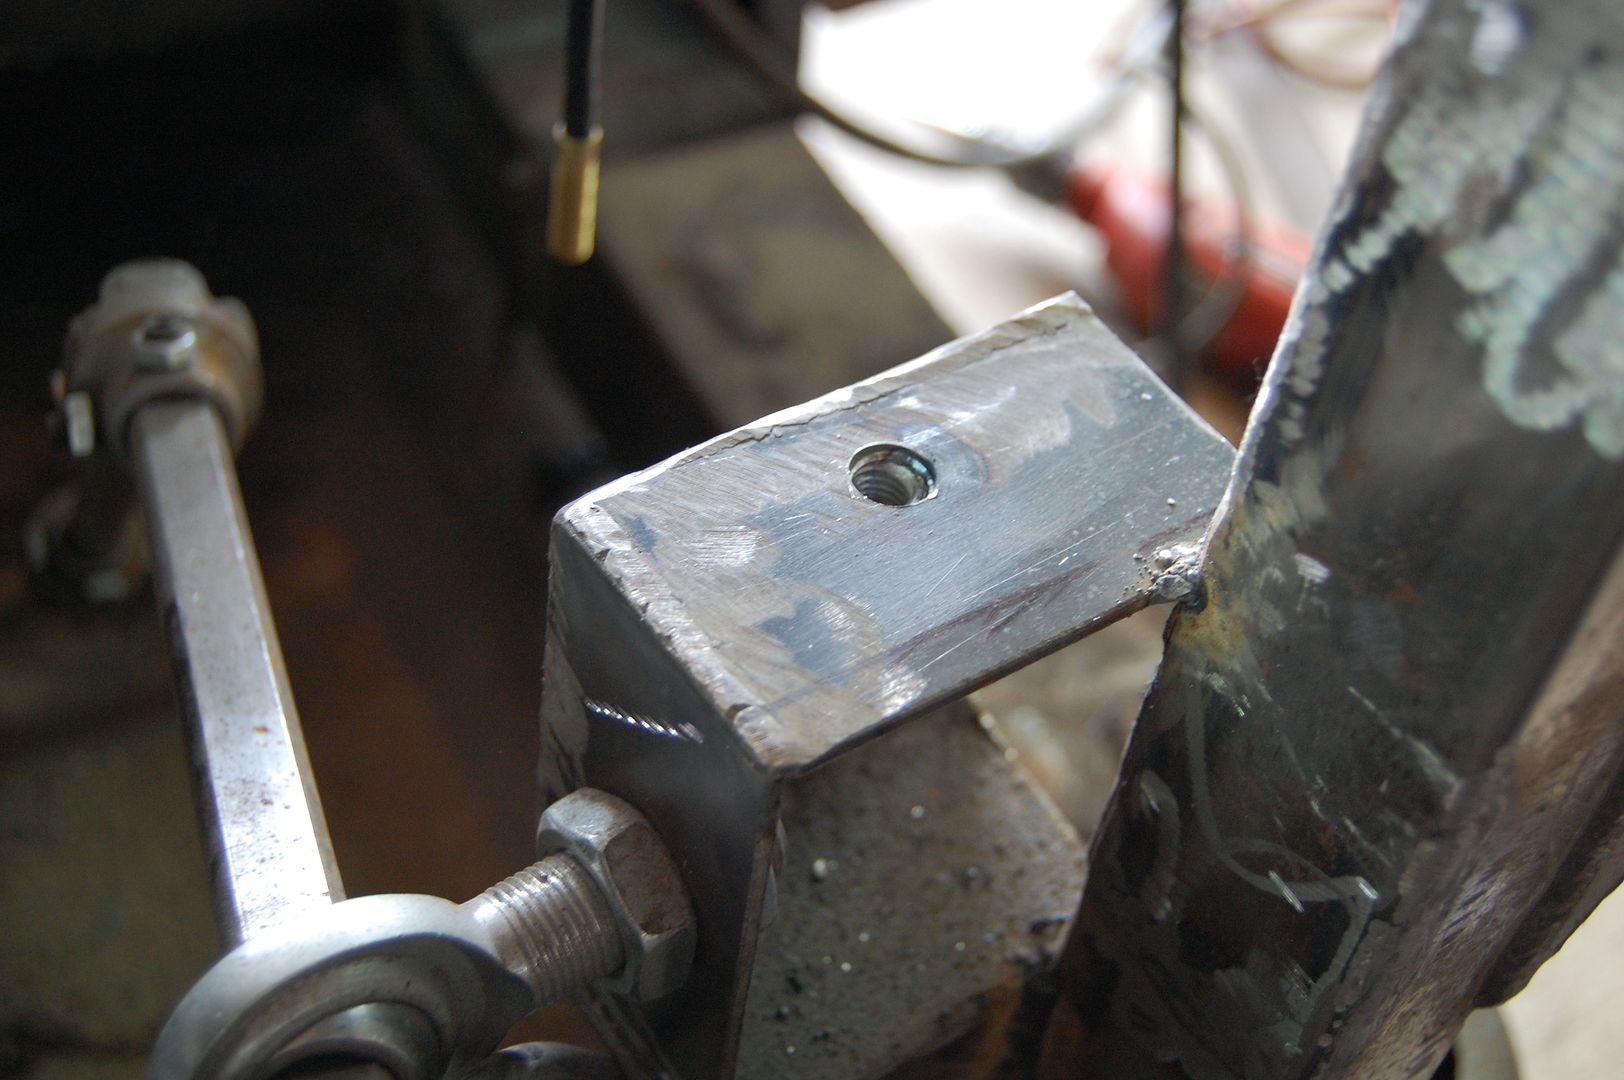
Once everything was clamped down I was able to take some measurements and start fabricating a mounting bracket for the motor end of the actuator. The shaft end simply will have the clevis welded to the Bat-disc tray.
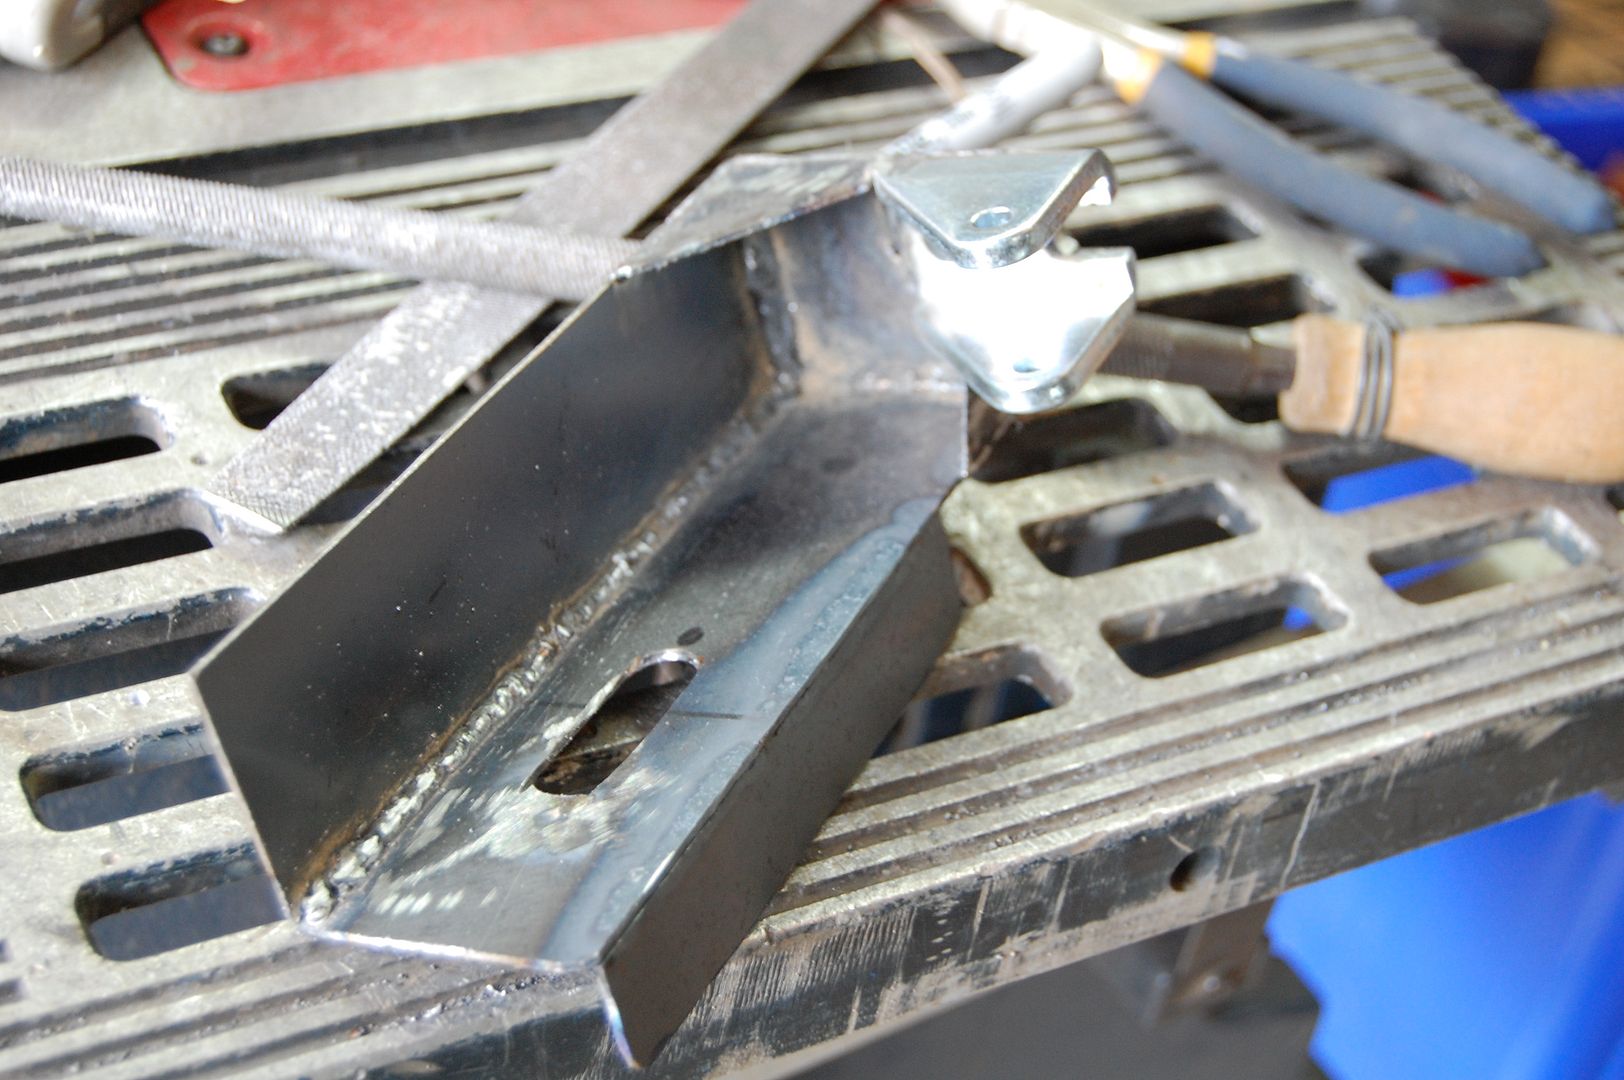
The bracket had a slot down the middle which allows me to adjust the actuator position. I also welded a tab down the side of the bracket to ensure that it will not turn/twist under load.
I then marked a location on the chassis and welded in a nut so that I could securely bolt the bracket to the chassis.

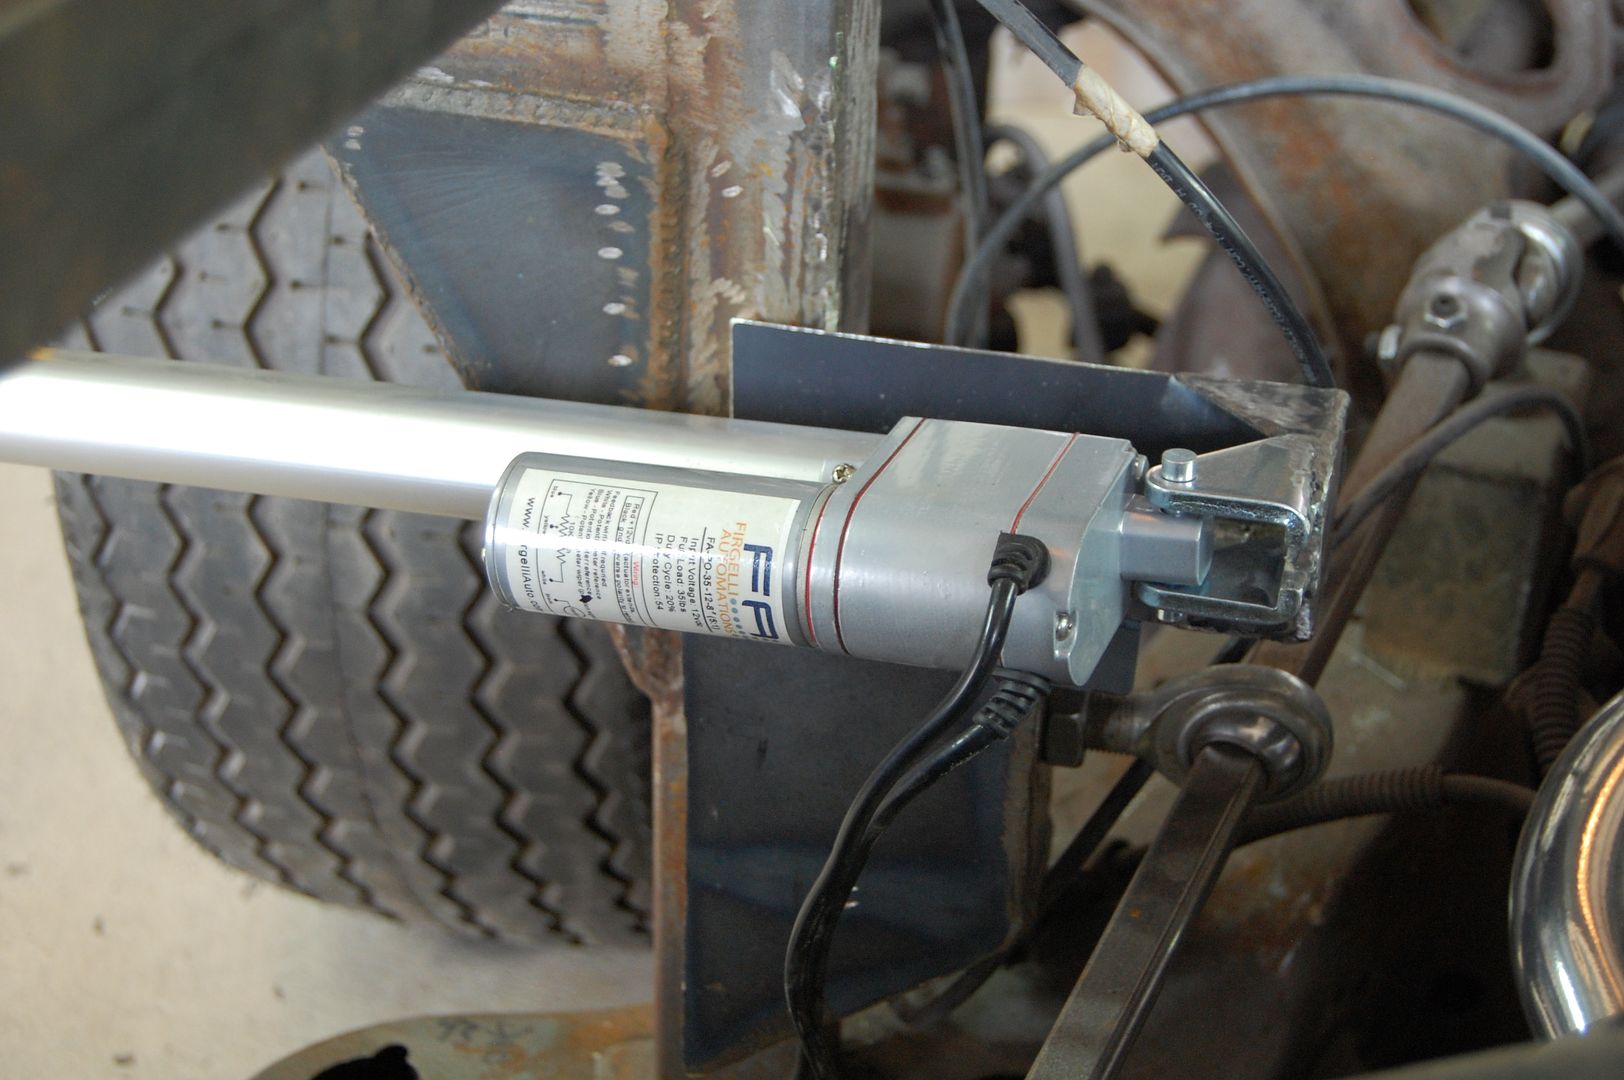
I made sure the motor side clevis was positioned so that I could freely swing the actuator back in towards the cockpit allowing me to swing it out of the way when lowering/raising the hood.
The clevis’ makes for a simple way to connect both ends of the actuator which allow them to move as needed. They’re also easily held in-place using pins that have a cotter-pin on the opposite end to ensure they don’t slide out.
All that was left to do was to lower the hood back down, adjust the actuator position and weld the other clevis to the bat-disc tray. The end results are seen in the video at the top of this post.
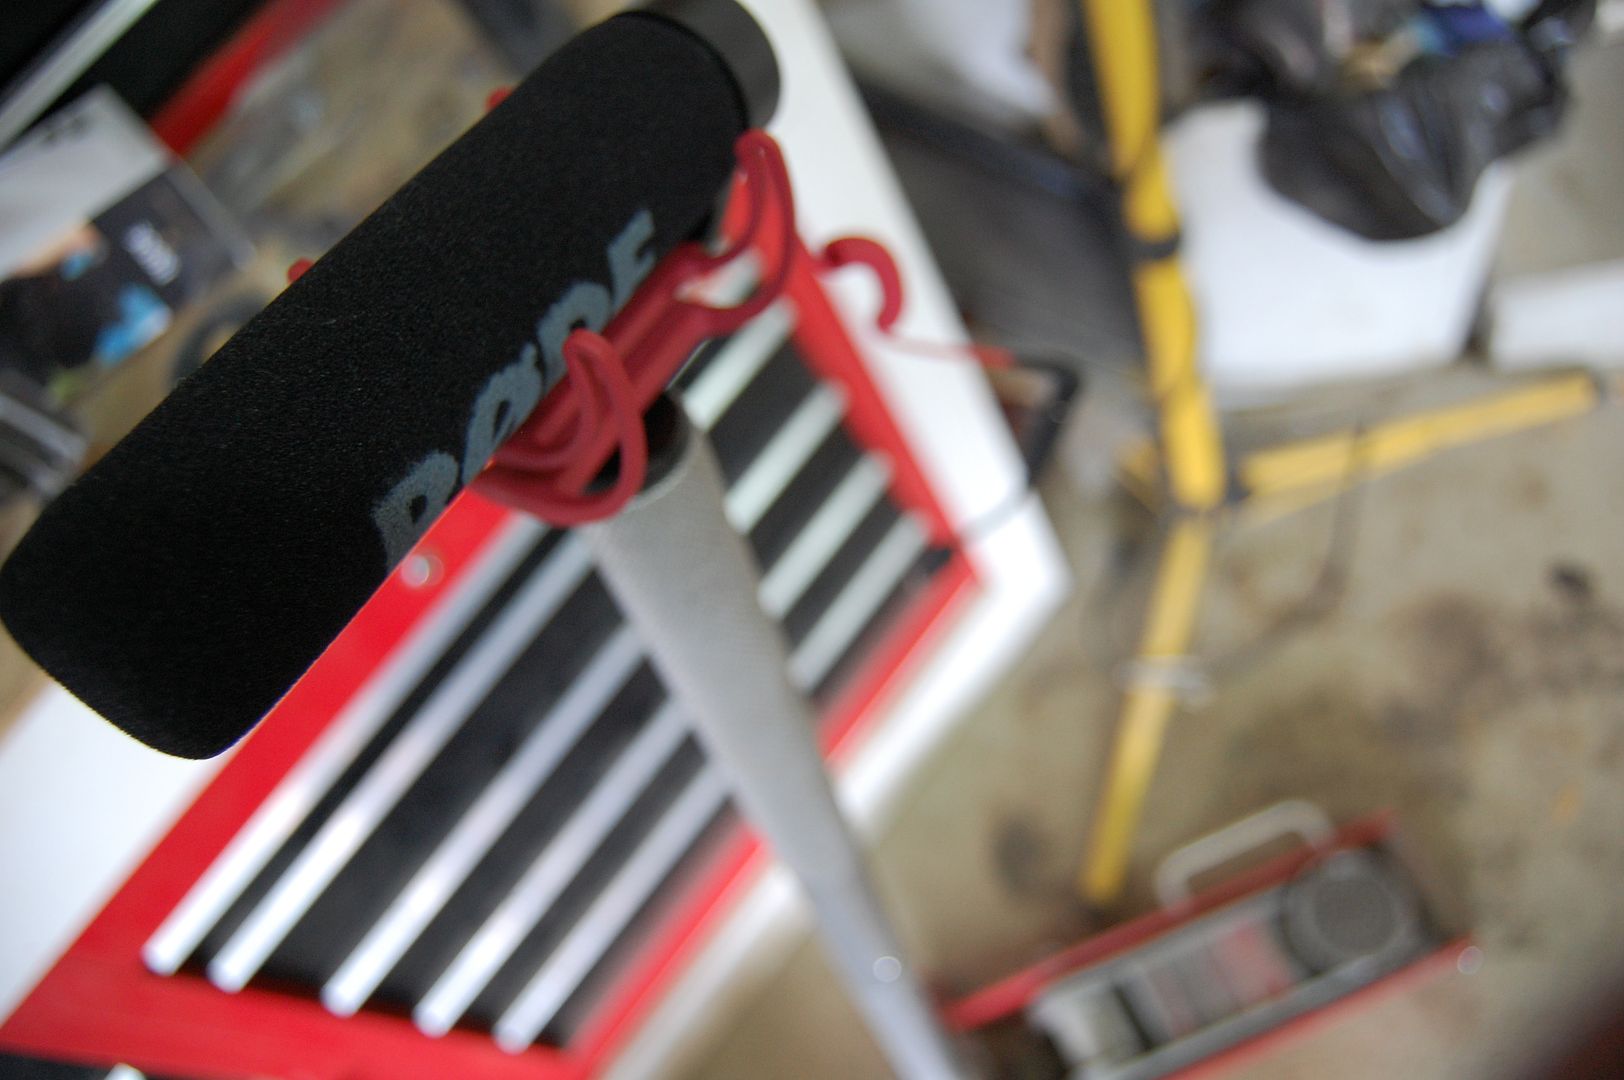
Side Note: I always find it a bit tricky finding a place to position the external mic when filming, so today I found a creative use for my floor jack 🙂
Now I’ll just have to repeat these steps for the passenger side and then eventually complete the circuit using the Arduino board.

Reblogged this on Workshop 12.