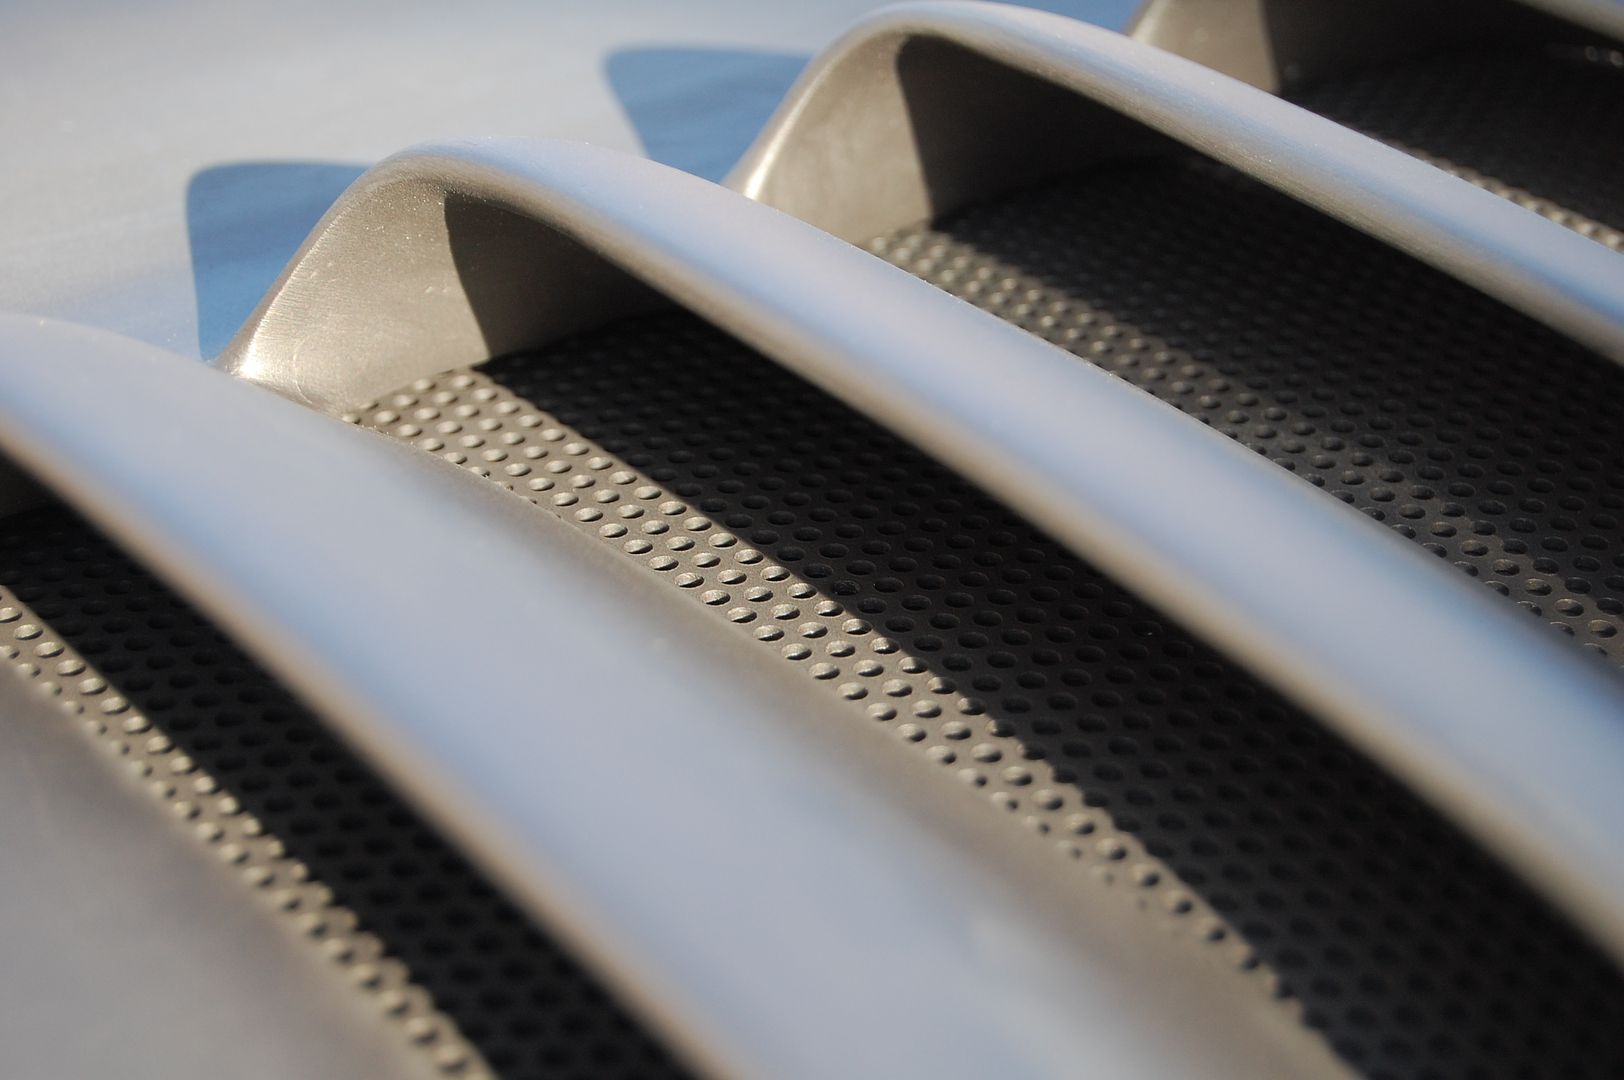
I mentioned previously that I “thought” I was satisfied with the work on the trunk vents… But then I realized that you could see rough looking material on the inside of the vent walls.
Also the vents didn’t meet the mesh exactly as I had hoped. After looking at the car for a while I knew that this was going to bug me if I didn’t fix these two problems. With these blemishes the vents didn’t look enough like the ones on the hero car.
So after another 12 hours of filler, sanding, filing and priming I now have something that I’m REALLY happy with! You would now have to hold up a reference photo of the actual hero car to see any of the slight differences. Essentially the only main difference is that my vents go back deeper than on hero car.
First I started correcting the fact that all the vents didn’t meet the mesh at the same spot. Essentially I wanted to make the insides of each of the vents look like they were curving back down in towards the mesh instead of looking like they were fanning away from the mesh.
This was done by taping in-place some little dams/forms made out of some scrap metal wrapped in aluminium foil. Then filling the corners of the vents with short-strand filler.
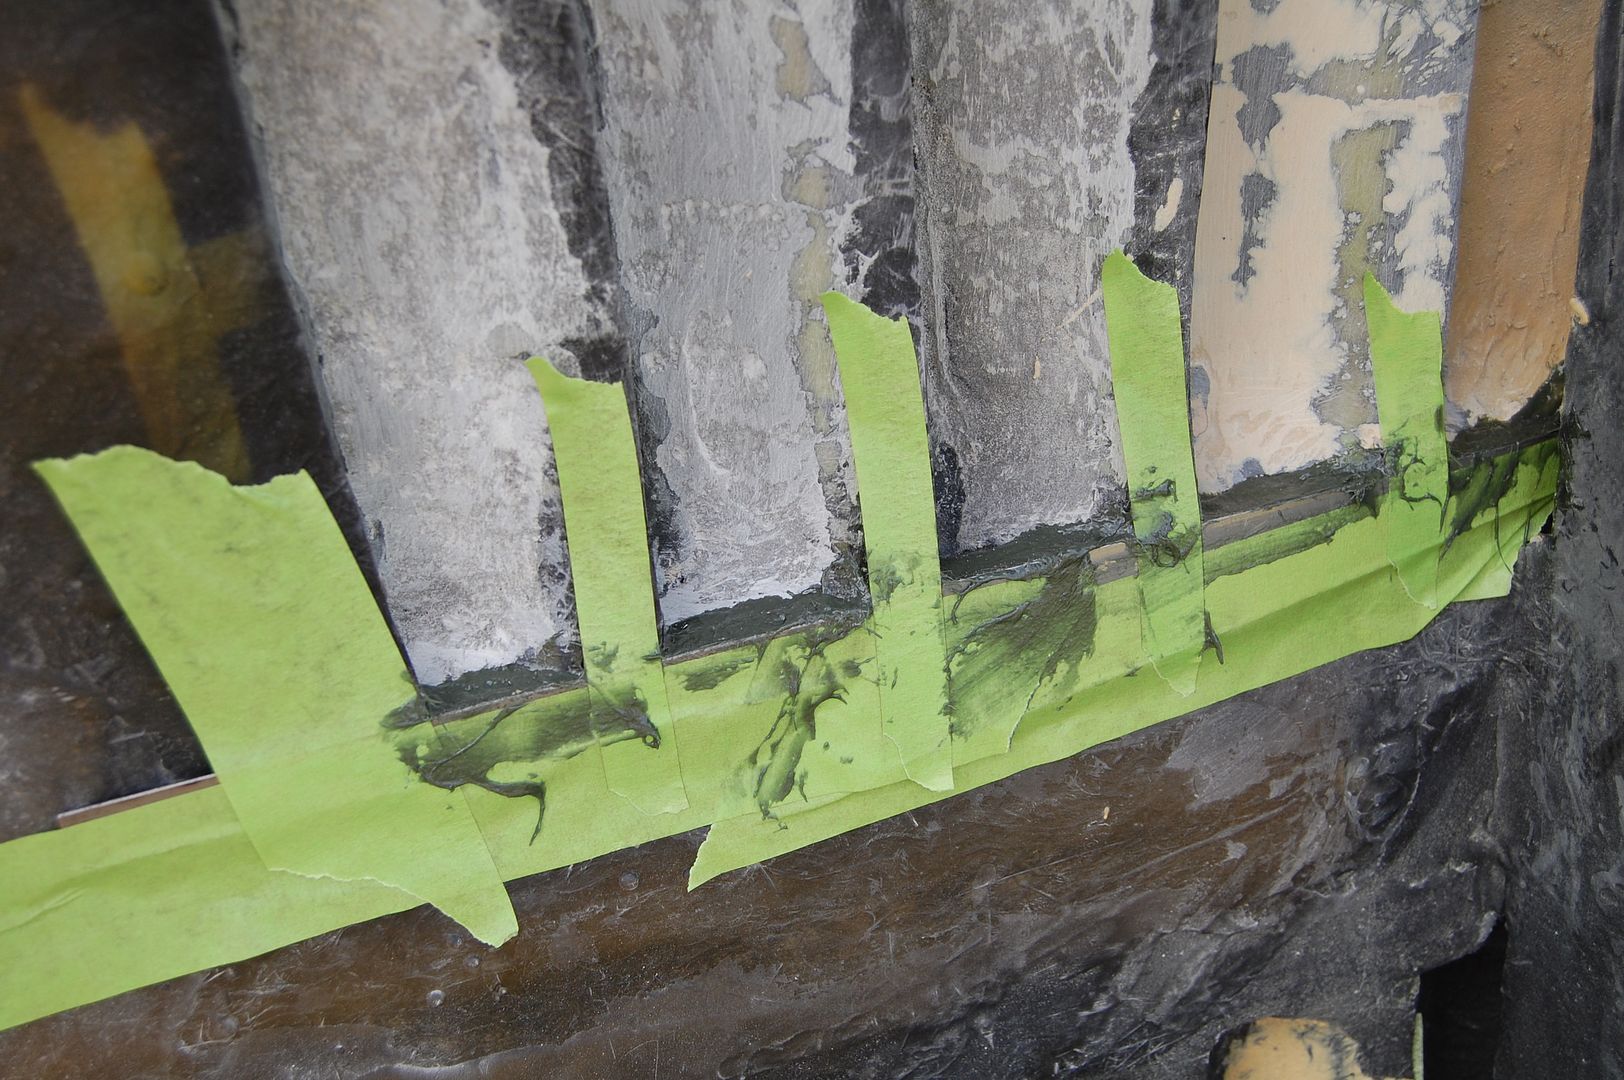

The trick was to wait for the short-strand filler to start and harden and then pull the form/dam away. This helped with the resin not sticking to the forms. Essentially I was filling in the corners of the vents so that I could then shape them with some round files.
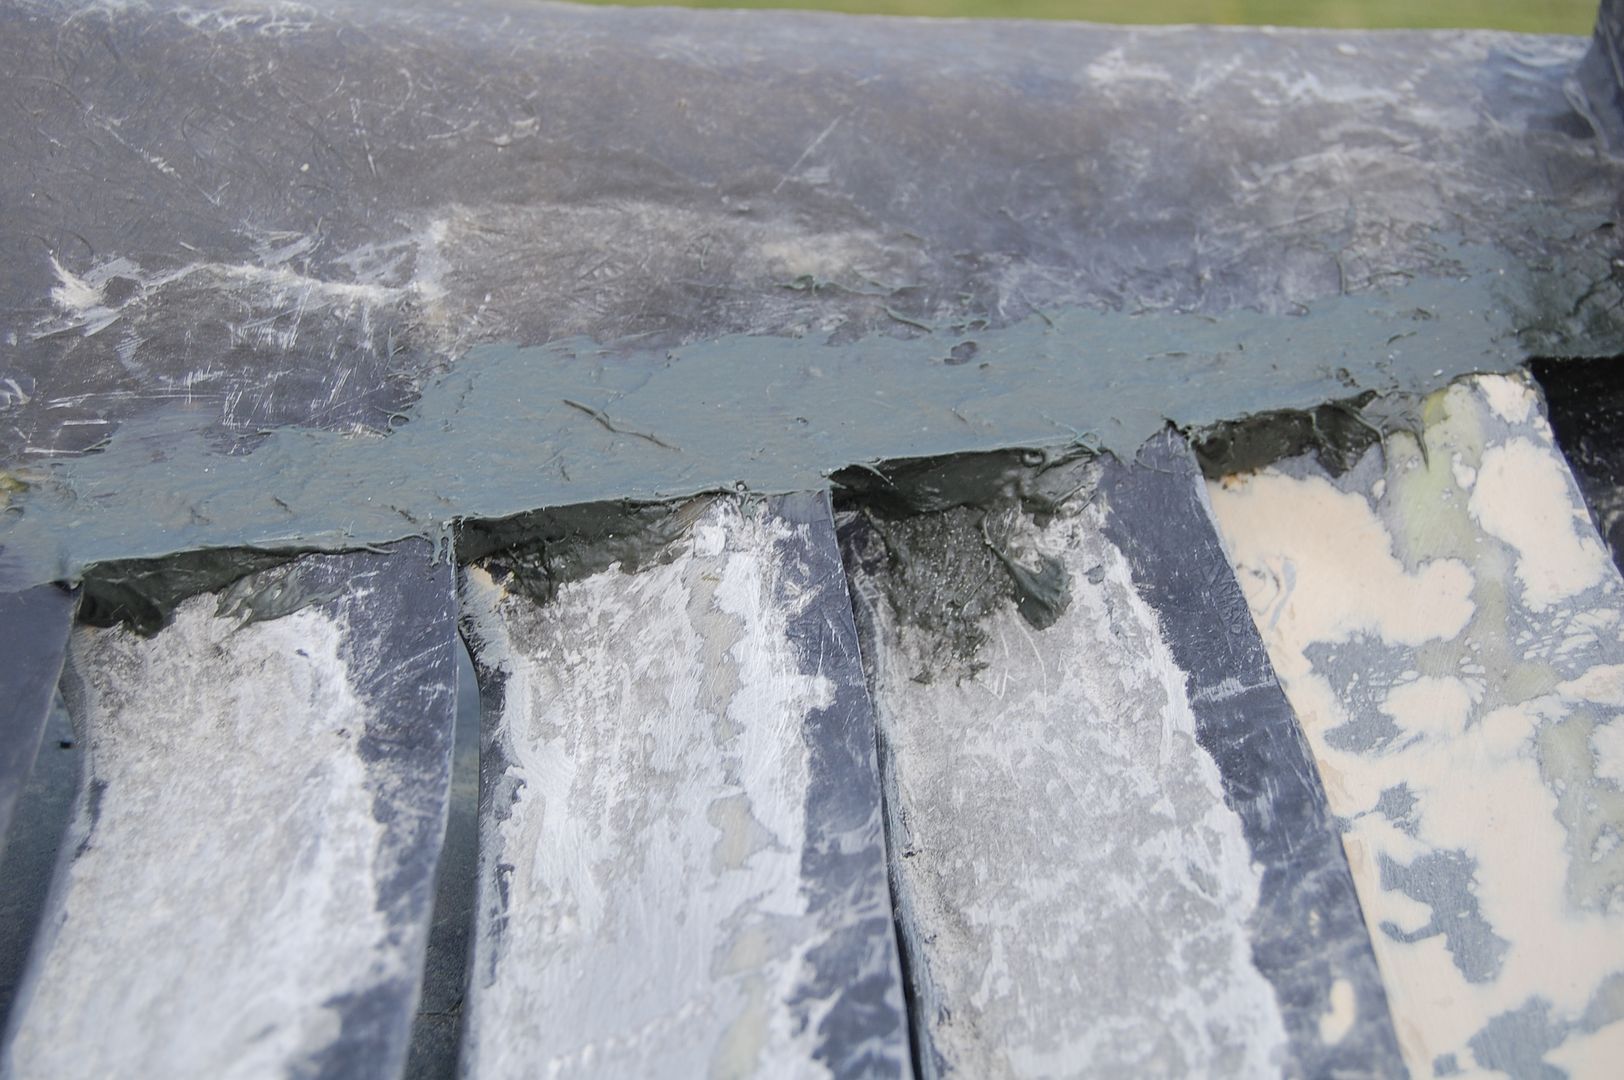
Before I could start smoothing out the insides of the vents I needed to do all the shaping work with some round/curved files. This was tedious work but kind of fun to carve out the shape from of a solid block of short-strand resin.
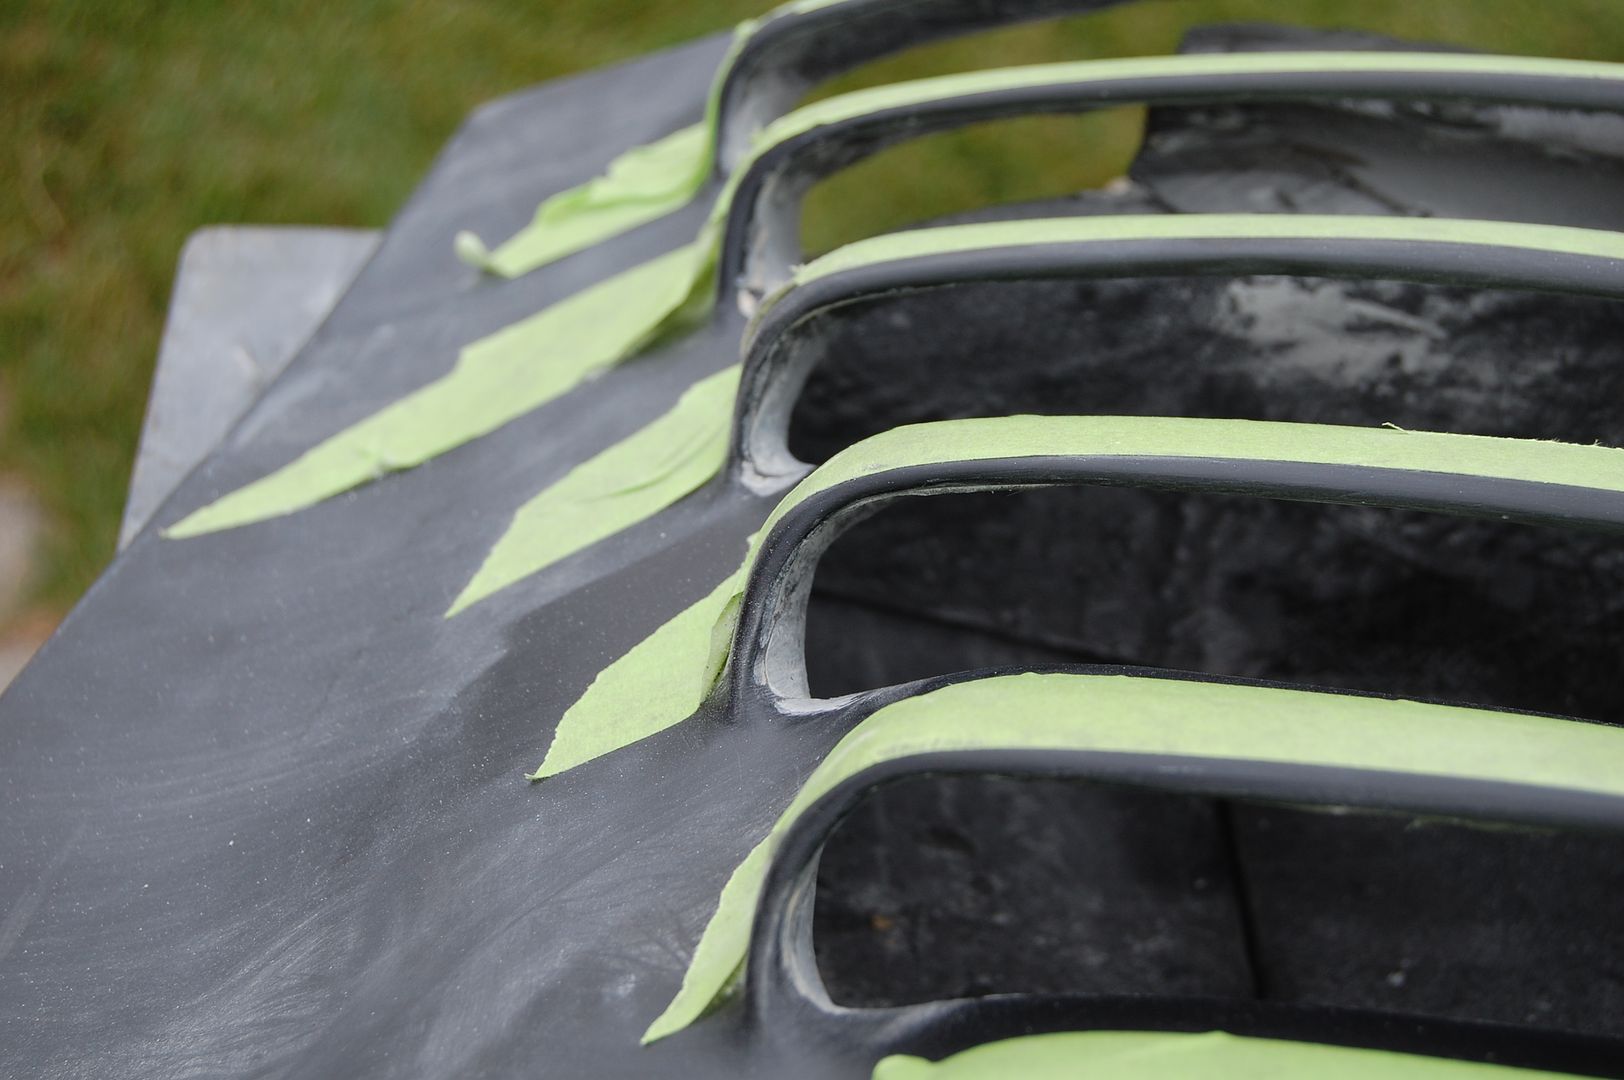
After everything was shaped, so began the mind numbing task of hours of filling in the rough surfaces of the inside of the vents and then sanding away the high spots.
On the majority of the vents you could get the little power mouse sander in there to smooth out most of the flat surface. But every vent needed the curved inner sides shaped and smoothed with sand paper using my now very raw fingers.
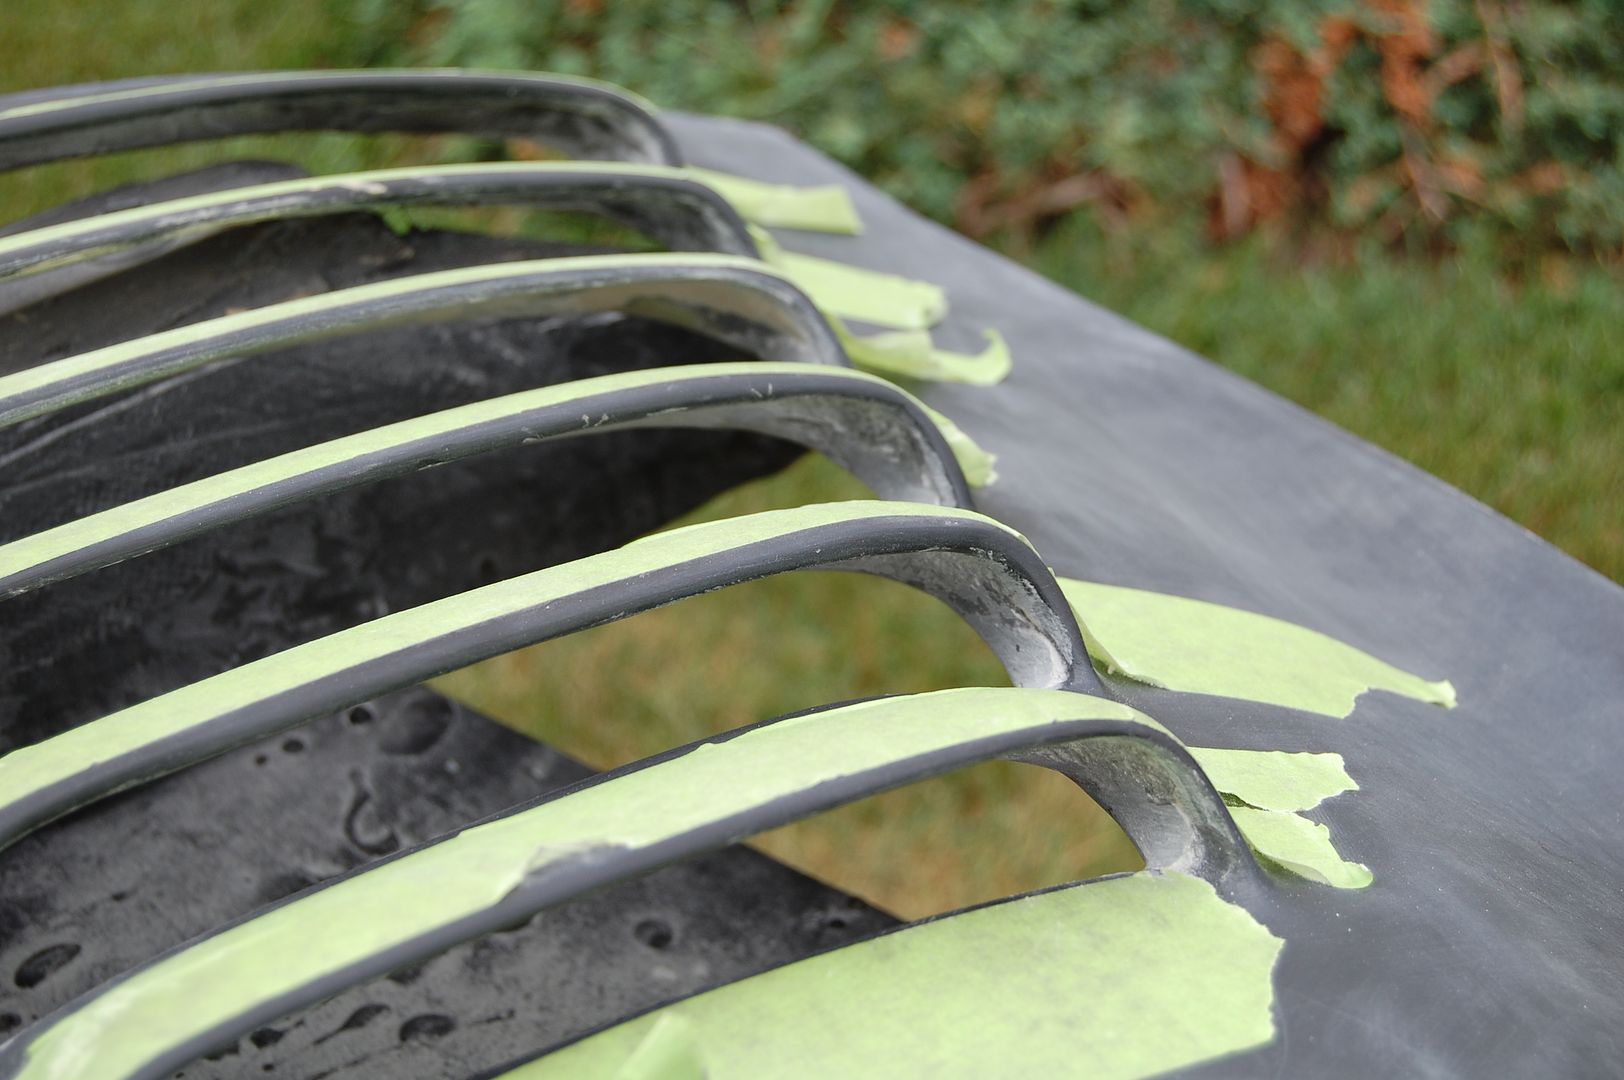
The top two vents on both sides had their flat surfaces blocked by the trunk bracing so it all had to be done by hand by squishing your fingers and some sandpaper back into the vent.
But my sore throbbing fingers were worth the effort. I now have some beautiful looking vents on the back of this car. All that’s left to do is to seal the back of the vent mesh into the trunk surface in order to create a water tight seal 🙂