

Well, I’ve been able to complete the final assembly of everything under the rear of the car. That is except for the passenger side drum & e-brake assembly. I do however have a lead on a local company that will create emergency brake cables to my specification. No idea what they charge yet (always depends on a lot of factors) but I’ll find out on Monday when I go and pay them a visit. I’m keeping my fingers crossed.
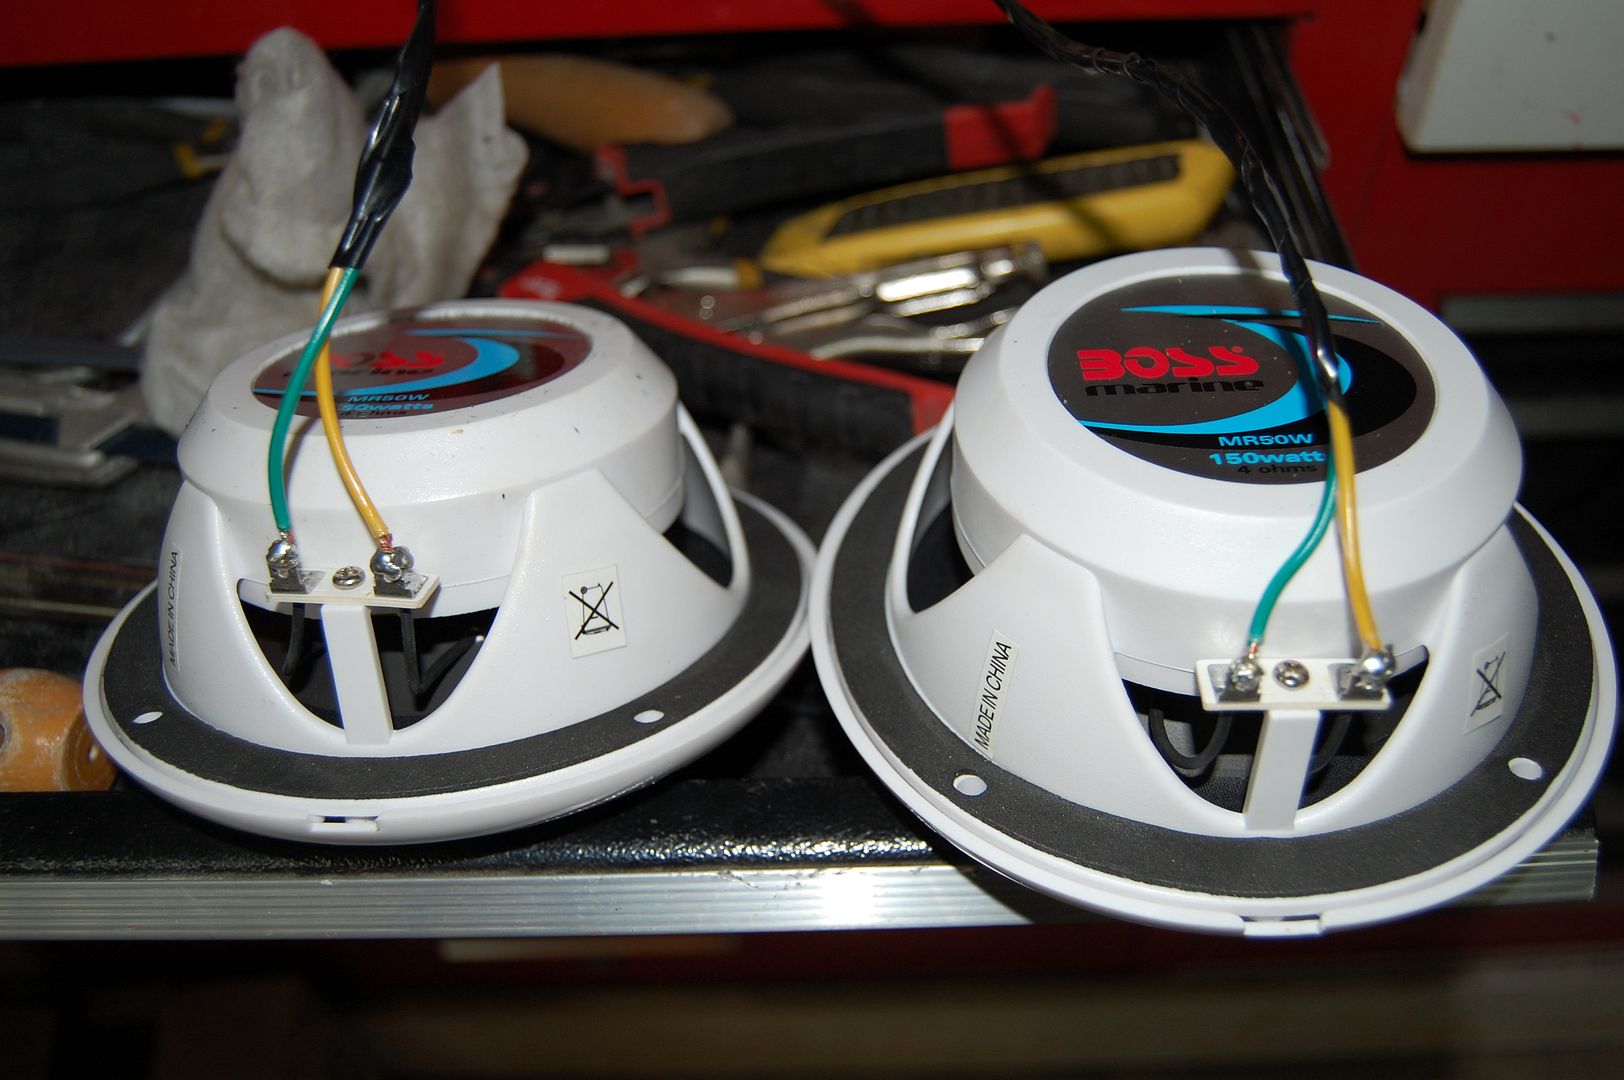
To complete the rear assembly I had a few tasks to tackle. One was getting the afterburner exterior speakers installed and sealed into their housings. These two speakers provide extra “umph” to the afterburner sound effects to go along with the third speaker that’s in the afterburner itself. Since they are pointing outward on the bottom of the car they need to be resistant to water, so I used some Marine speakers commonly used for boats.
First step was to get a grommet into the speaker enclosure which had a snug fit on the wire and then soldering the wire to the terminals on the speaker.


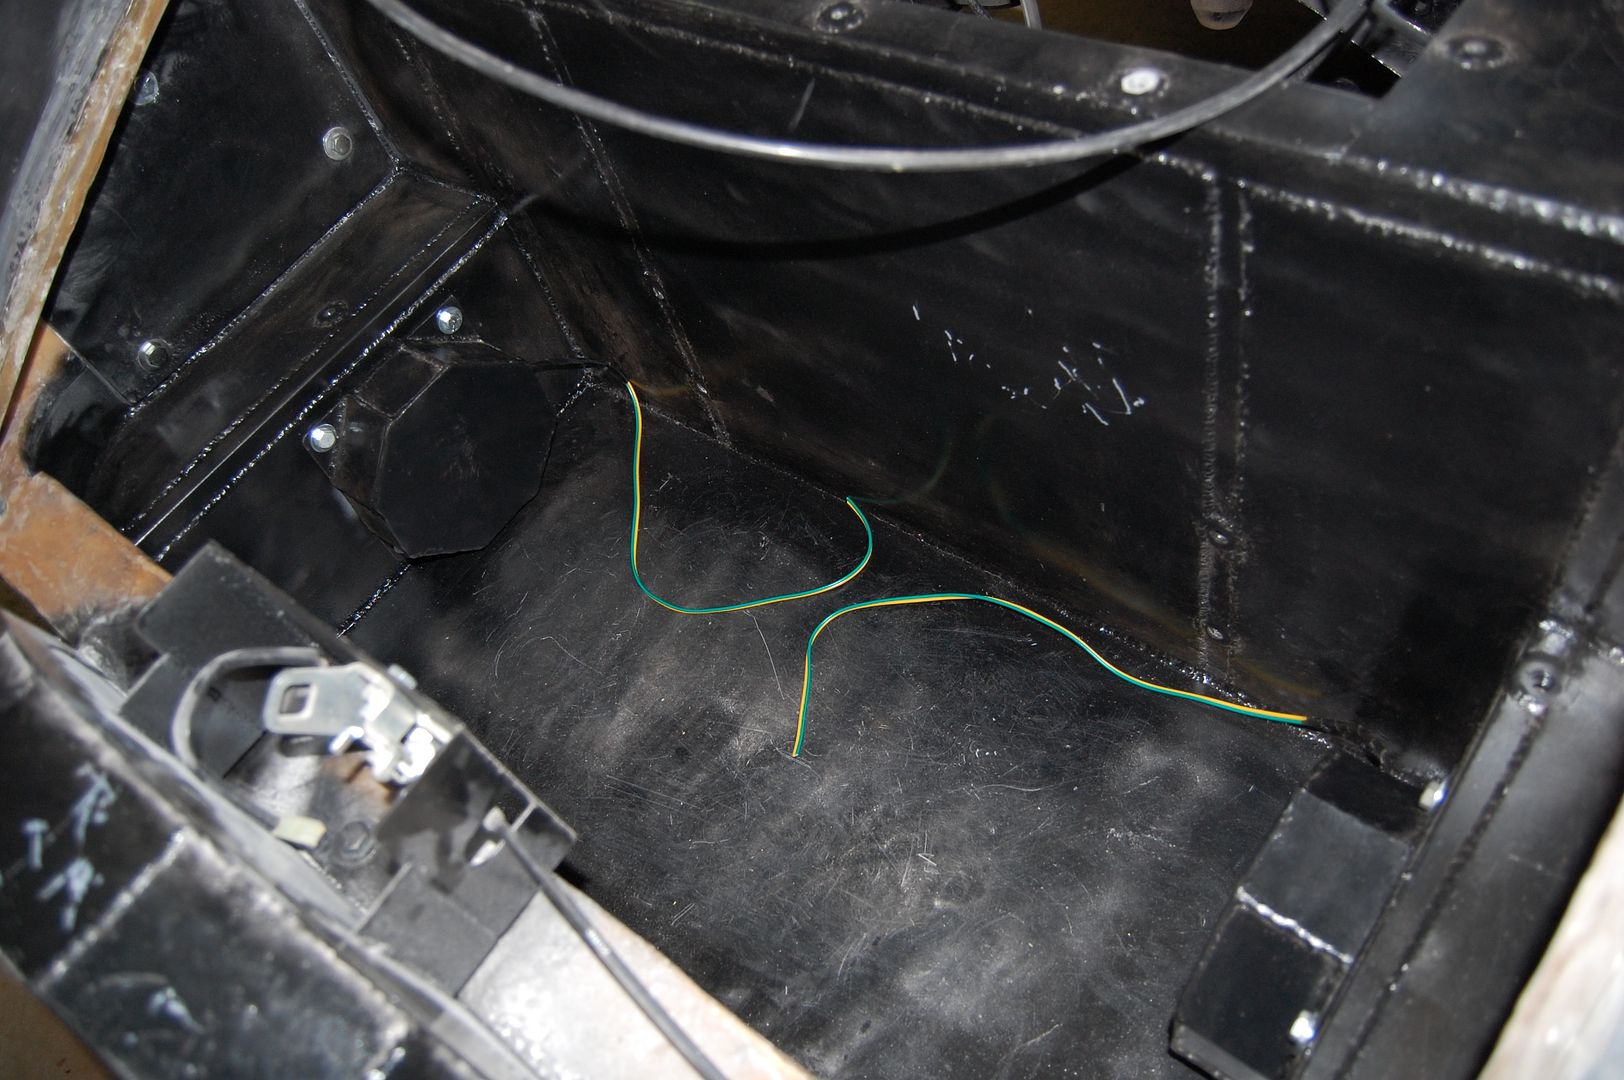
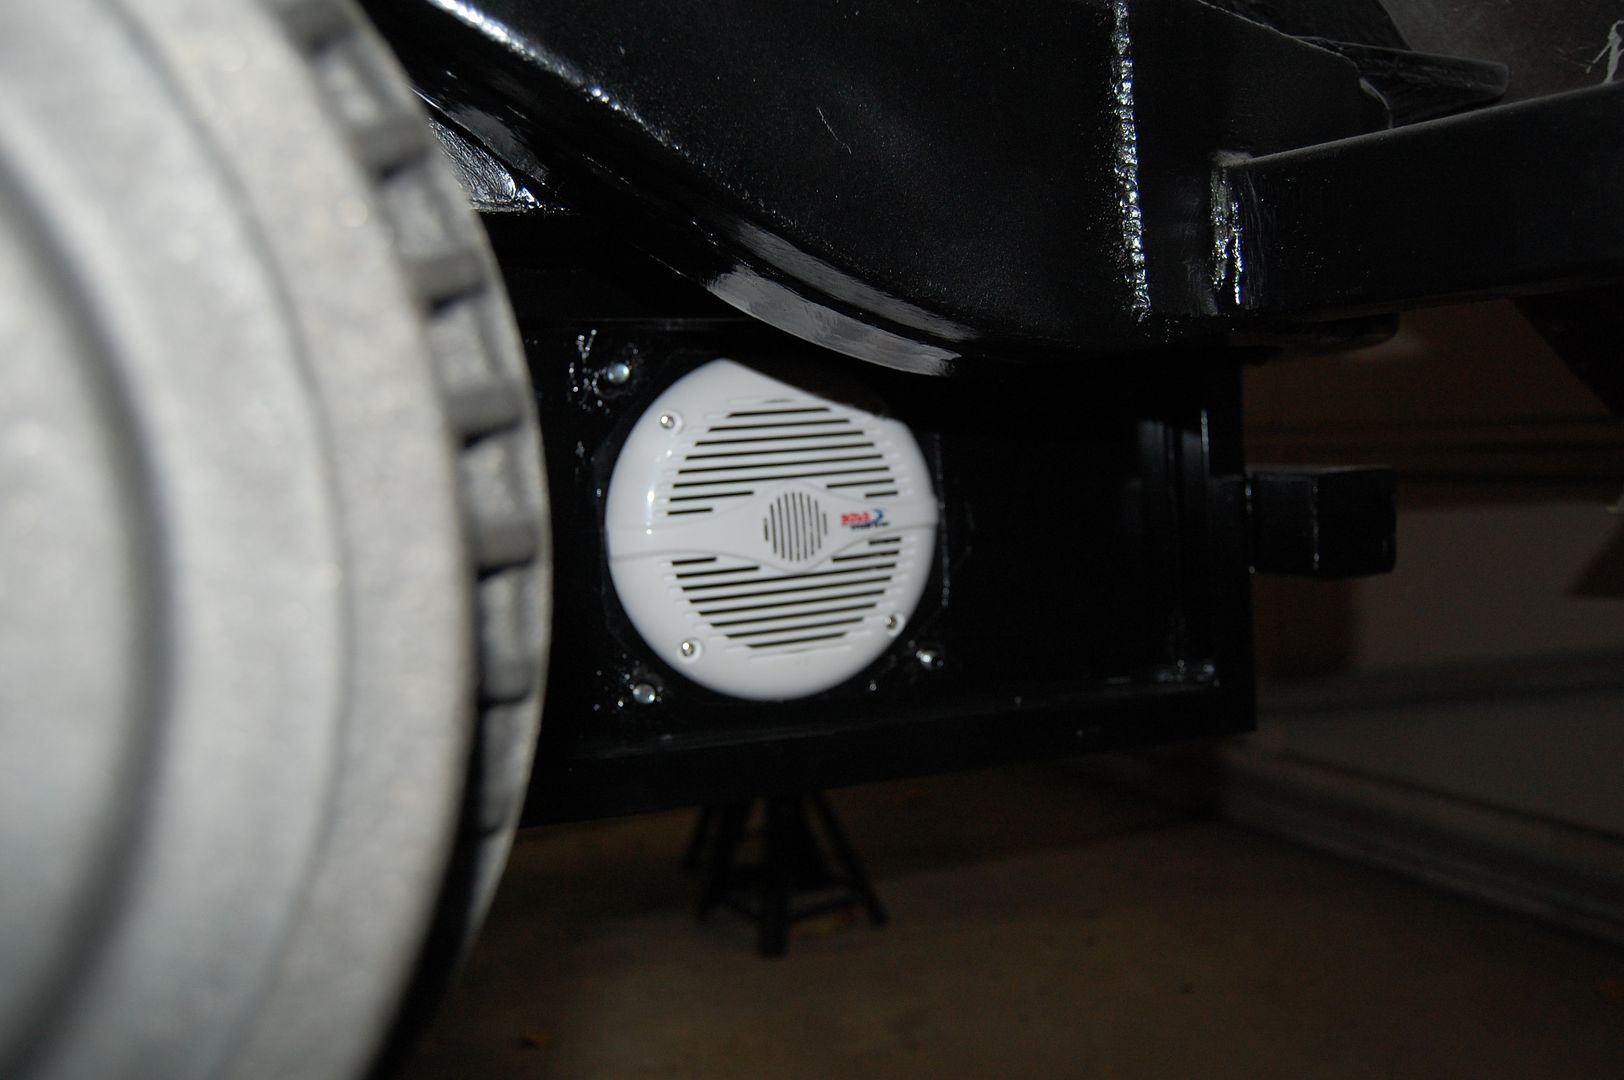
Next was getting them installed into the trunk of the car. The speaker boxes simply bolted to the sides of the trunk and face outward under the car. I also ran some seam sealer around the points where the speaker box met the steel of the trunk. However, as I had outlined in a previous post, they’re really close to the exhaust pipes and will need to be protected from the heat.
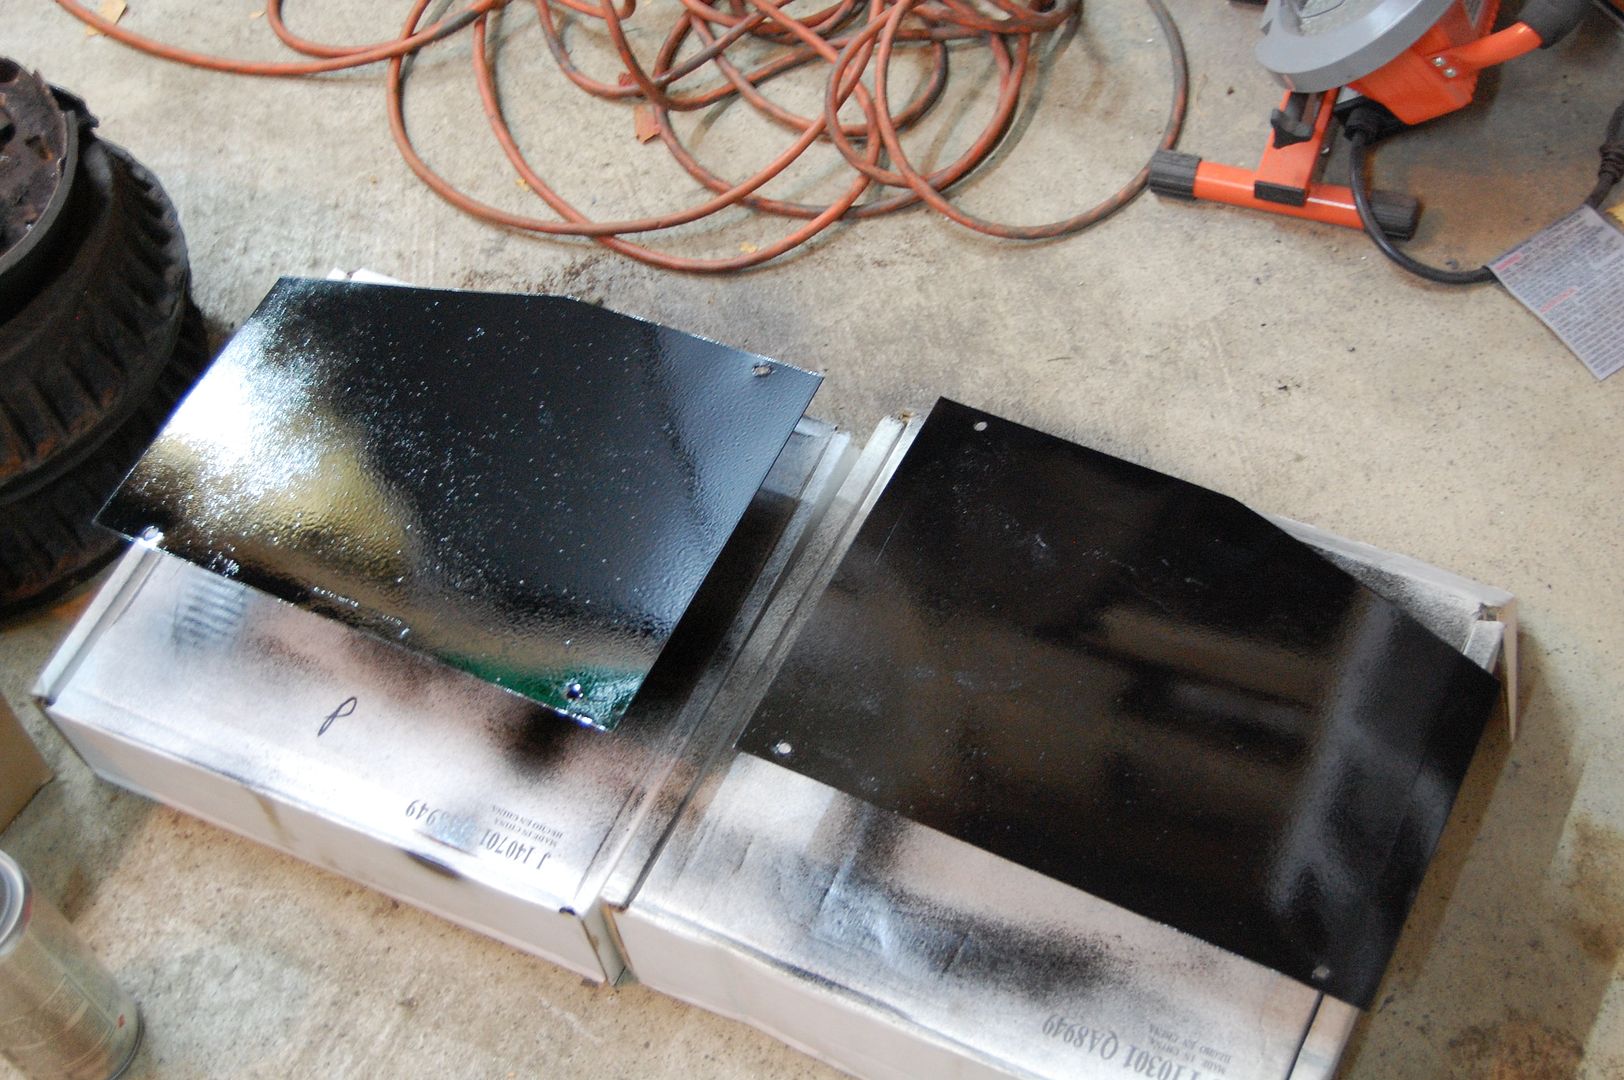
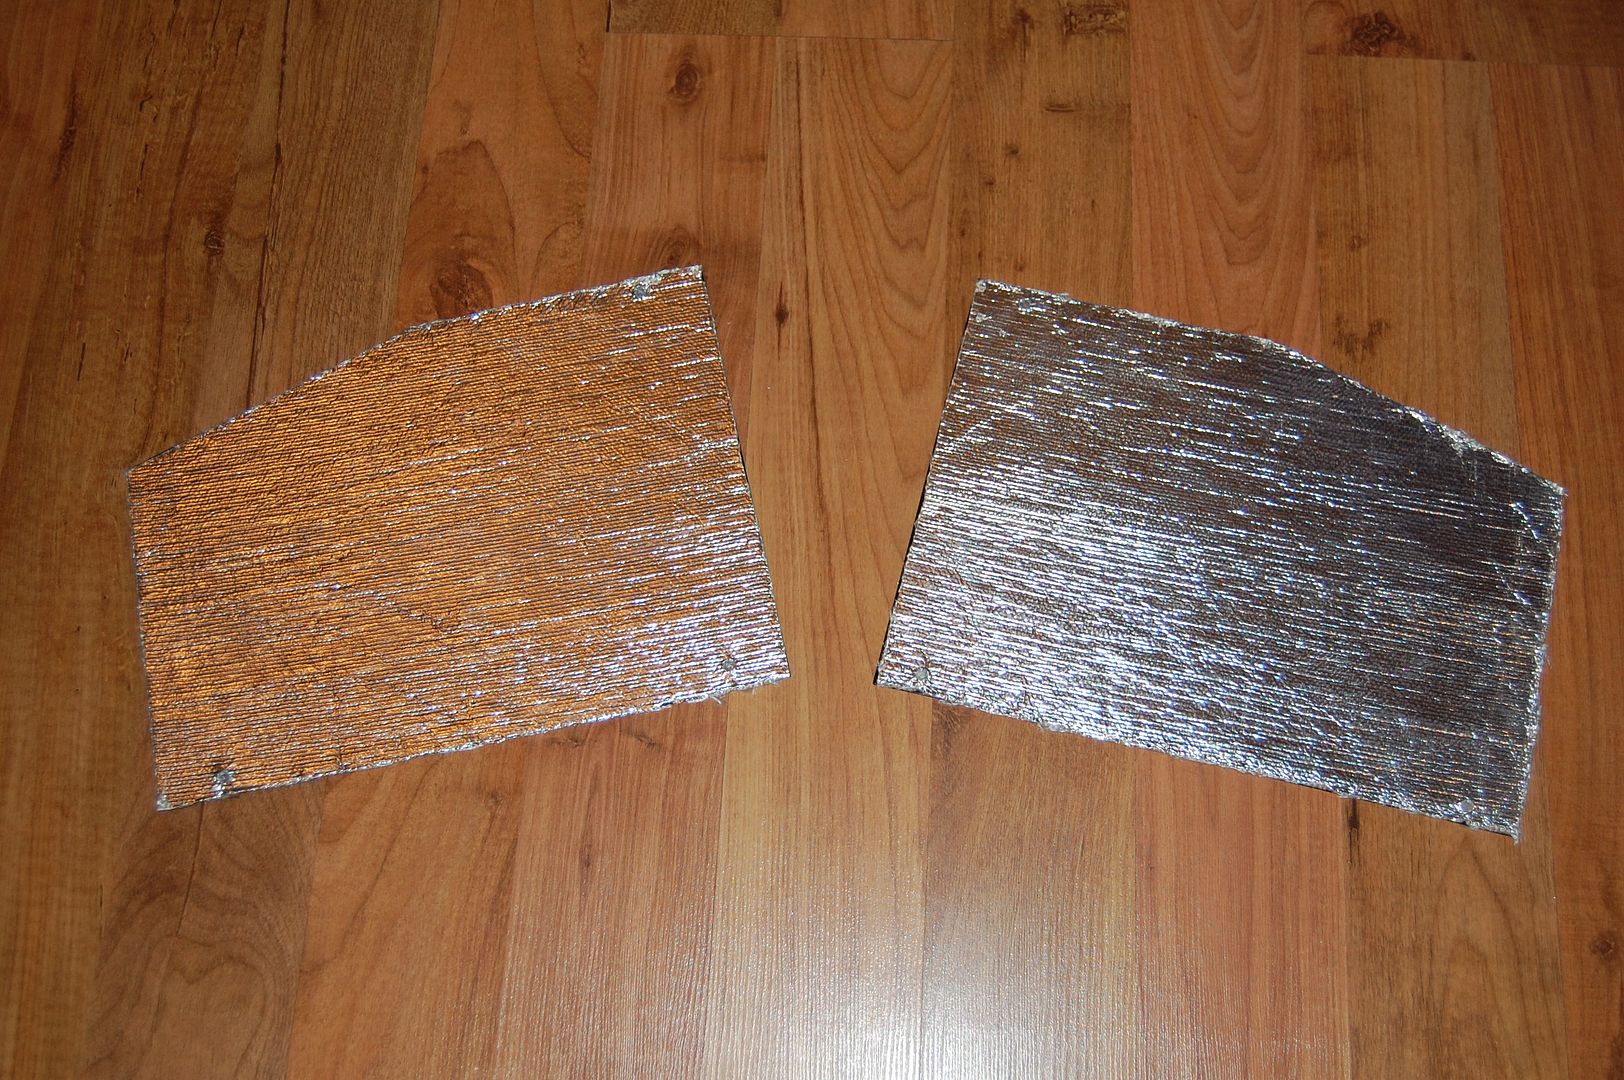
To protect the speakers from the ambient exhaust heat I decided I would make some heat shields out of some 20 gauge steel and some adhesive heat reflective material that I also used on the TMBLER. This was a pretty straight forward process of cutting the steel, drilling/tapping the holes and then giving them a good coat of black paint. I let the paint cure overnight before sticking on the reflective material.
Once everything was ready I secured them in-place along with the exhaust tips and piping to make sure everything fit properly. Now you may ask “Isn’t that going to block the sound?”. Well, yes it will a little, but there are gaps on both sides of the heat shield to let the sound out. I’m looking for these speakers to create an “echo-y” sound under the car so it should sound just the way I want 🙂

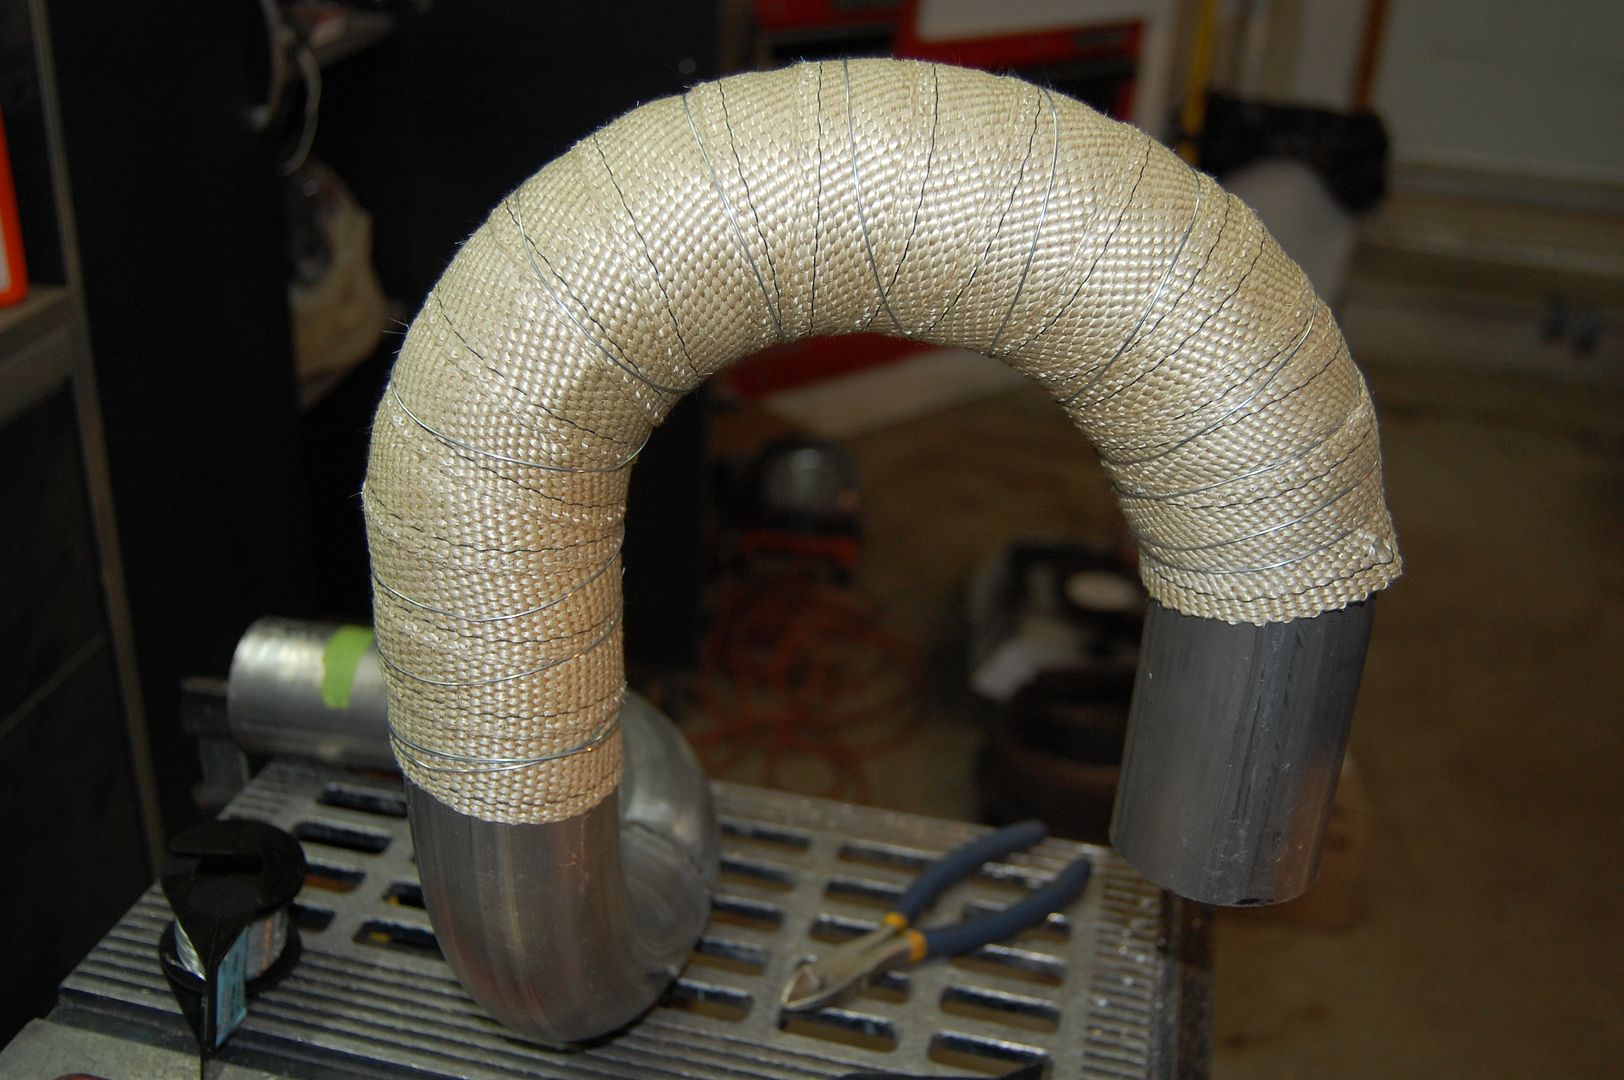
You might also notice in the picture above that there’s some wrap on the exhaust pipe going up over the axle. Since the exhaust runs somewhat close to the air bags I decided to wrap it with some DEI heat wrap. This is cloth wrap that goes around the pipe and then is secured using some wire. The air bag never touches the exhaust and is about 2″ away from the exhaust pipe, but I figured better safe than sorry.
I also re-installed the mufflers and fit all the rear exhaust pipes together. However I didn’t tighten the clamps just yet. I want to make sure that I have all the exhaust hung before tightening and making final adjustments to the clamps.
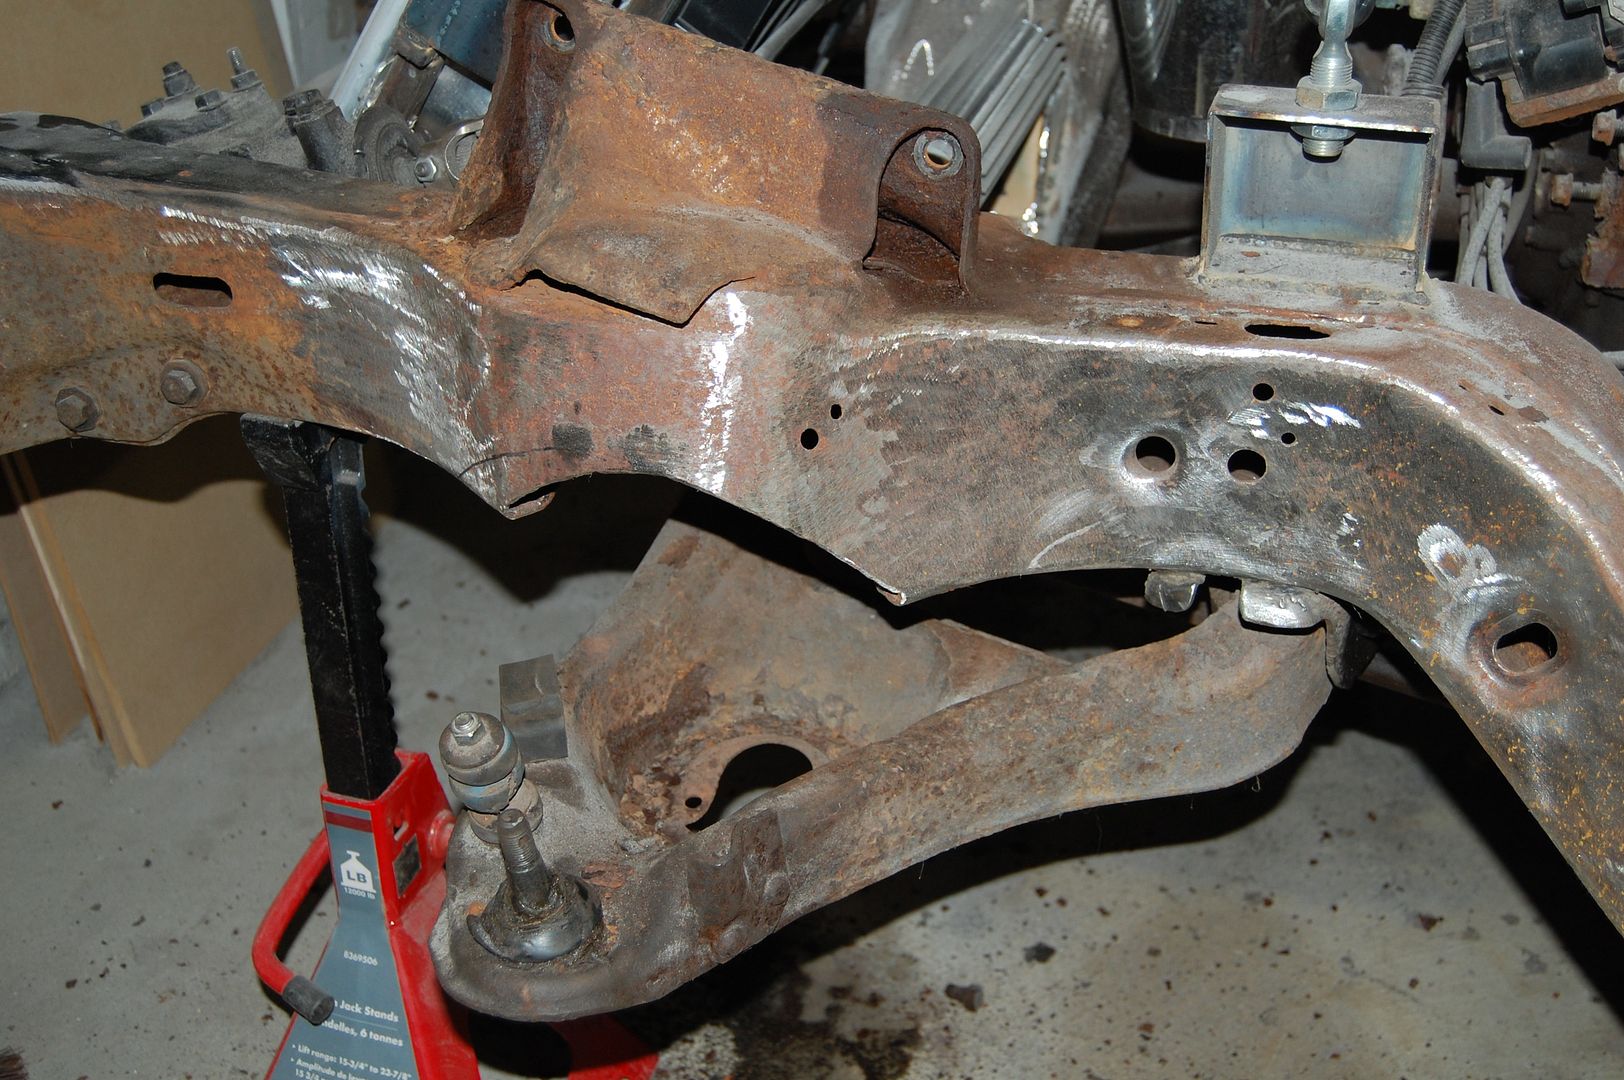
That completed the rear assembly. I’ll come back to the passenger side drum and e-brake cable as soon as I have an actual cable that fits. So it was time to move onto the front disassembly work which started with pulling out all of the steering shafts/u-joints and removing the front spindles and suspension.

The front suspension area is still a nasty mess that I’ve been leaving until I got to this point. I have replacement upper and lower A-arms so I can pitch the old rusty ones in the junk. I do like working on the front suspension because I get to use my favorite tool…. The pickle fork. I just always smile when I say that word. So when I used it to pop open all of the front ball joints, every time a joint popped open I would yell out “pickle fork!”. Yeah.. I know I’m a geek 🙂
Those top A-arms bolts were now just rusted pathetic rods without any threading left on them which means I needed to cut the nut off of the ends and hammer them out. I did keep track of the shims that were used on the front and rear bolts to ensure that I can shim it back the way it was when I reassemble the suspension.
I might pick up a little gravity feed sand blaster gun to try and get in behind everything. Just cover everything up and blast away. Not sure just how messy the clean-up would be after the fact, but it might take less time to clean up the mess than to fiddle around trying to remove the rust inside some other way.
I managed to get the driver’s side top A-arm off but didn’t quite get as far to remove it from the passenger side. I’ll likely need to remove the radiator supports so that I can get the cutting wheel onto the passenger A-arm’s nasty rusty bolts. I also soaked the lower arm nuts and bolts with some WD40 (which I’ll continue to do over the weekend) so that hopefully on Monday I can actually get them to turn.
I’m just happy to be starting work on the front of the car, and that my heater has burned off its new heater smell 🙂
