

Over the last few days there’s been a bunch of trips back and forth to the parts store. For some reason the rear axle in this car is slightly different than other cars of the same make, model and year. Go figure!
So after a bunch of do-overs the rear axle is now ready to rock and roll. There’s a new differential plate, new gasket and new gear fluid. As I spun the pinion all the teeth looked to be in good shape and there were no wobbly bits 🙂
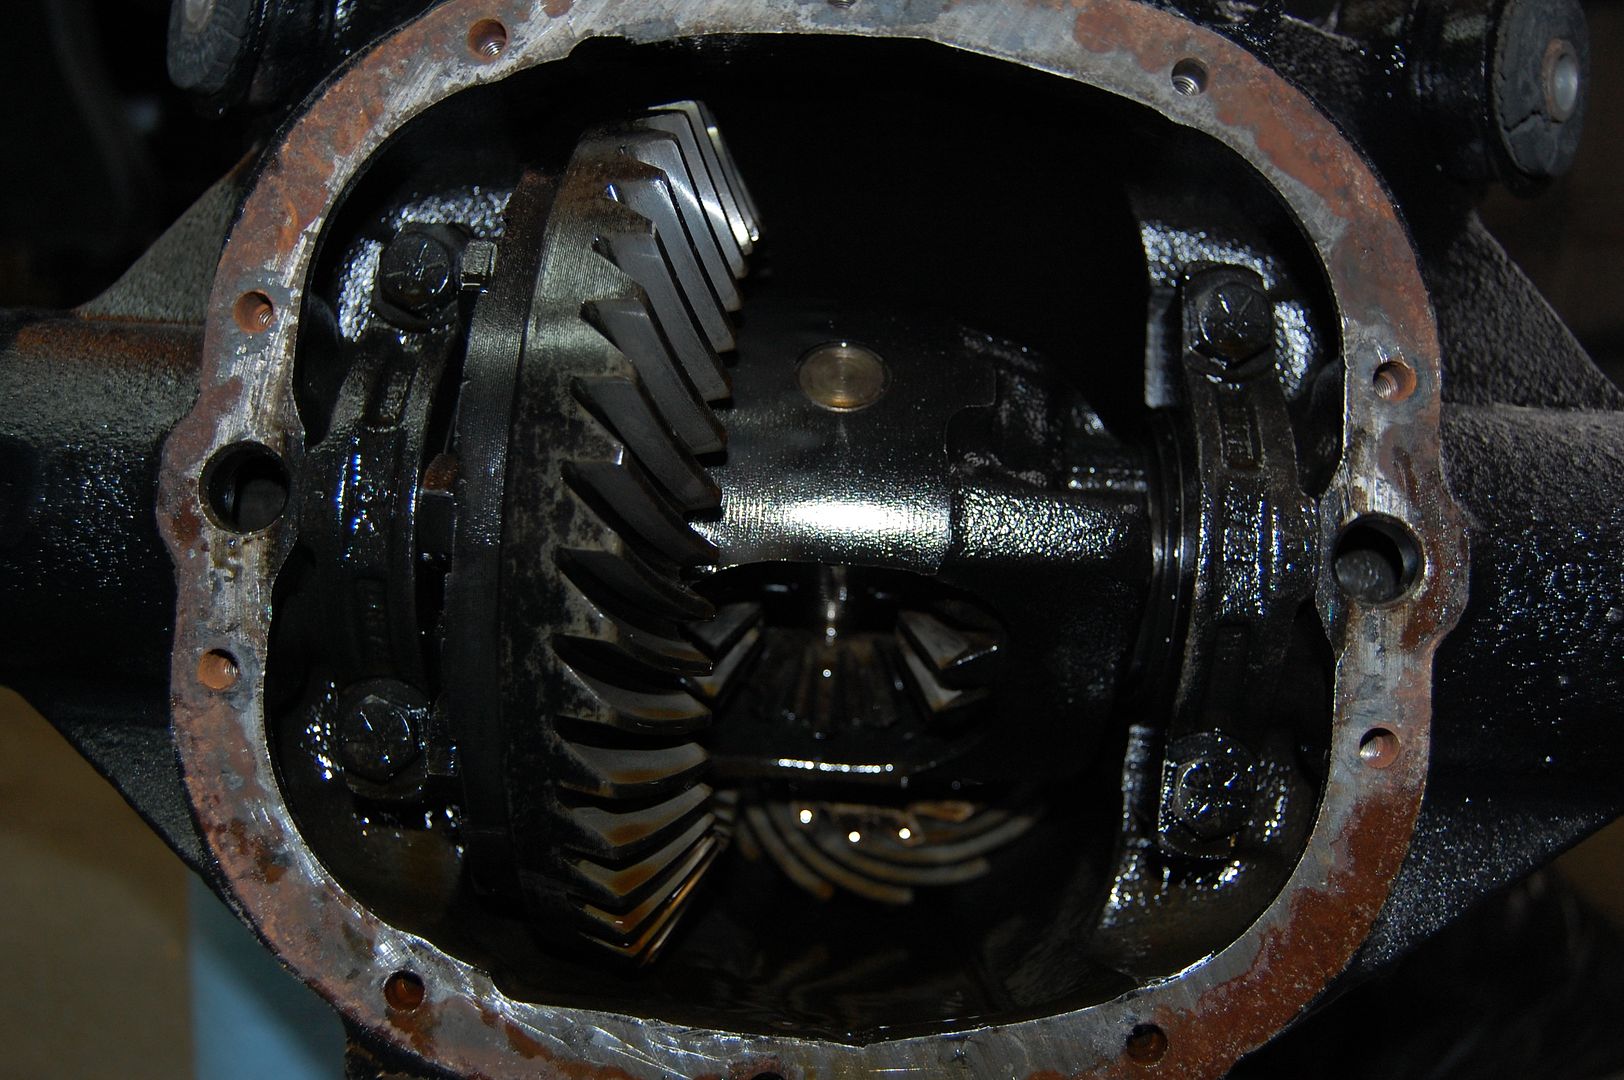
Of course once I put the rear diff plate & gasket back on and tightened all the bolts so that I could pour in the new gear oil, I find that the fill plug head has been stripped. Lovely. I even tried welding a bolt to it in order to get it to turn, but I didn’t have any luck. But then my luck turned. On the opposite side of the diff there was an old temperature sensor that was at the exact same level as the fill plug. So I popped that bad boy out of there.
The idea when filling your rear differential is to fill it with fluid up until it reaches the bottom of the fill plug opening. The fact that the temperature sensor was at the exact same height gave me another way to fill-er-up
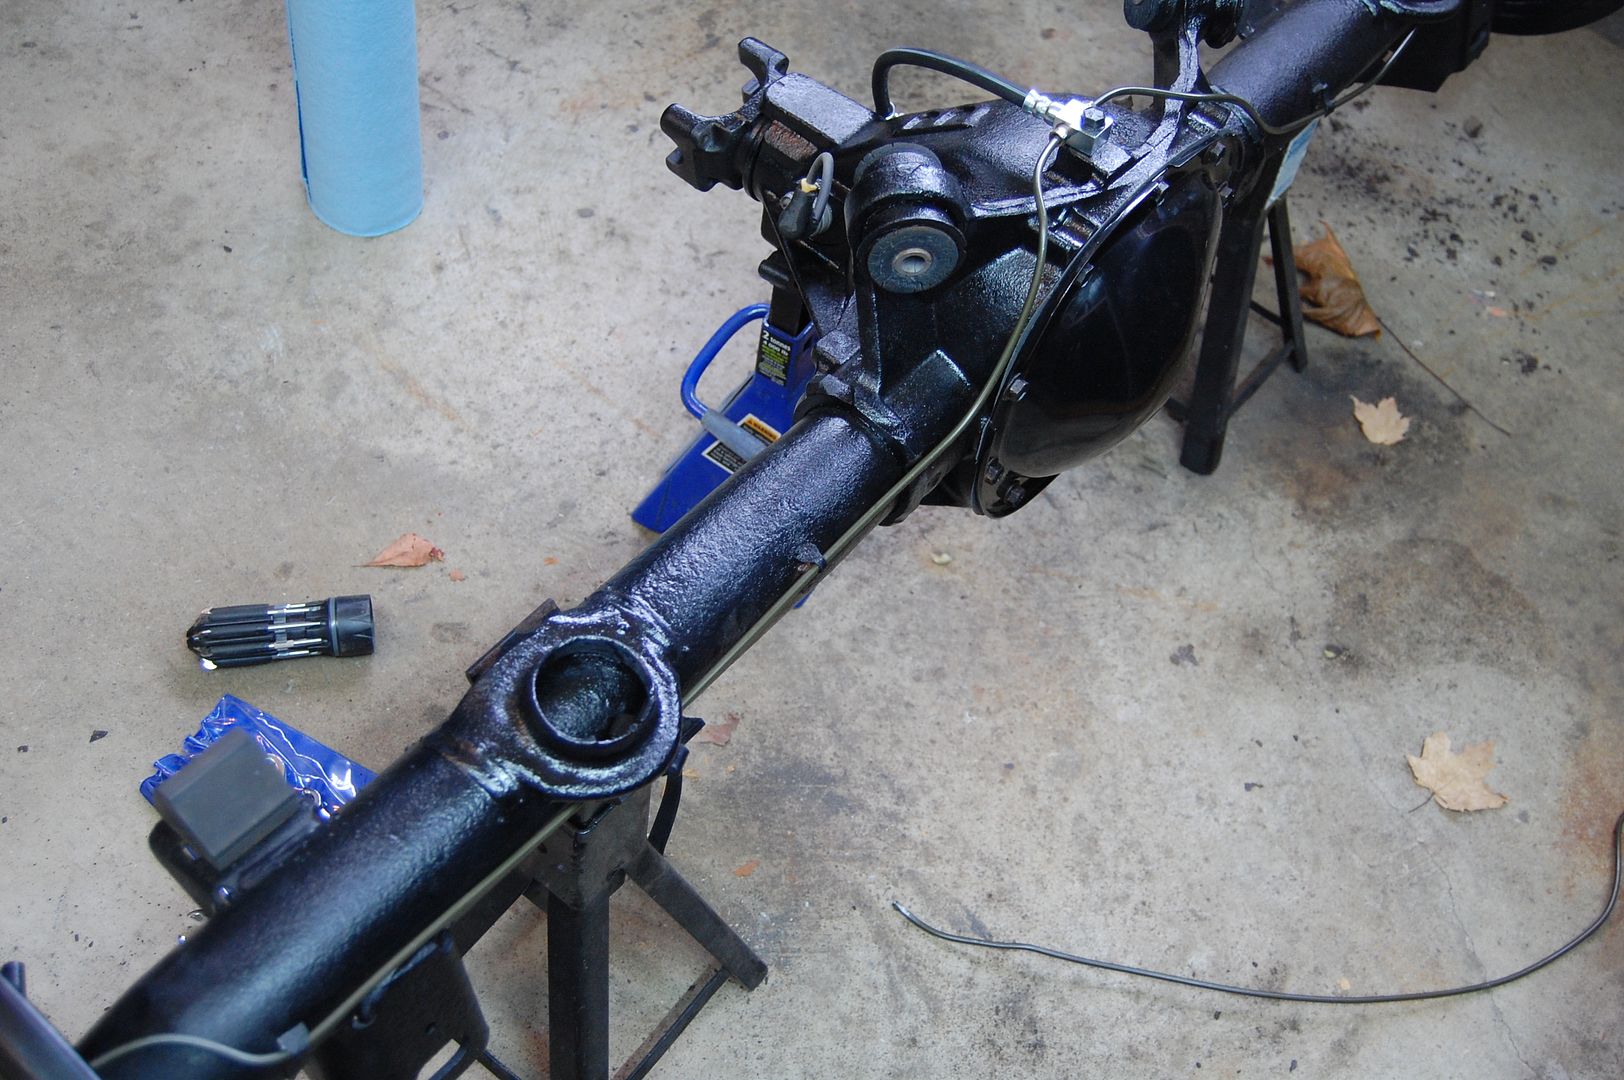
After the differential was all taken care of my attention turned to the rear brake lines. The axle has a flex line that goes from the chassis to the top of the differential which then acts as a “T” split to the rear wheels. I cut, bent and flared some new green coated brake lines and tightened them in-place.
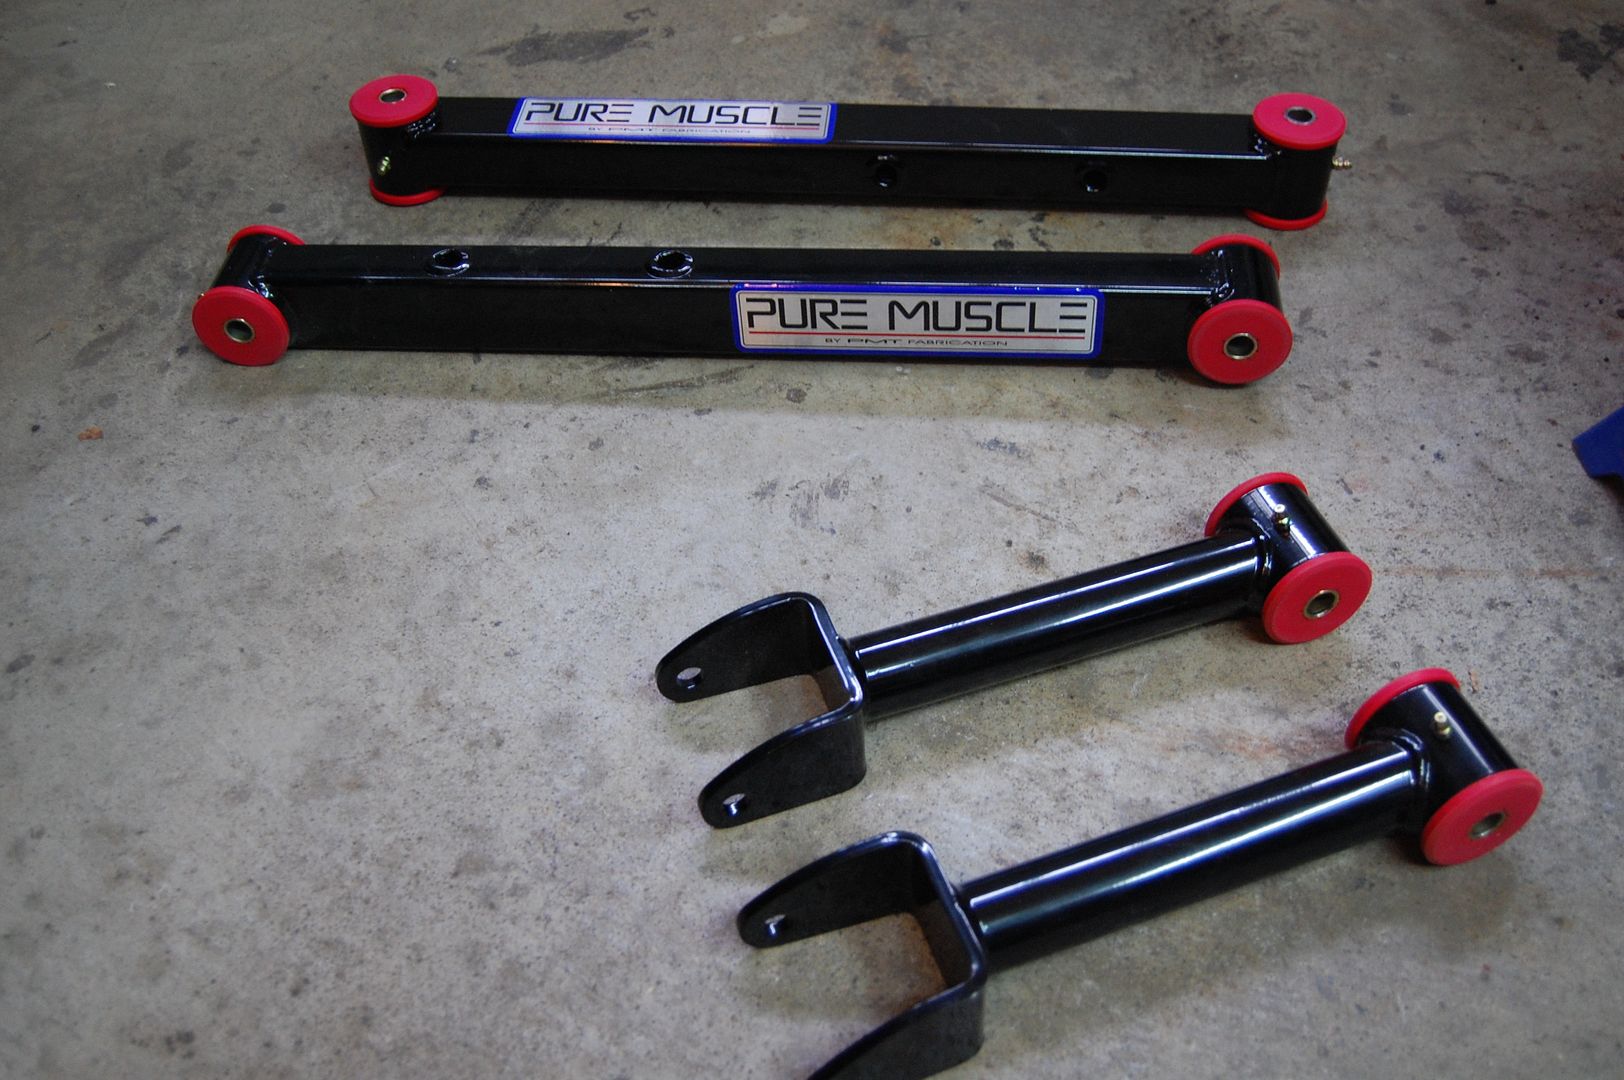
Then it was time to move onto the trailing arms. I’ve had these bad boys sitting around for what seems like forever! They’re really nice solid arms complete with urethane bushings and grease fittings on each end to help reduce the common urethane “squeak”.
The axle was now ready to be lifted back up into the rear of the car. All of the upper and lower trailing arms were torqued down really well to make sure they weren’t going anywhere. They came with metal locking nuts which was nice, but I also marked the nut/bolt with a paint pen so that I could tell later down the line if they were backing out.
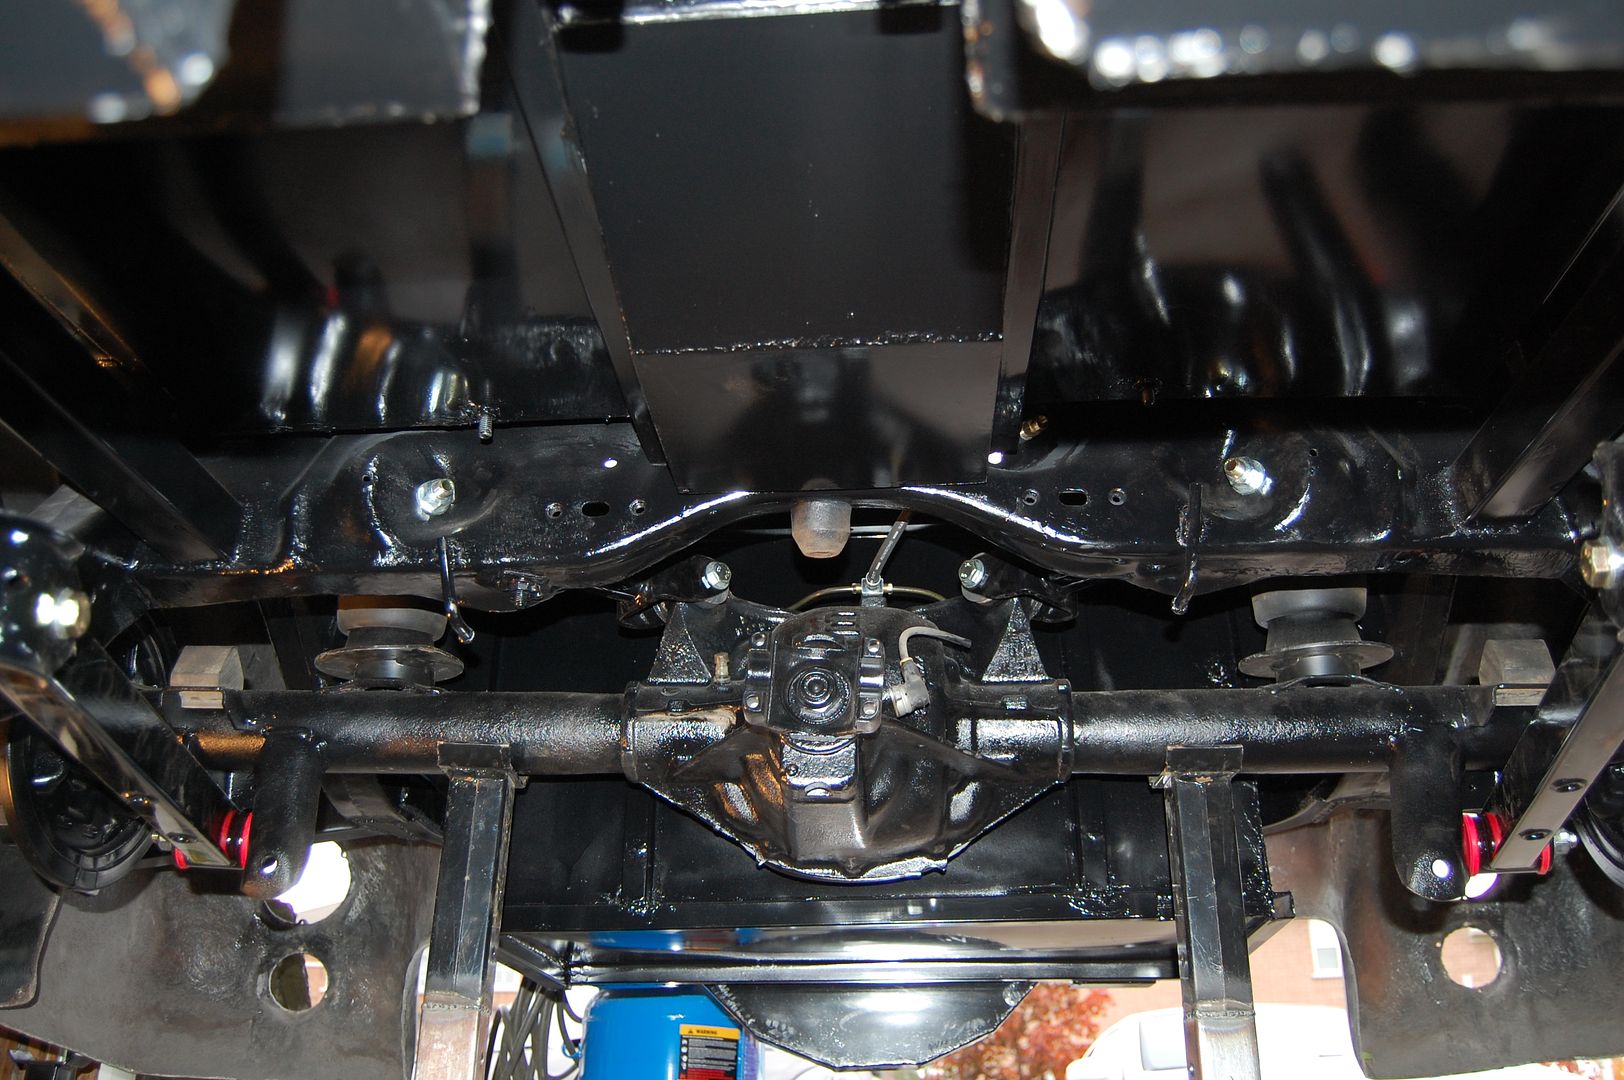
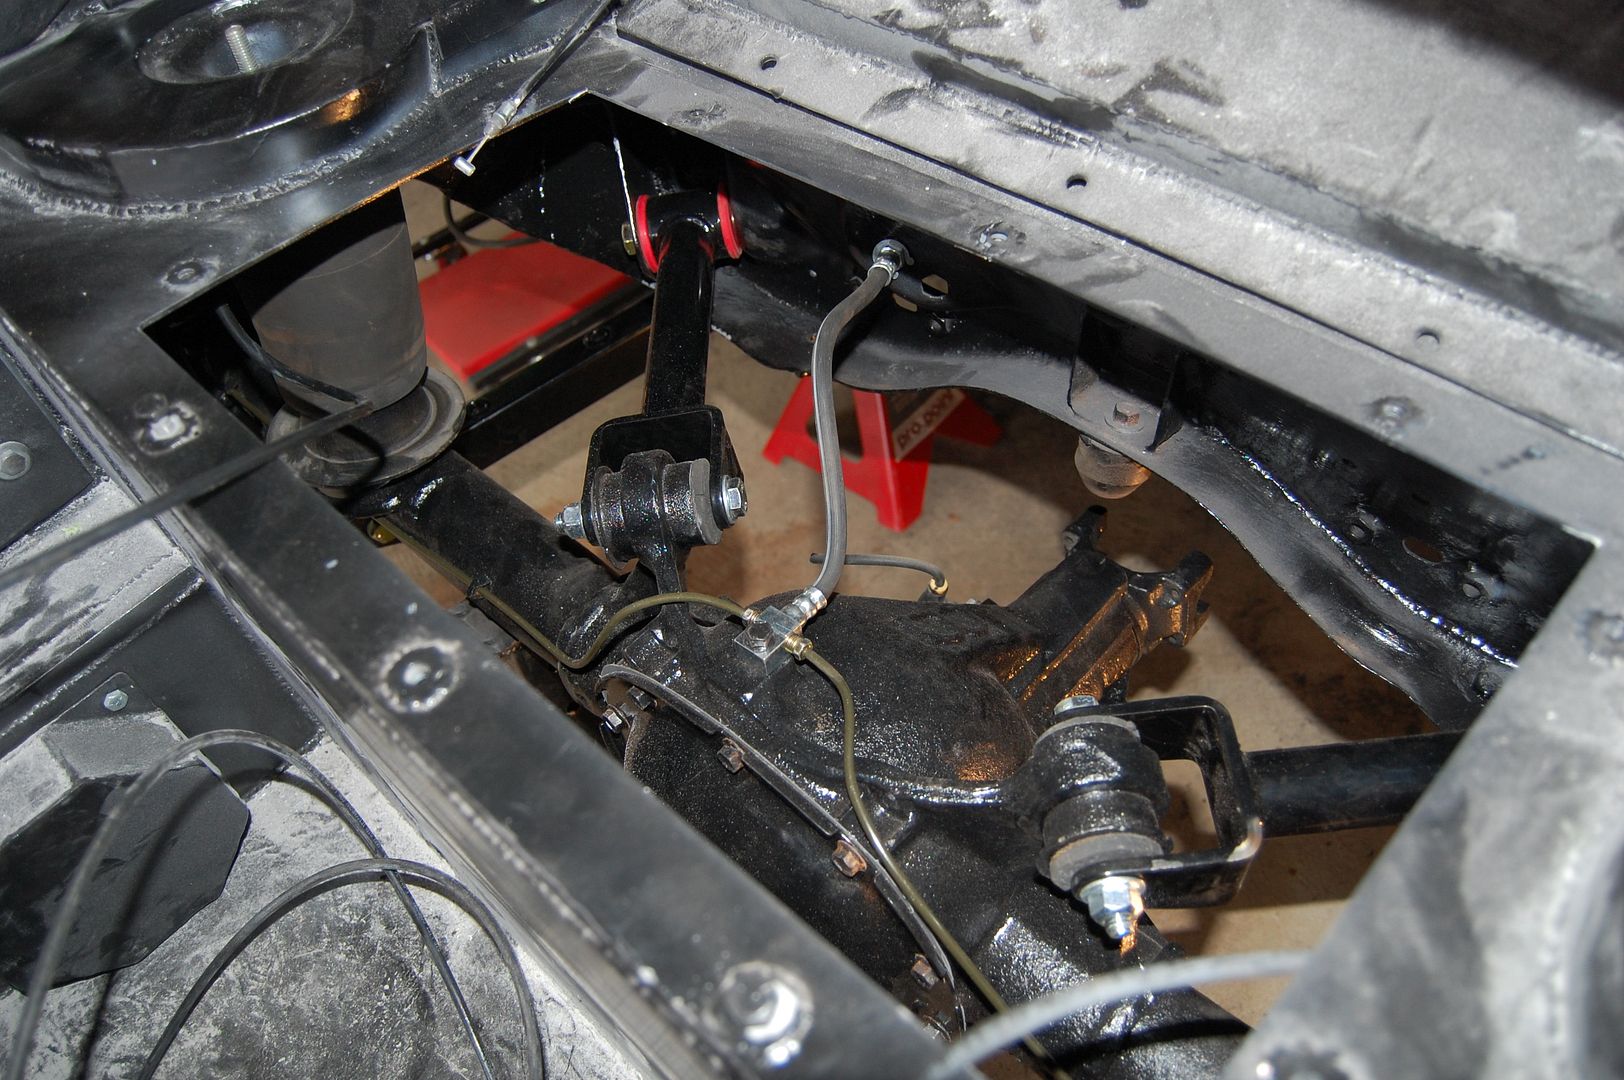
The air springs were put back into place but I needed some longer threaded rod for the tops in order to secure them. The added steel on top of the old spring perches made the threaded rod just a little too short. So at the end of the day I picked up some longer rod that I could cut to length and also some nuts/bolts/washers for the upper mounts of the rear shocks.
After taking a better look at the hardware for the lower shock mounts it seems like I’ll need to drill out the shock mount bolt holes a little bit on the axle. The bolts are just slightly too large for the existing hole.
Today I should be able to finish up securing the shocks and the top connections for the air springs. That will have the rear suspension work completed. Next up will be the disassembly of the inner drum brakes and replacing all of the springs, shoes, adjuster screws and then popping on the new drums and connecting the e-brake cables.
