

Yesterday I made pretty good progress on the canopy vents. These are the vents that are recessed into the body shell right between the canopy and the hood of the car.
I only worked until about 3pm and then went to pick up my daughter from school and prep the WRX for a small local Classic Car Show that was having an import night. There were lots of great cars and old school muscle!
Tackling the canopy vents means modifying both the body shell and also building the “mesh sandwich” of the vents themselves. First up was tracing out the vent location on the body shell and finding a reference point so that the vents were in the same location on both sides.
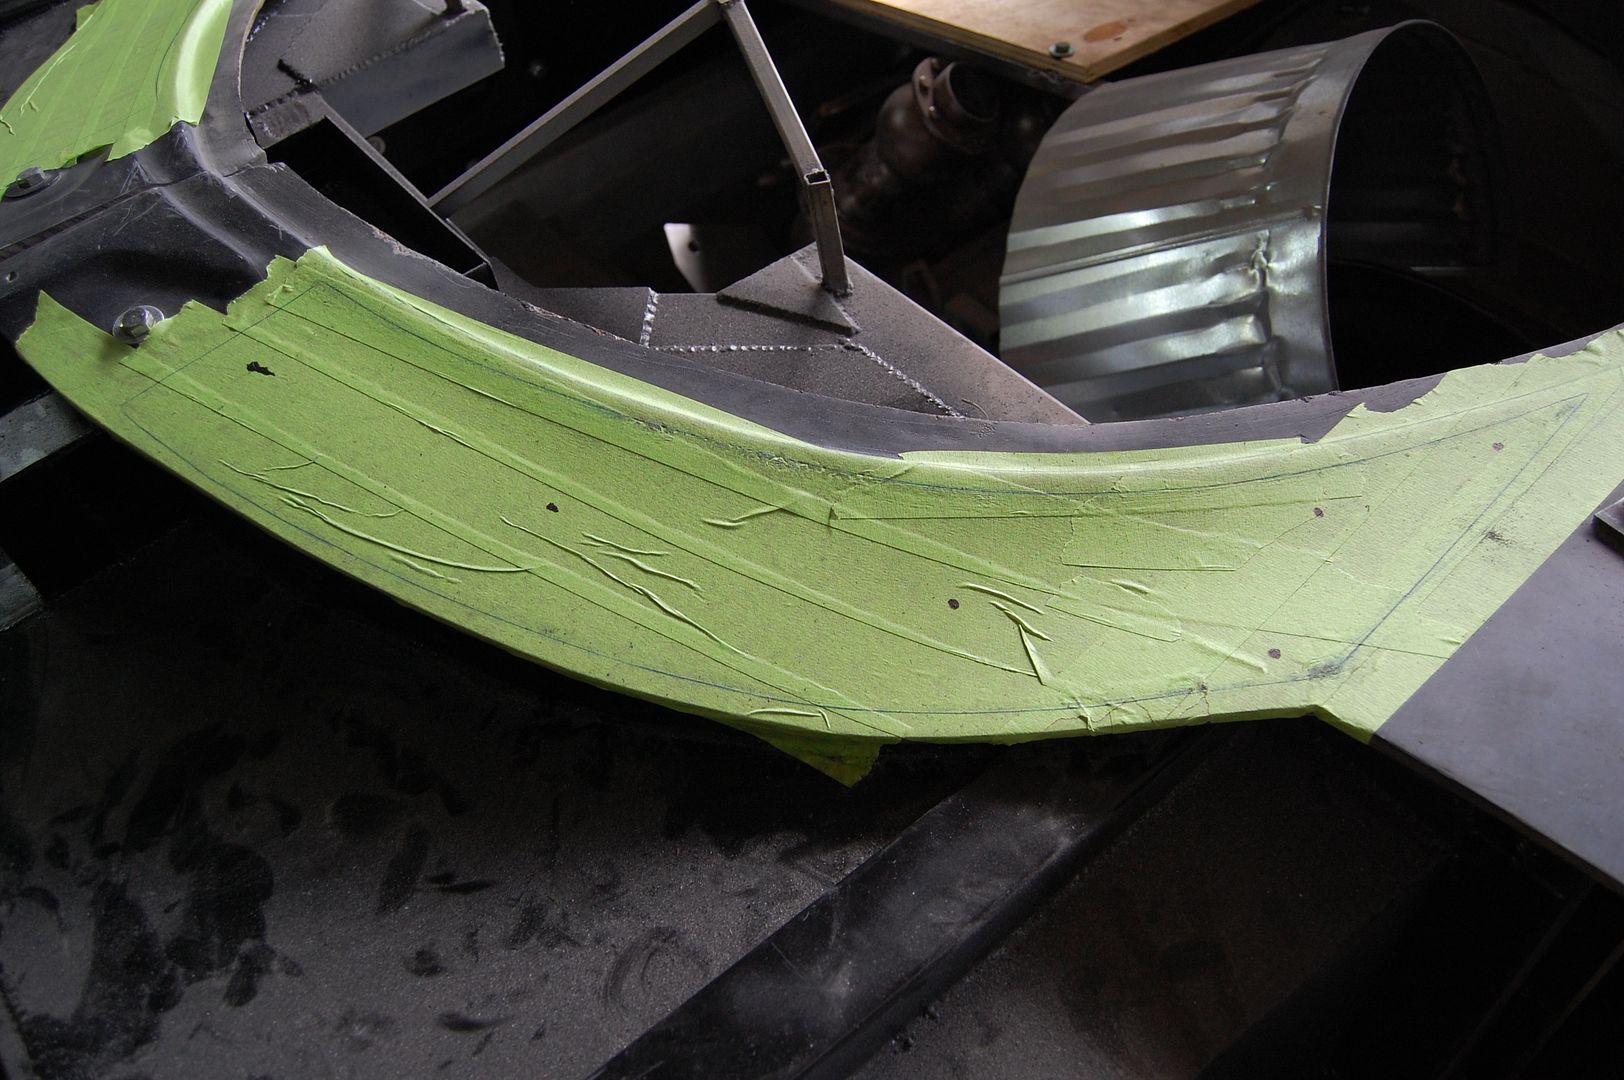
I decided to use the point where the curvature of the hood goes back out to the side as the reference point to line up with the straight edge of the vent. You can see this area in the far right of the picture above.
You’ll also notice six dots on the inside of the traced vent area. Before cutting anything out I needed to see where the main anchor points needed to be in order to hold the vent in-place. I decided on these points by taking the mesh of the vent and starting to bend it as much as I could to fit the curvature/twist of the vent area. This showed me the spots that were going to try and pop back up and needed to be anchored.
The tricky part was finding spots that would help anchor the vent but would also clear parts of the chassis so that I had clearance for a wrench.
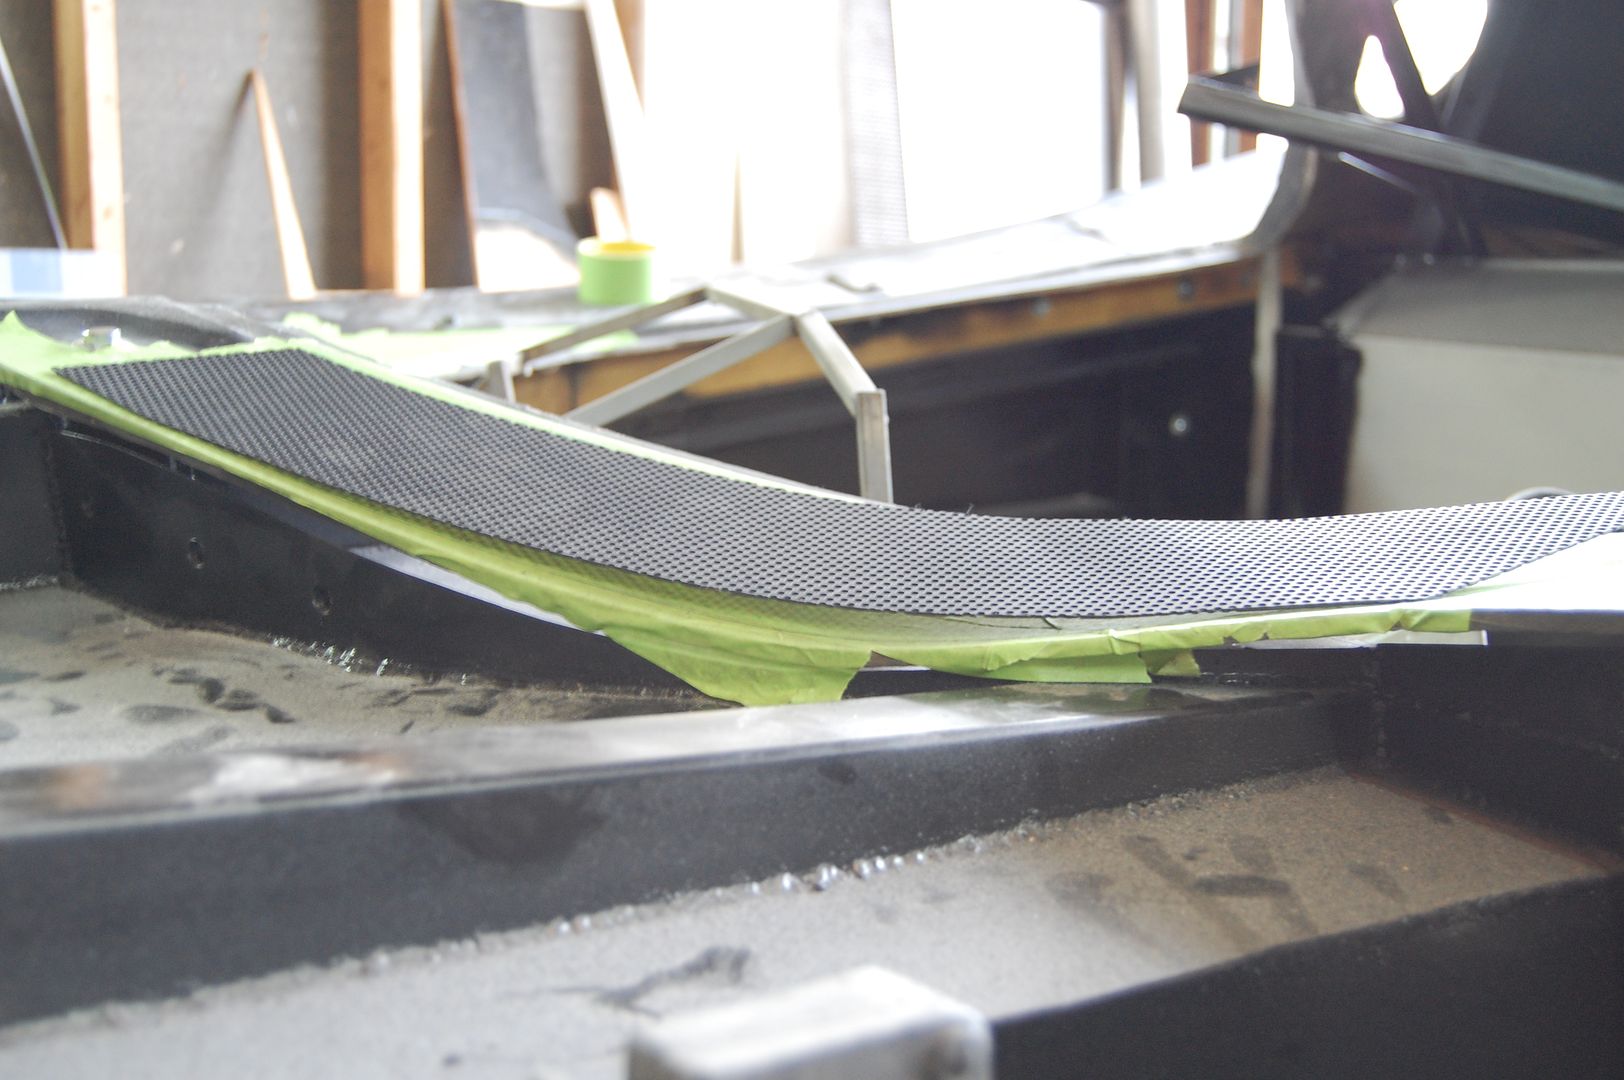
Once I had the mesh bent and the anchor points determined I was able to cut the fiberglass vent area out of the body shell. I’ll eventually be reusing this piece as to be the bottom side of the recessed vent area.
Now I needed a backing material for the vents which could be used to weld on some studs as my anchor points. I chose to use the same 22 gauge steel as I used for the trunk vents. This steel was thick enough to weld on some studs, but thin enough to flex and move in any direction that I needed.
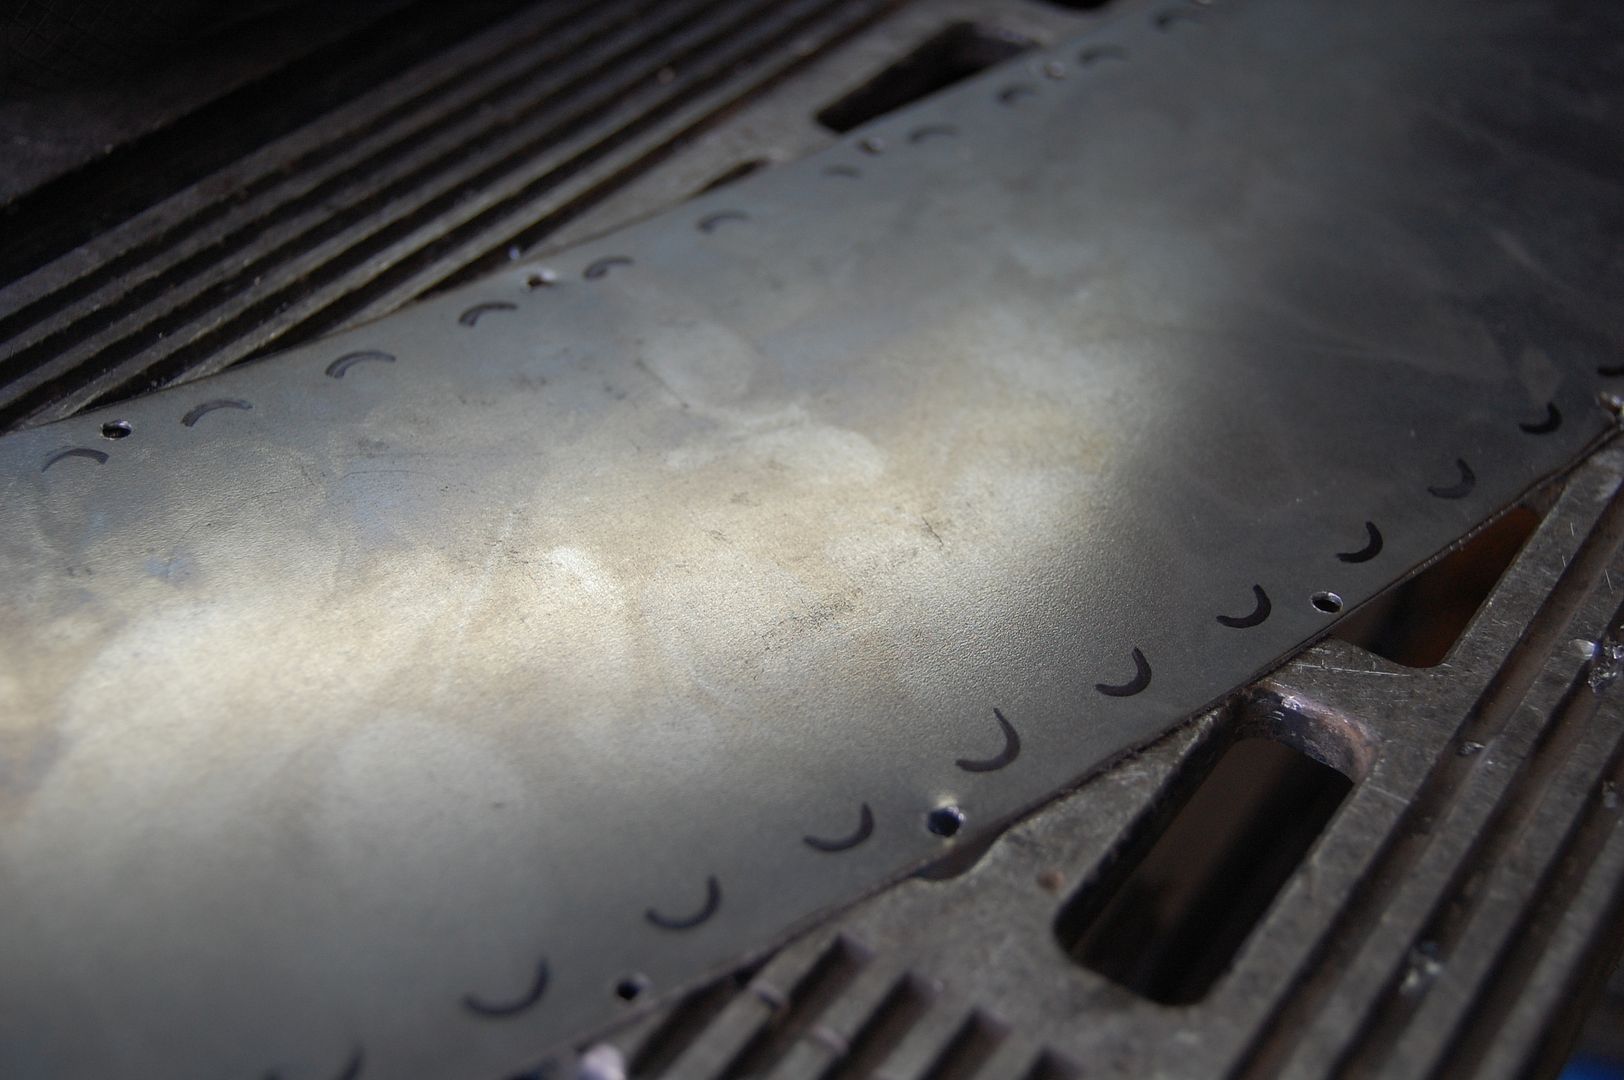
After tracing and cutting out the backing steel I marked where each of the vent slots were and then drilled some holes that would be hidden to later use as spot welding points. These holes will allow me to weld through to the mesh above it without the welds being seen since they’ll be covered by the vent grills.
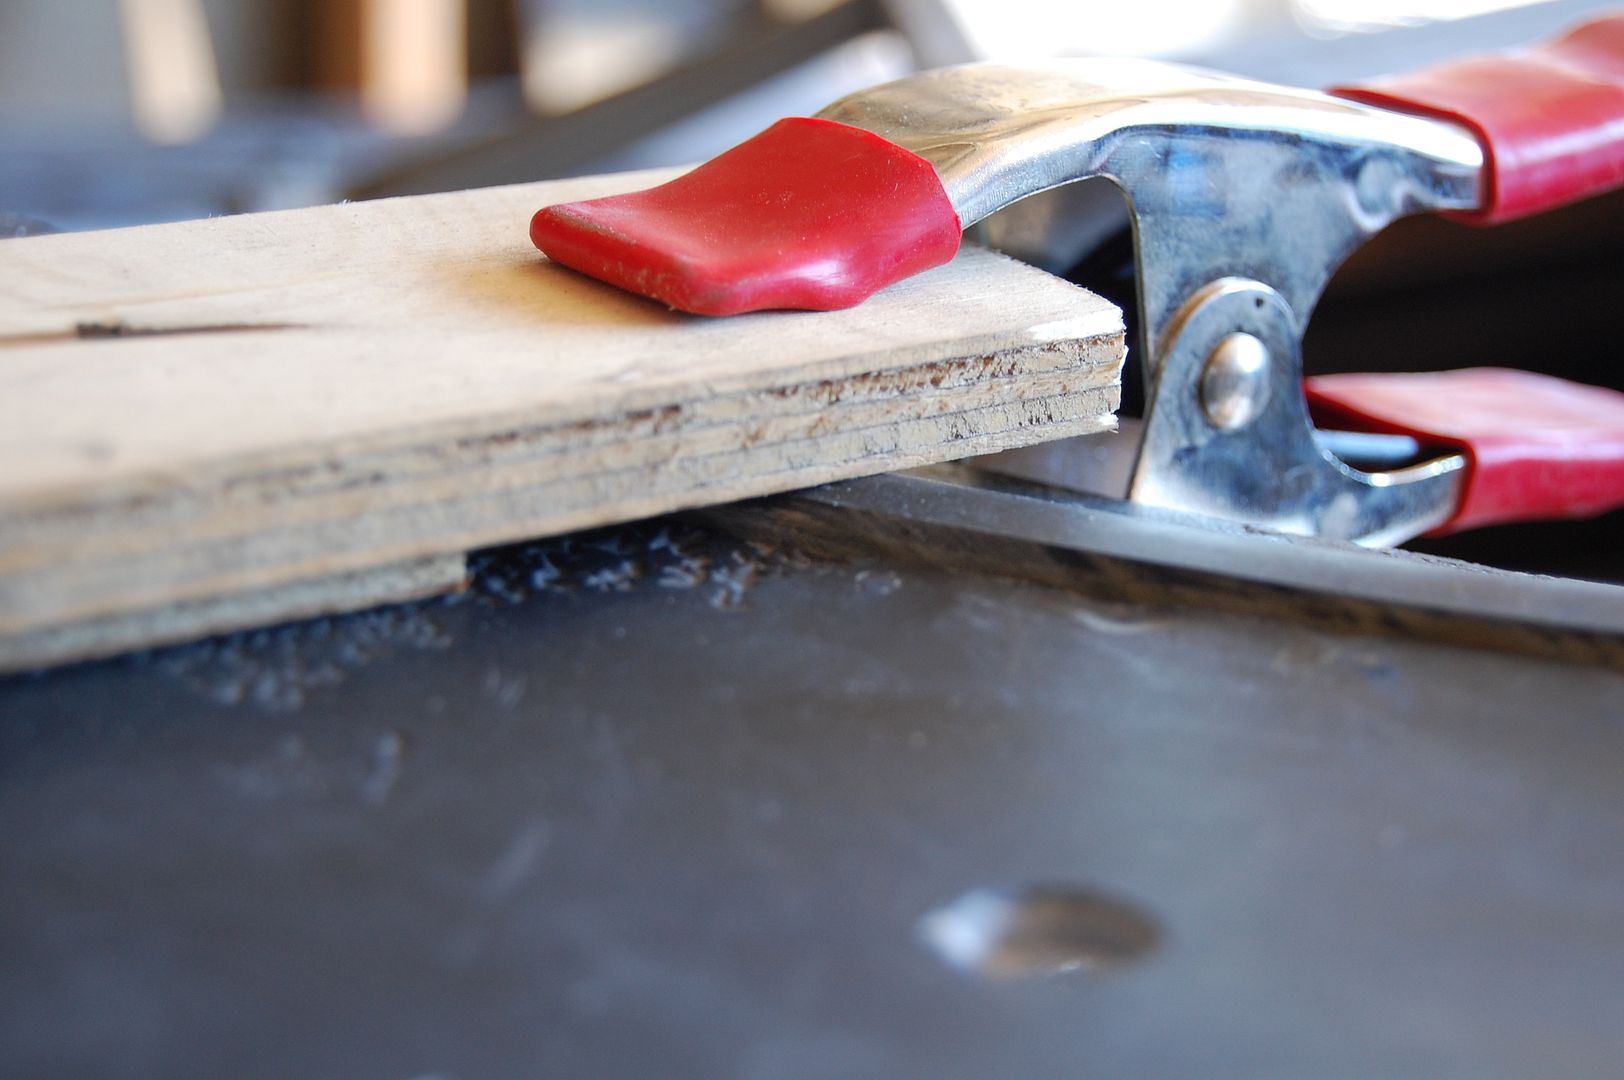
Now I needed to mark the locations to weld on some studs for the anchor points. First I drilled out the anchor holes with a 3/8″ bit and then used some clamps to hold the backing plate so that it followed all of the contours of the fiberglass. The cool thing is that the fiberglass was really thick so it held its shape nicely!
I was able to mark the locations of the studs through the holes, cut the heads off of some bolts to be used as studs, and then welded them onto the backing material.
Once the welds had cooled, I test fit the plate and made sure that I didn’t get any slag in the threads of the studs.
I then gave the face of the backing plate a couple coats of primer since it will be sandwiched under the mesh and grill plate. This was right before lunch so I was able to let the primer dry while I was having some lunch.
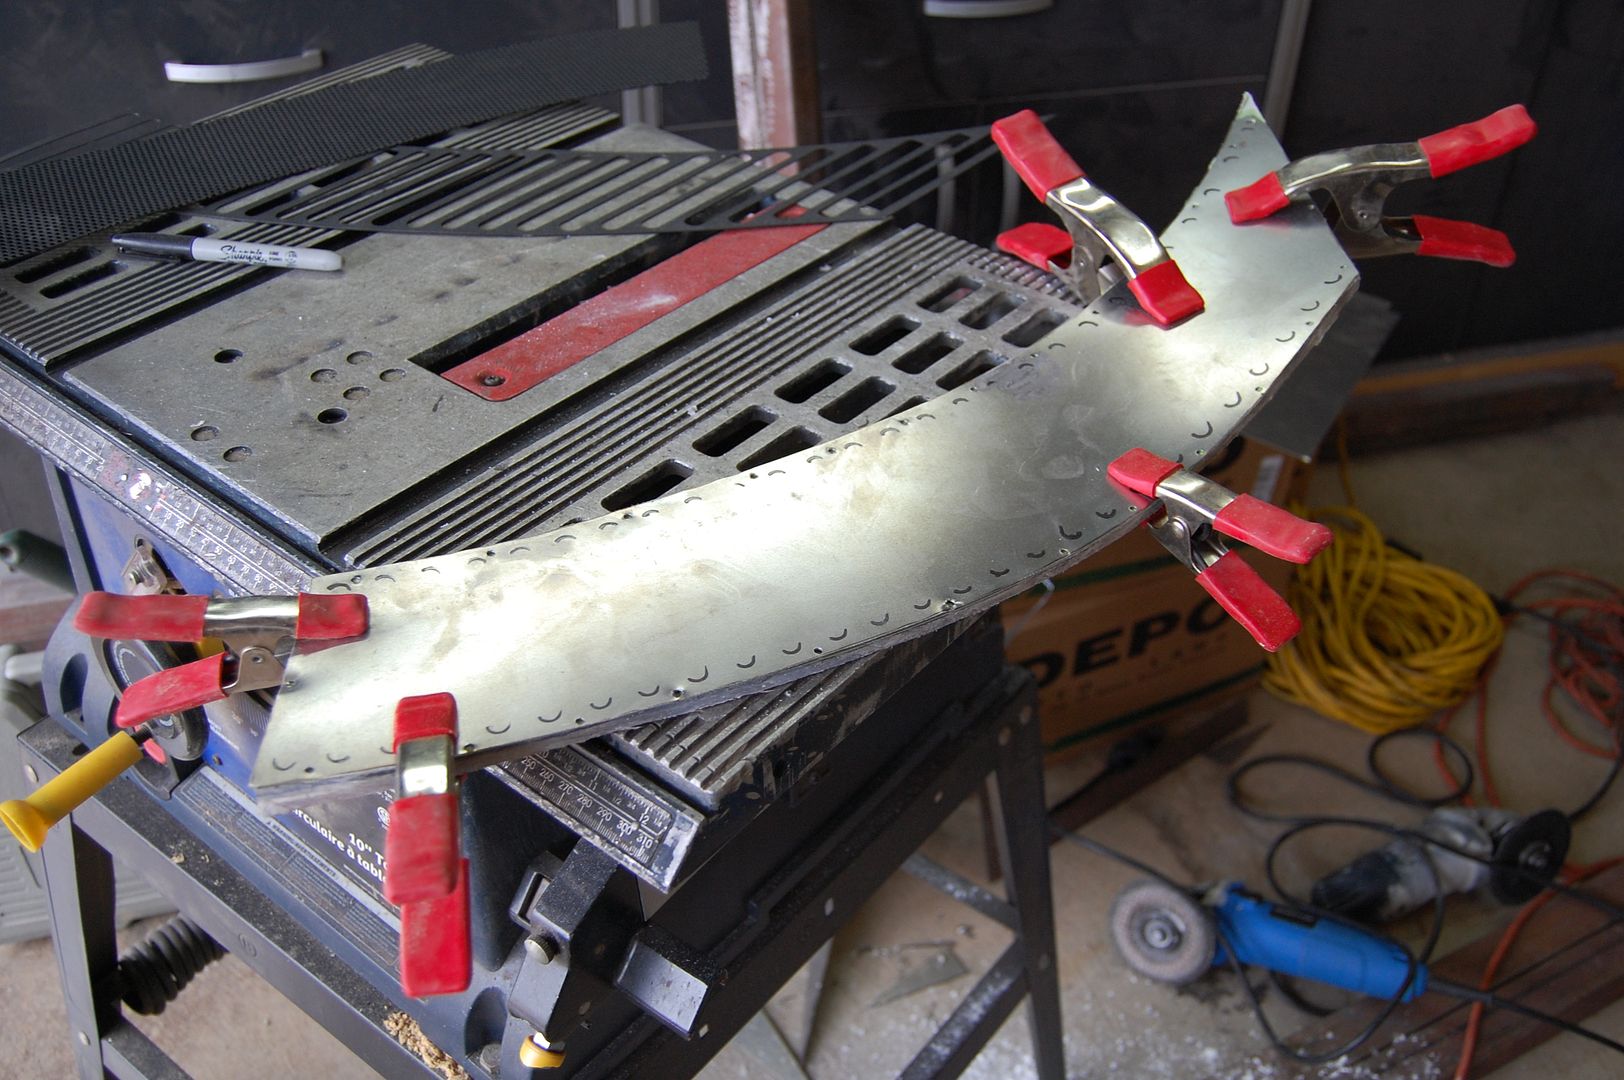
Speaking of lunch, I now needed to make a sandwich. A vent sandwich that connected the grill plate, mesh and backing plate all into one single unit.
I started off by first taking the bent piece of mesh and clamping it together with the top grill plate. The mesh is fairly rigid and holds its shape and the grill plate is thin metal so it follows the shape nicely. I then tack welded every couple of inches through the mesh and onto part of the grill where the weld would not be seen.
I gave these welds a couple quick shots of primer before continuing with my sandwich making because they will be the middle layer and I would rather not have rust working its way out.
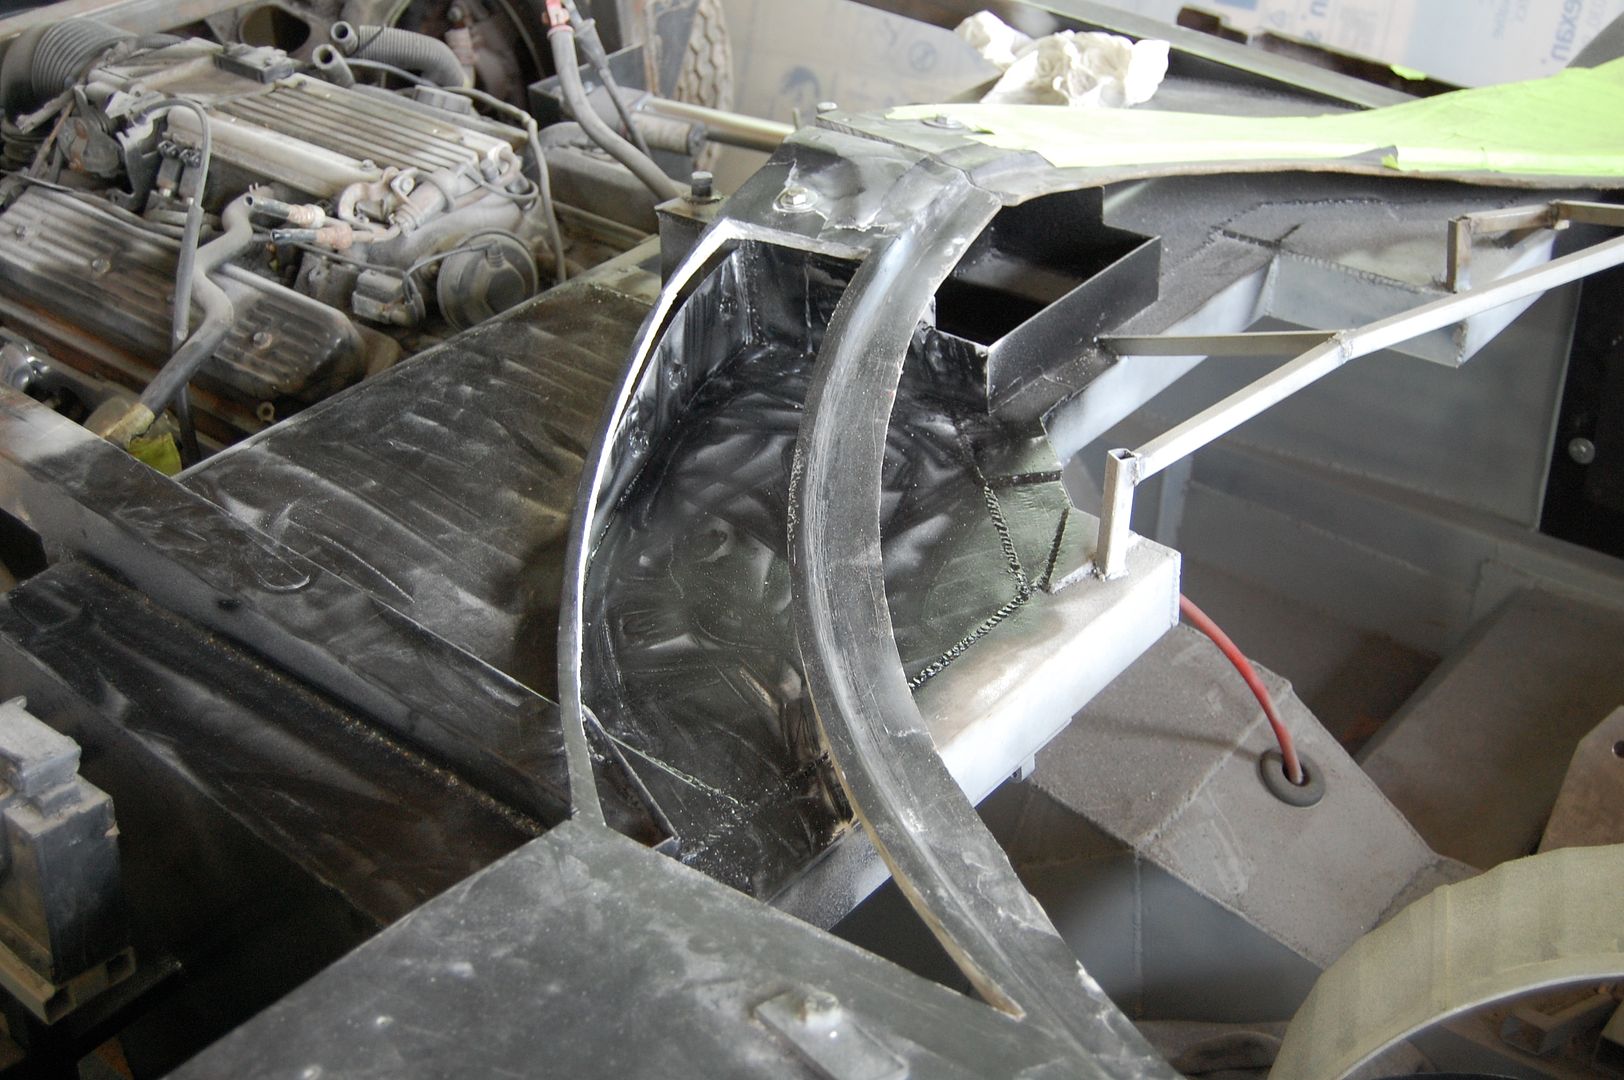
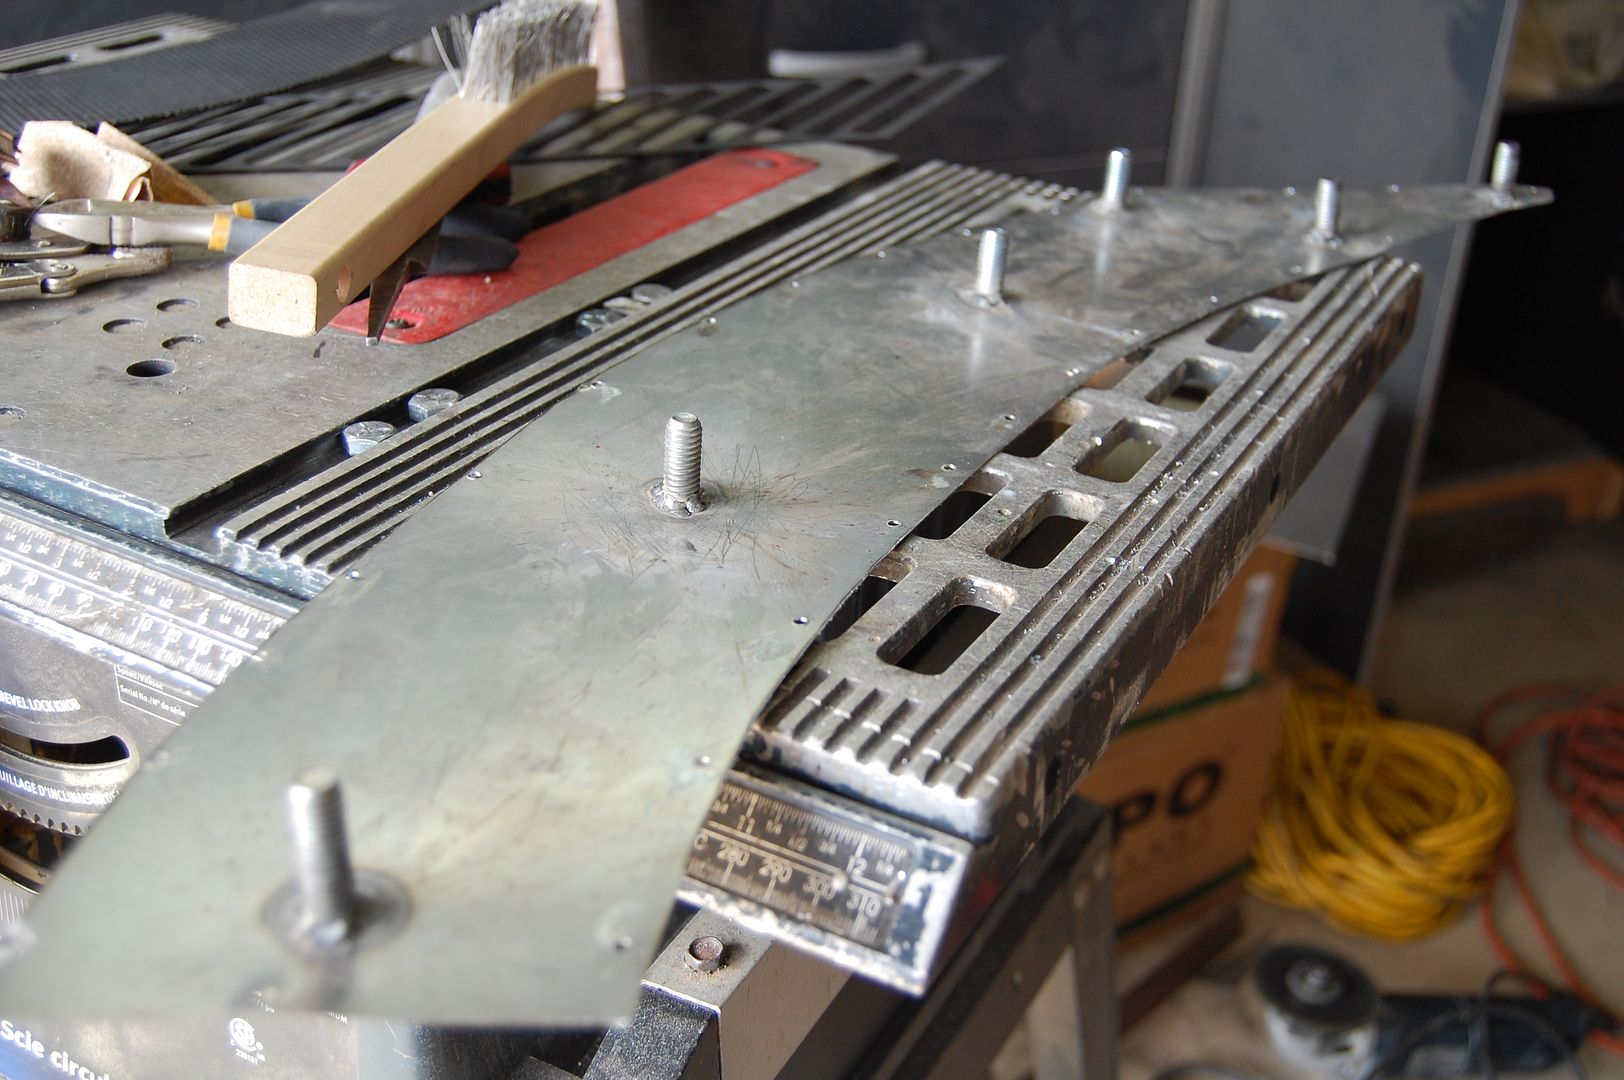
Once the primer was dry I fastened the backing plate back onto the the fiberglass cut-out by securing the studs with some nuts. This pulled the backing plate right tight against the fiberglass making sure that it would keep the exact shape I wanted.
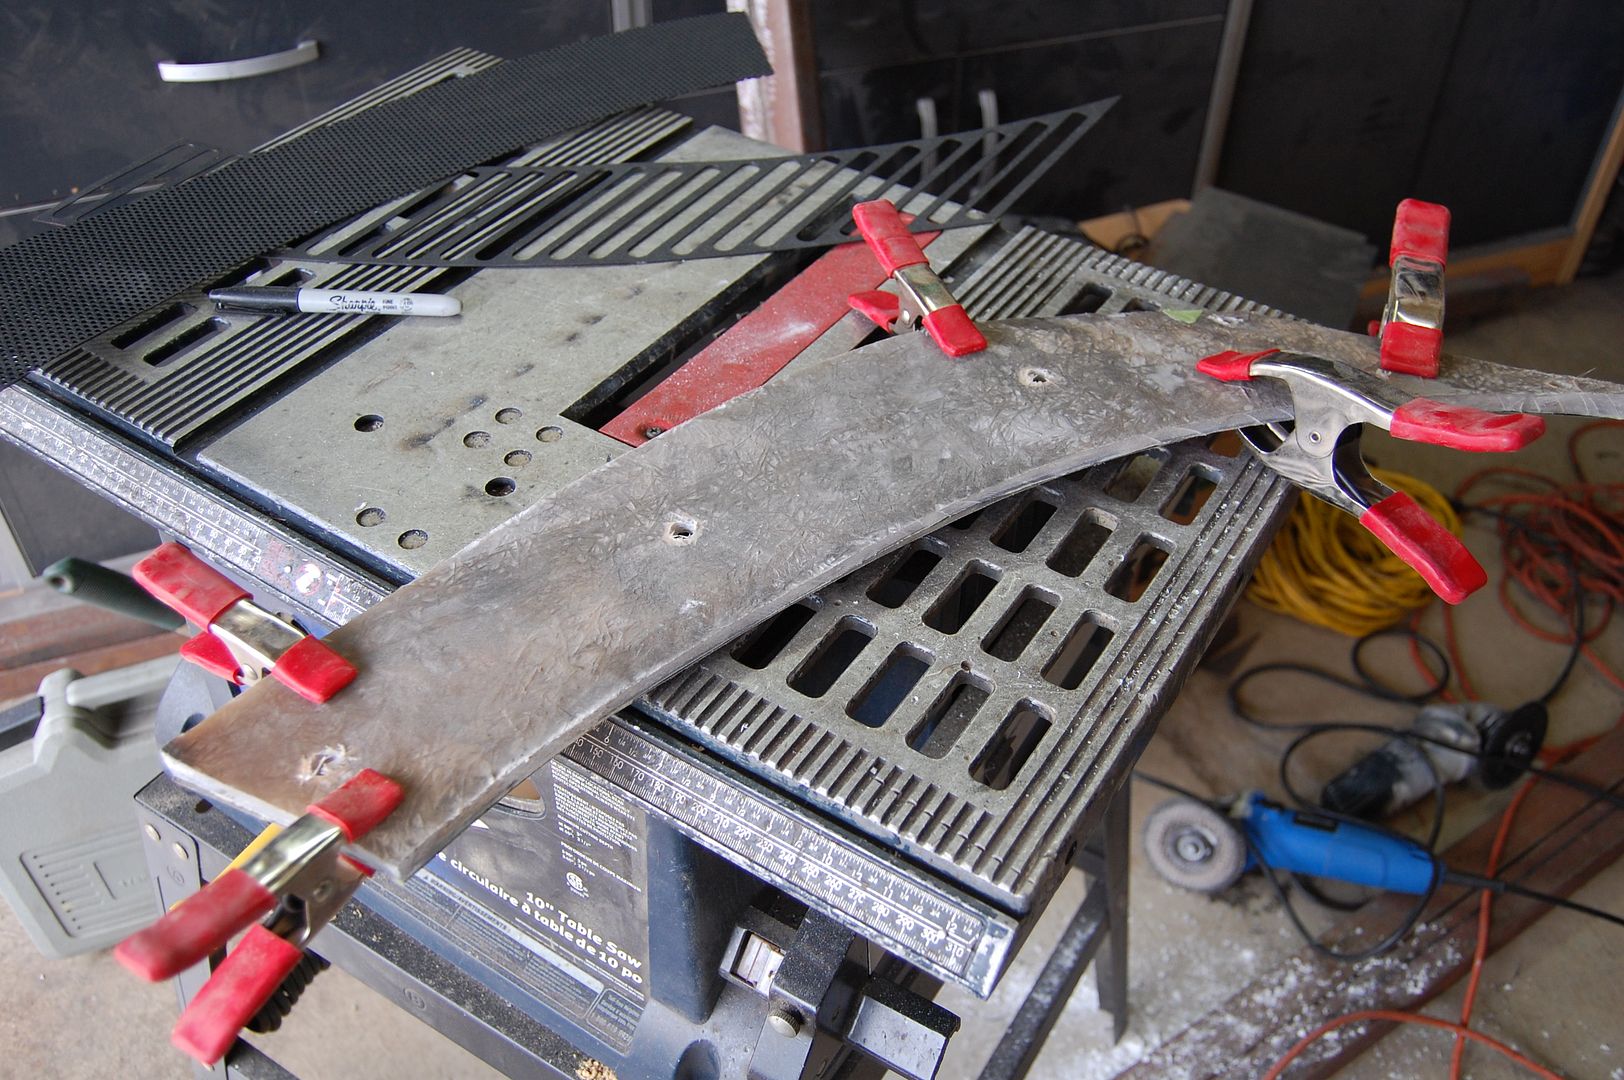
Then I clamped the newly welded mesh/grill combo onto the backing plate creating a fiberglass/backing plate/mesh/grill sandwich.

I then tack welded the backing plate to the mesh every couple inches all the way around the vent. Once I was done I removed the nuts from the studs and spot welded in each of the previously drilled holes in the backing plate. This gave me a very nice solid and properly shaped vent.
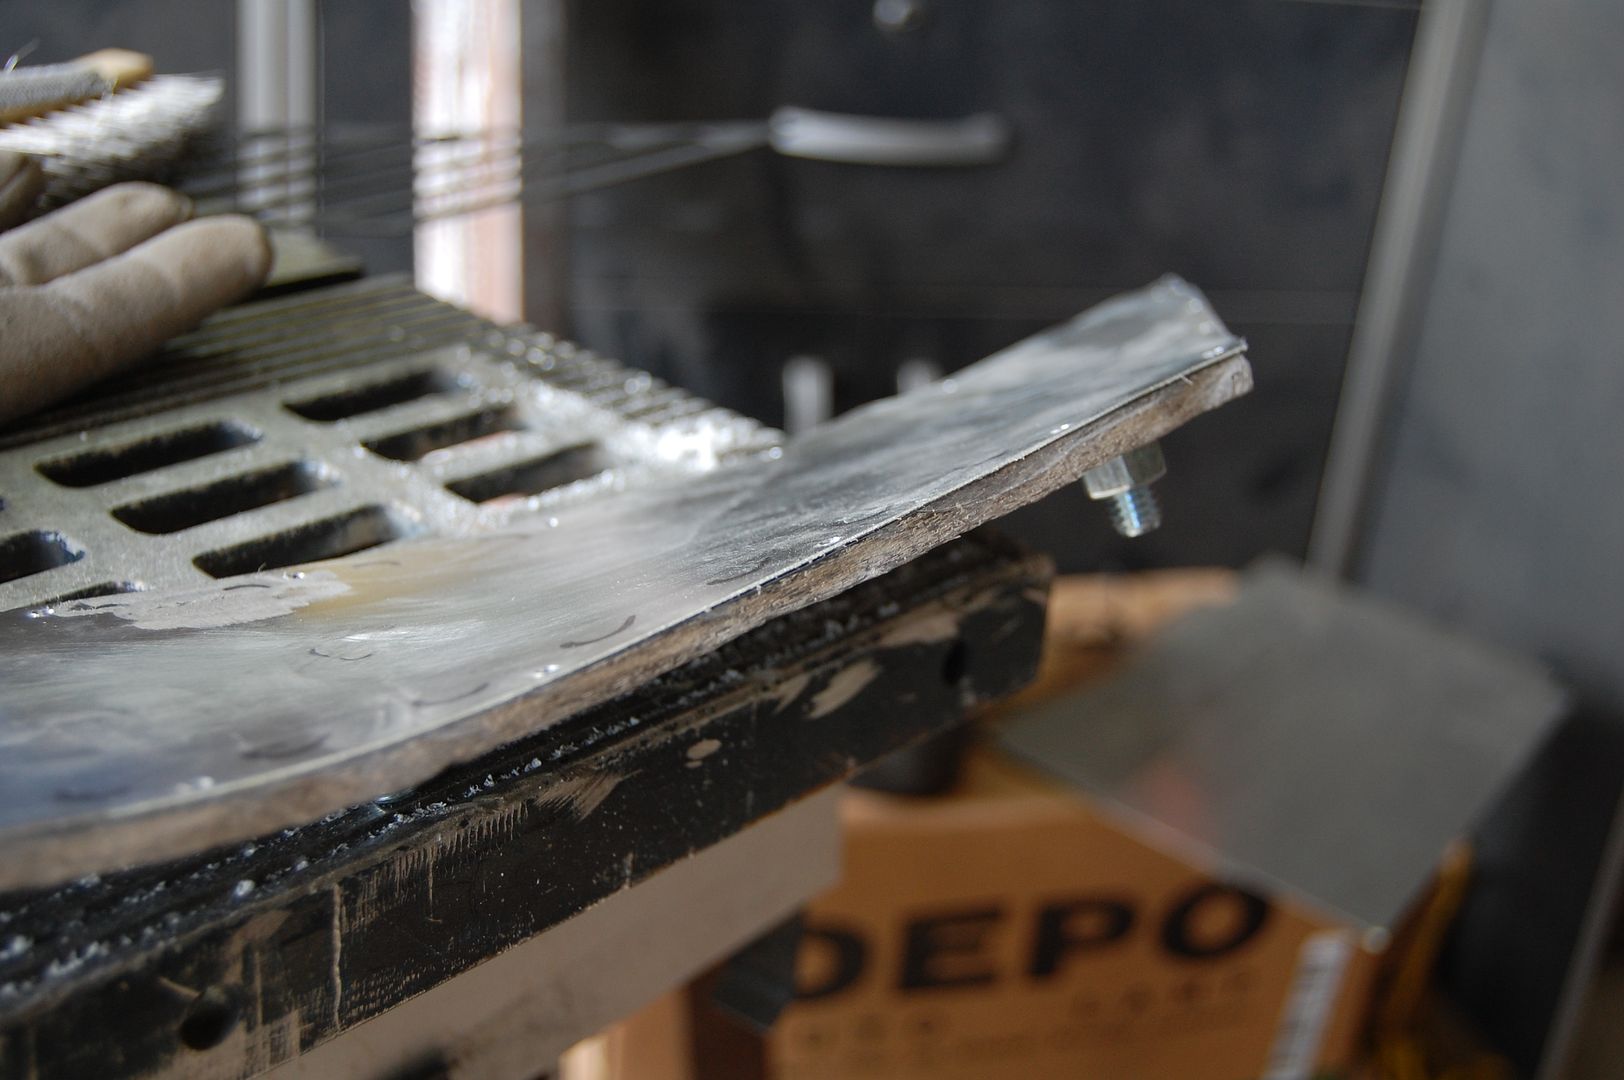
To finish it off I decided to tape off the surface of the vent (as seen in the top photo in this post) and filled the gaps around the edge with some paintable seam sealer.

The rest of the afternoon was spent repeating these steps for the passenger side vent. I managed to finish welding the studs to the back of the passenger side backing plate but had to close up the garage after that.
In the upcoming part 2 of the canopy vents I’ll cover how the completed vents are then recessed and connected back to the body shell.

Wonderful post.
Thank you for your generosity in sharing so much of your knowledge.
Fibreglass Tonneau