

After finishing up the water trough around the edges of the trunk I turned my attention to re-shaping the trunk lid. Just like the canopy the trunk lid needed to be adjusted a little to make it fit properly on the body shell.
First steps were getting the trunk lid to open properly again now that the water trough was in place. That meant having to cut some material out of the trunk supports. The center curve between the hinges was for clearance, and the side cut was to allow the corner of the trunk lid to be pulled in.
I can tell you that installing and removing that trunk 3-4 times wasn’t a lot of fun. An extra set of hands would have been great!
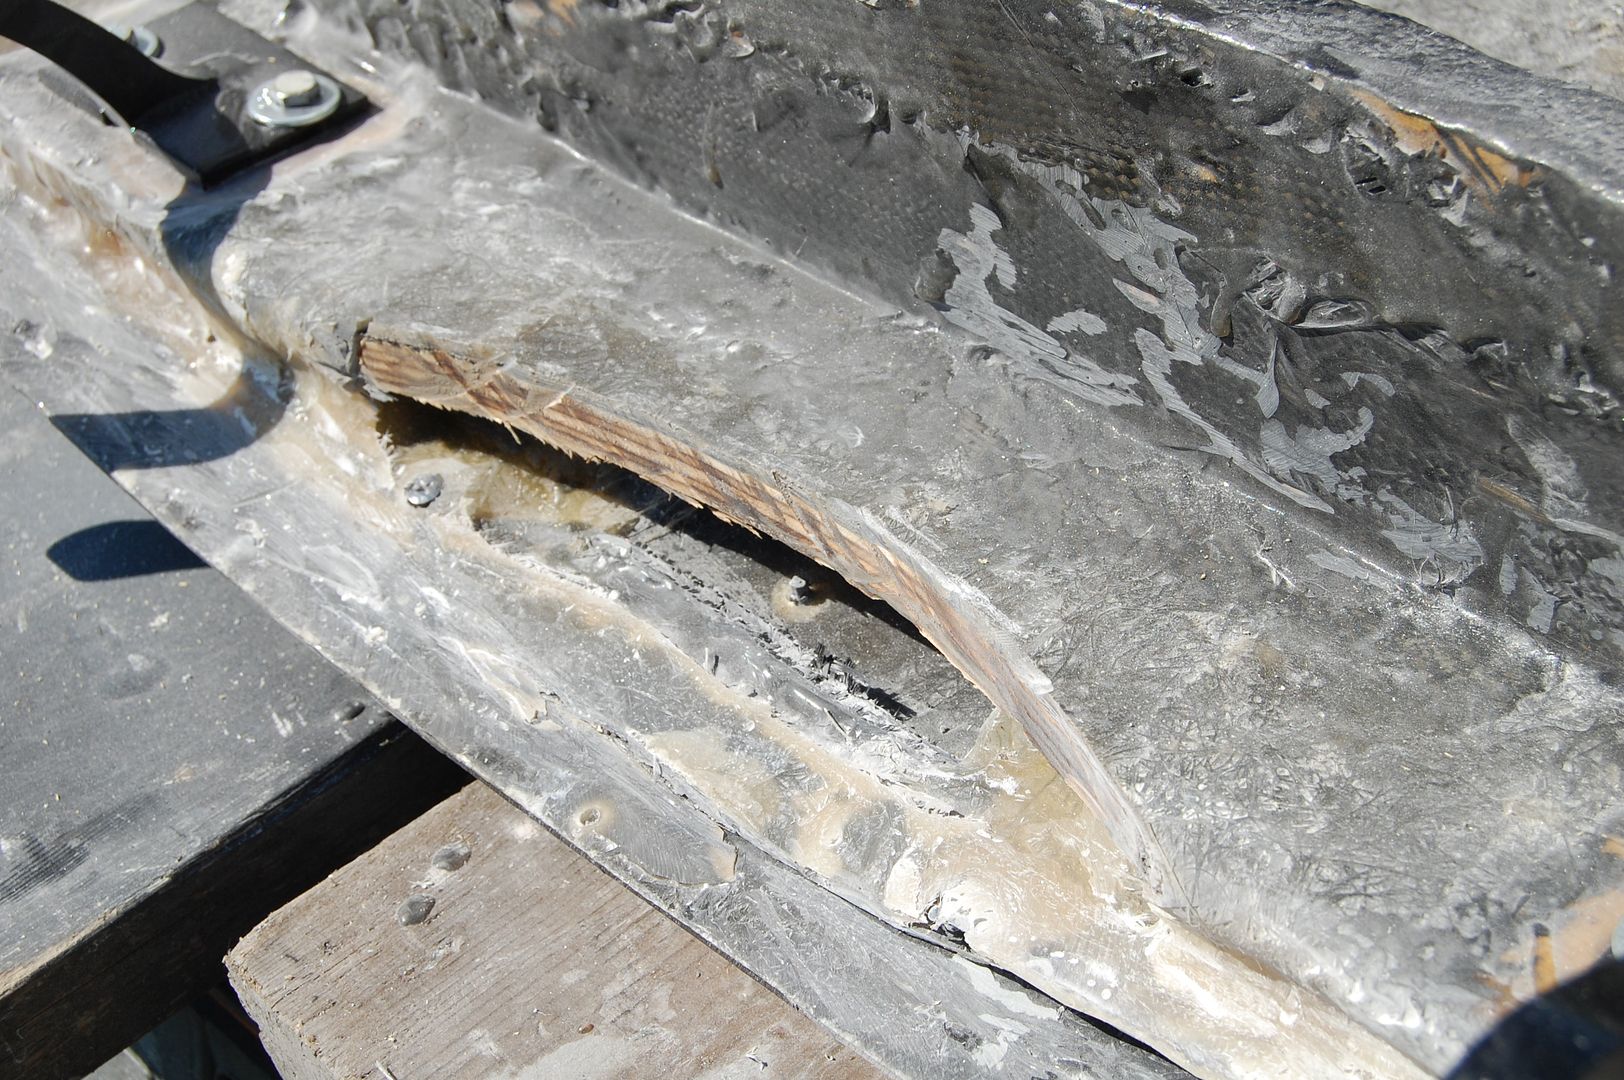
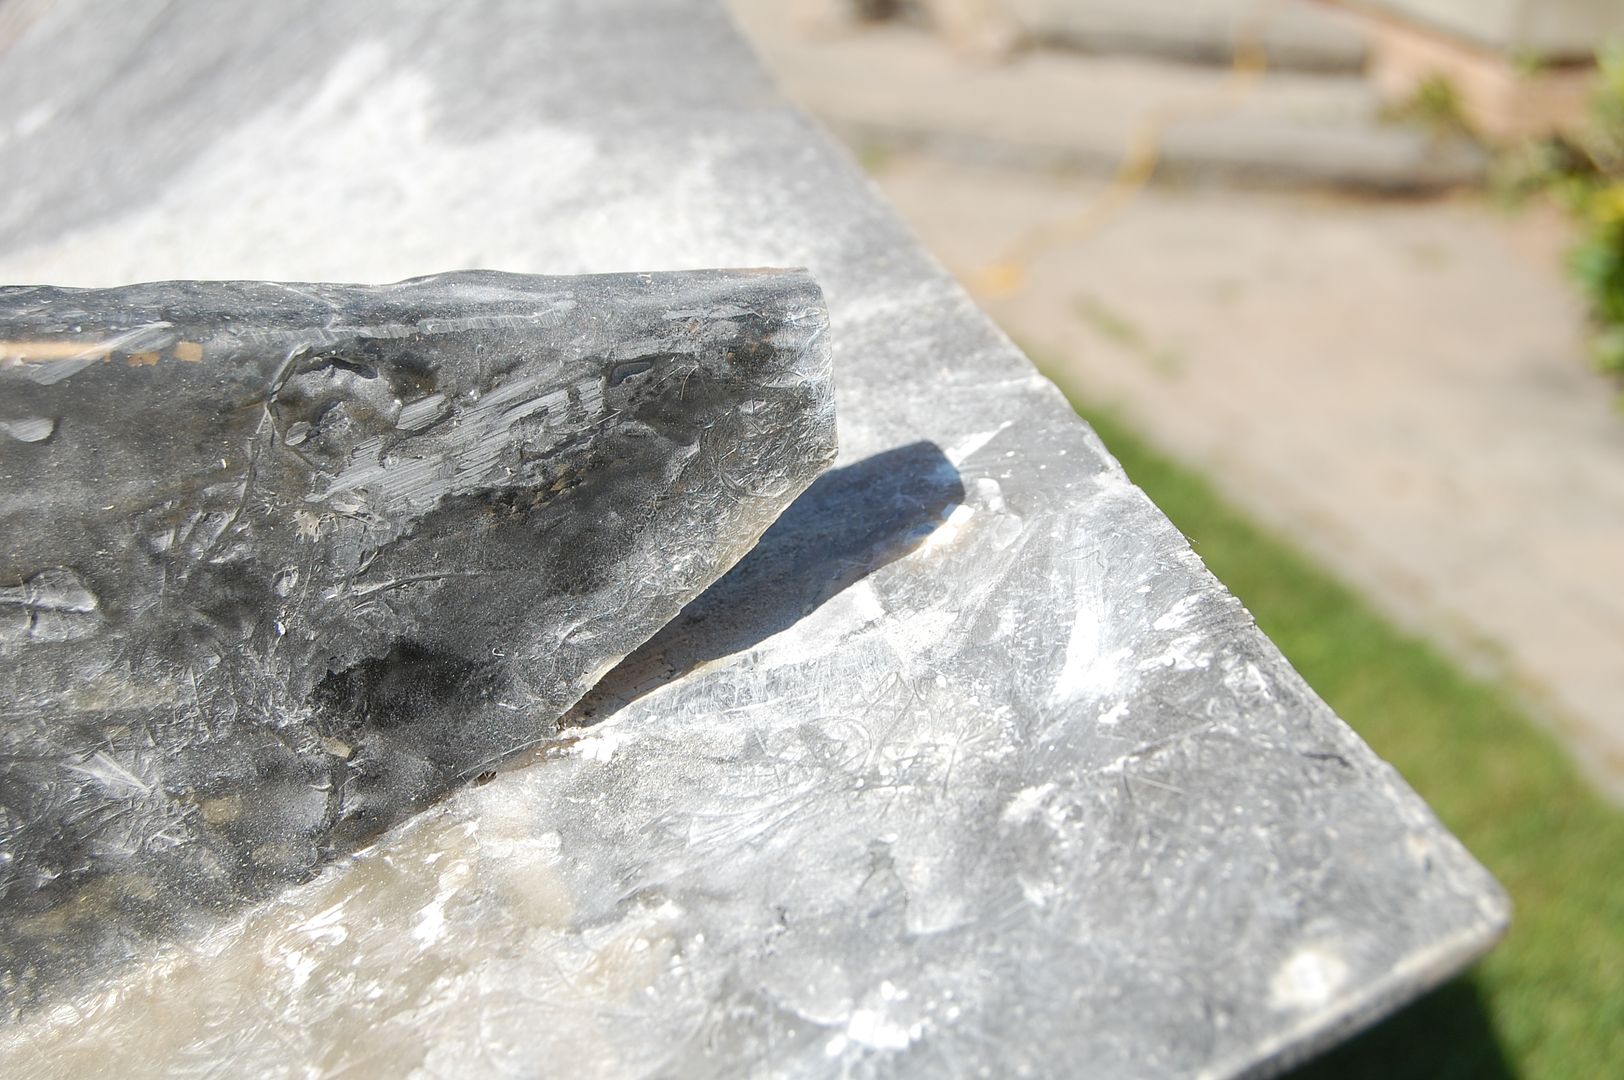
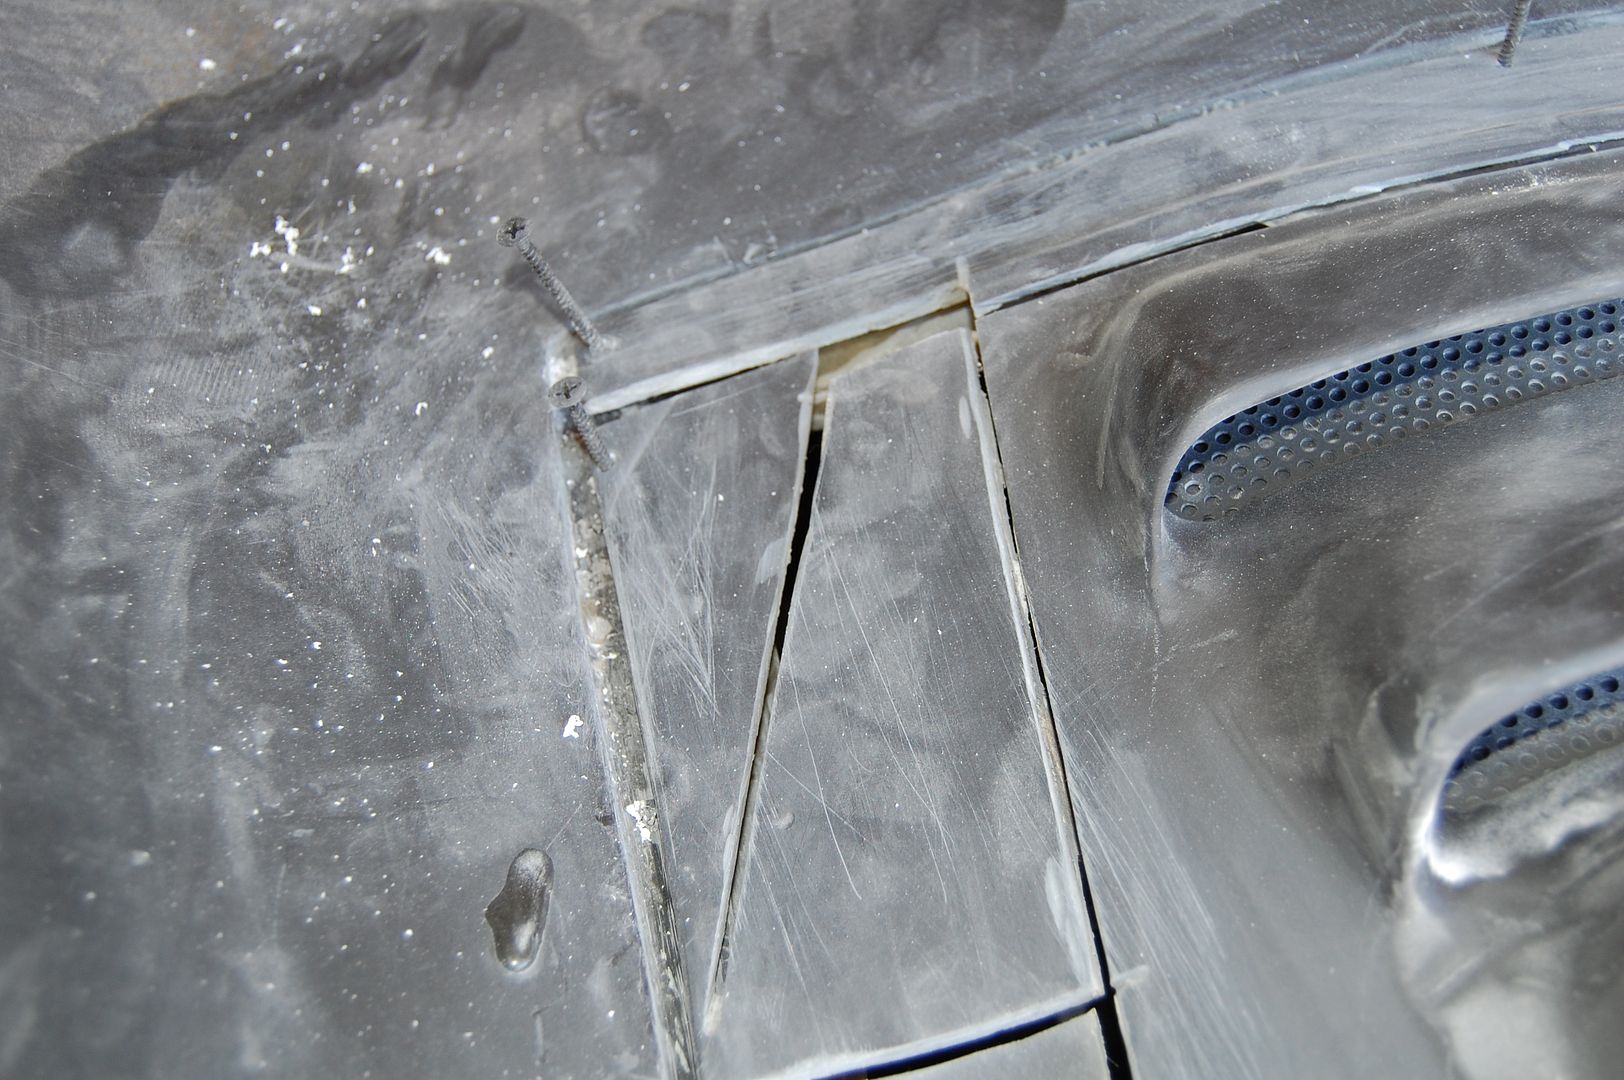
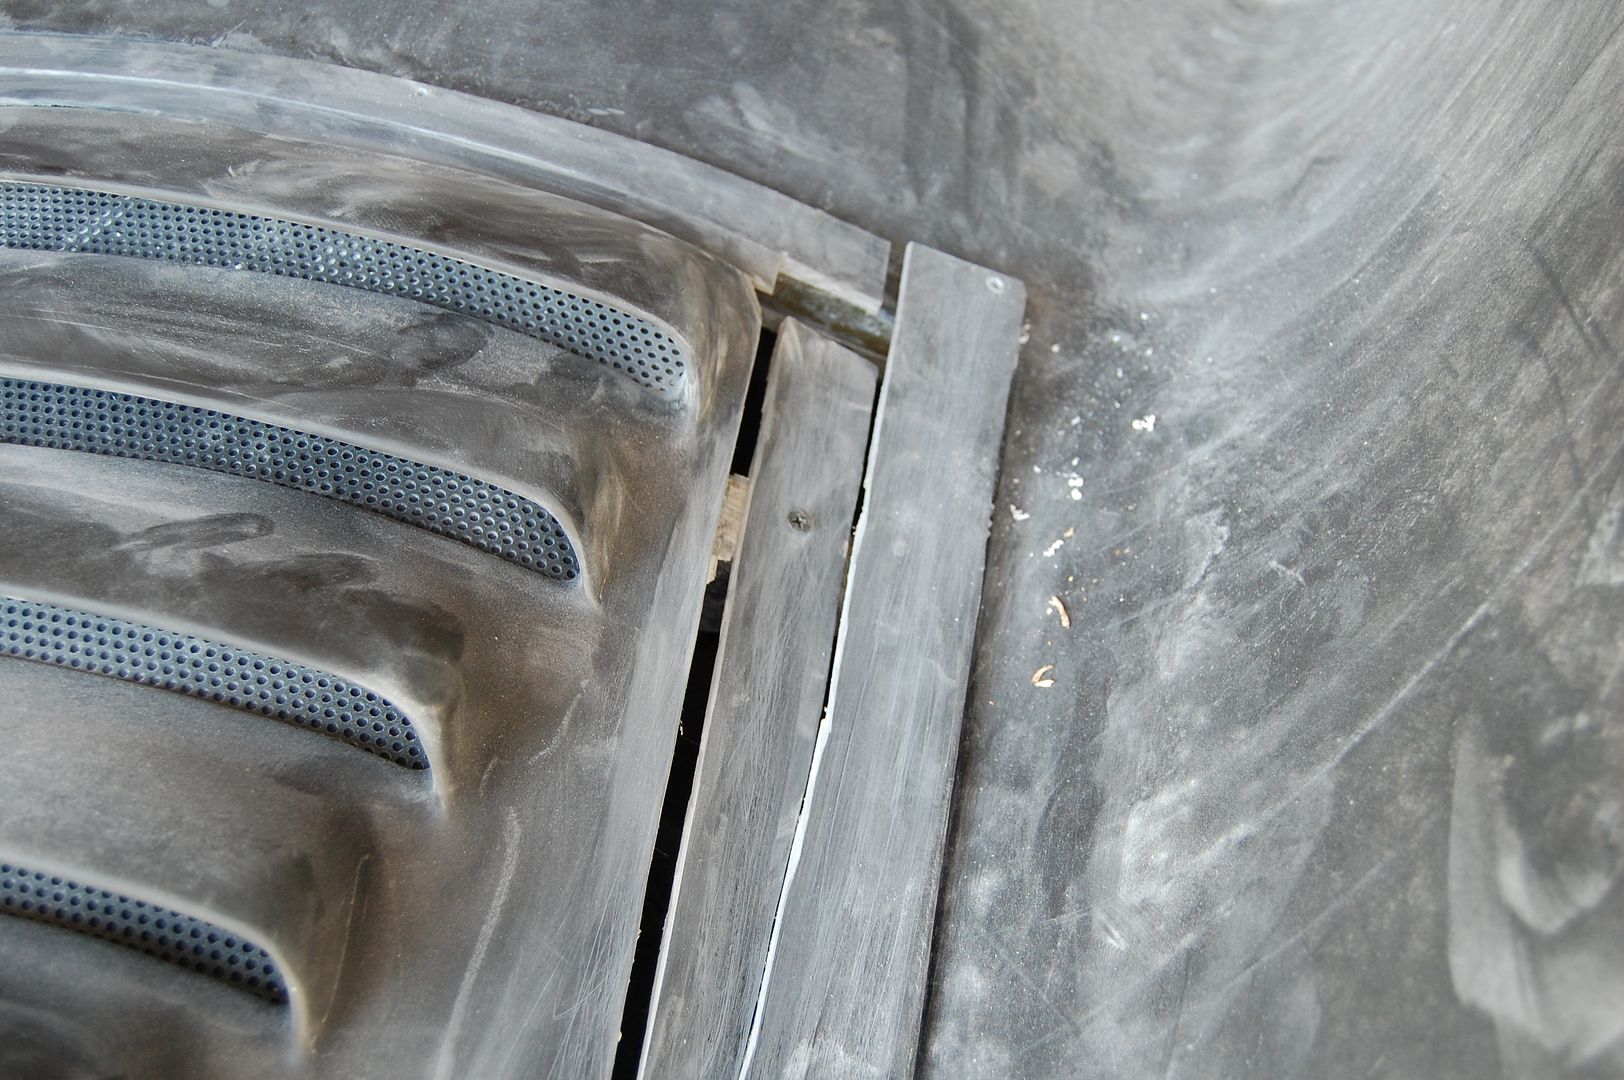
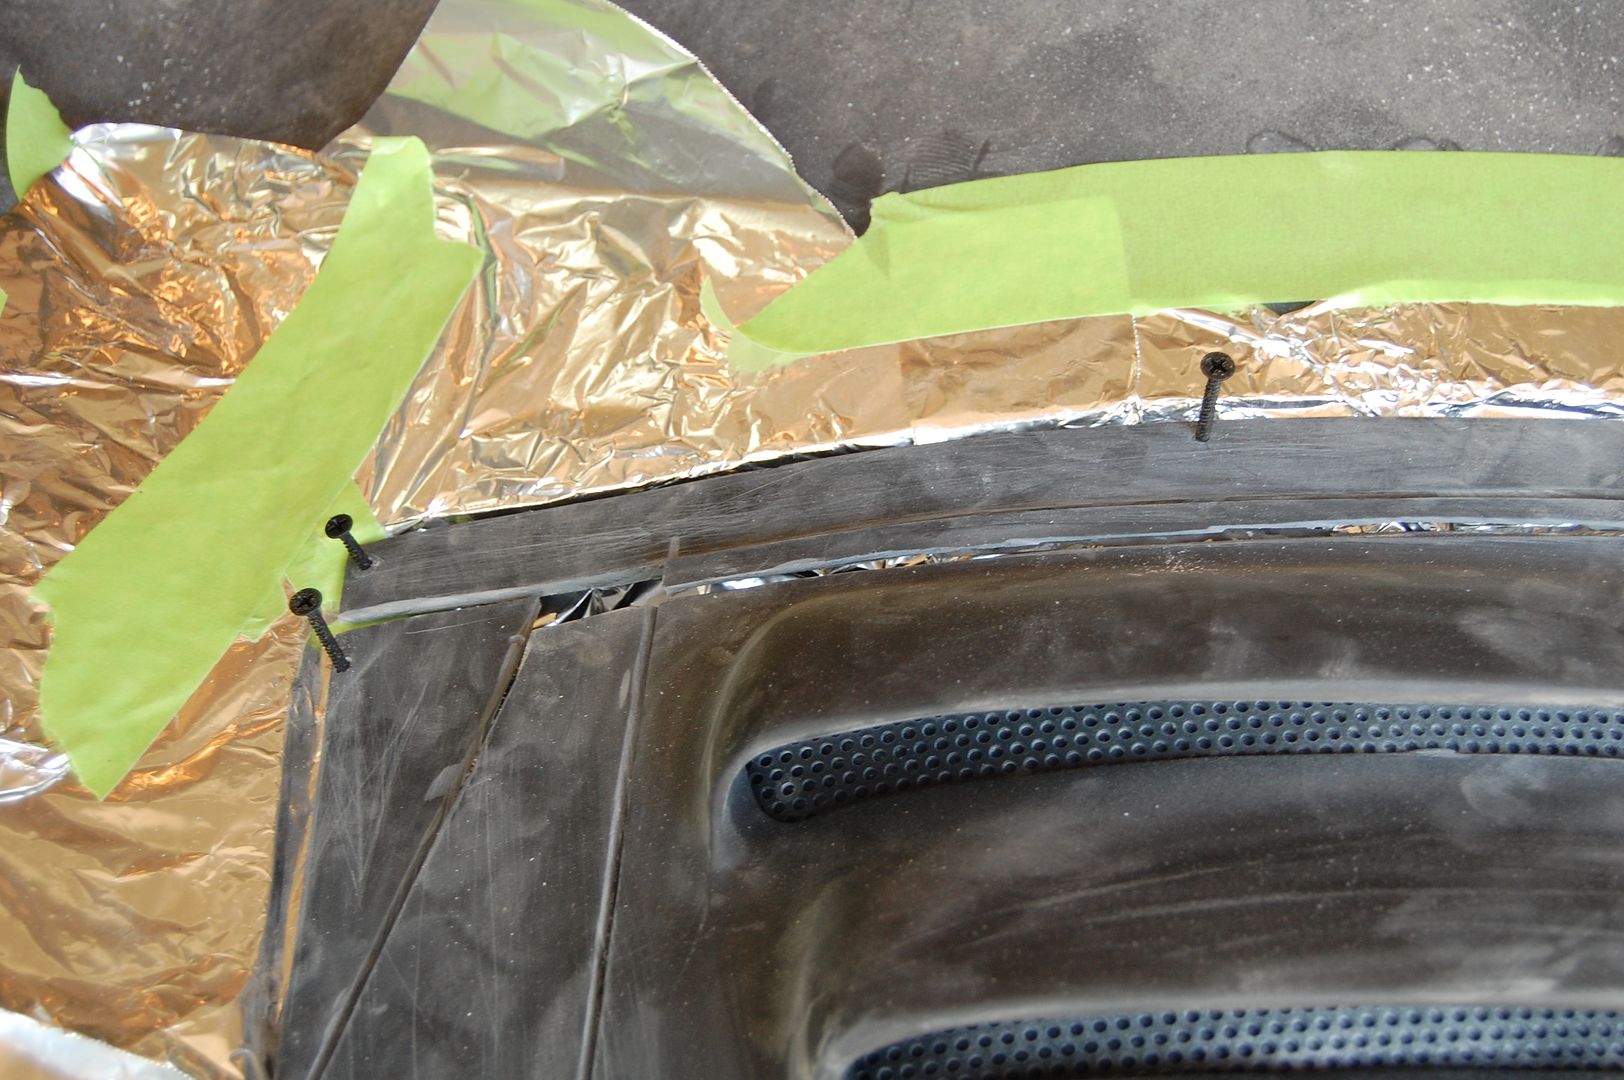
Then I used the same technique as the canopy reshaping by cutting a bunch of relief cuts that allowed me to move the edges of the trunk into their proper position. I drilled some holes and used some long screws to hold all the pieces in-place.
Once everything was fitted I placed aluminium foil around the edges to ensure that the trunk lid didn’t get stuck shut when applying the fiberglass.
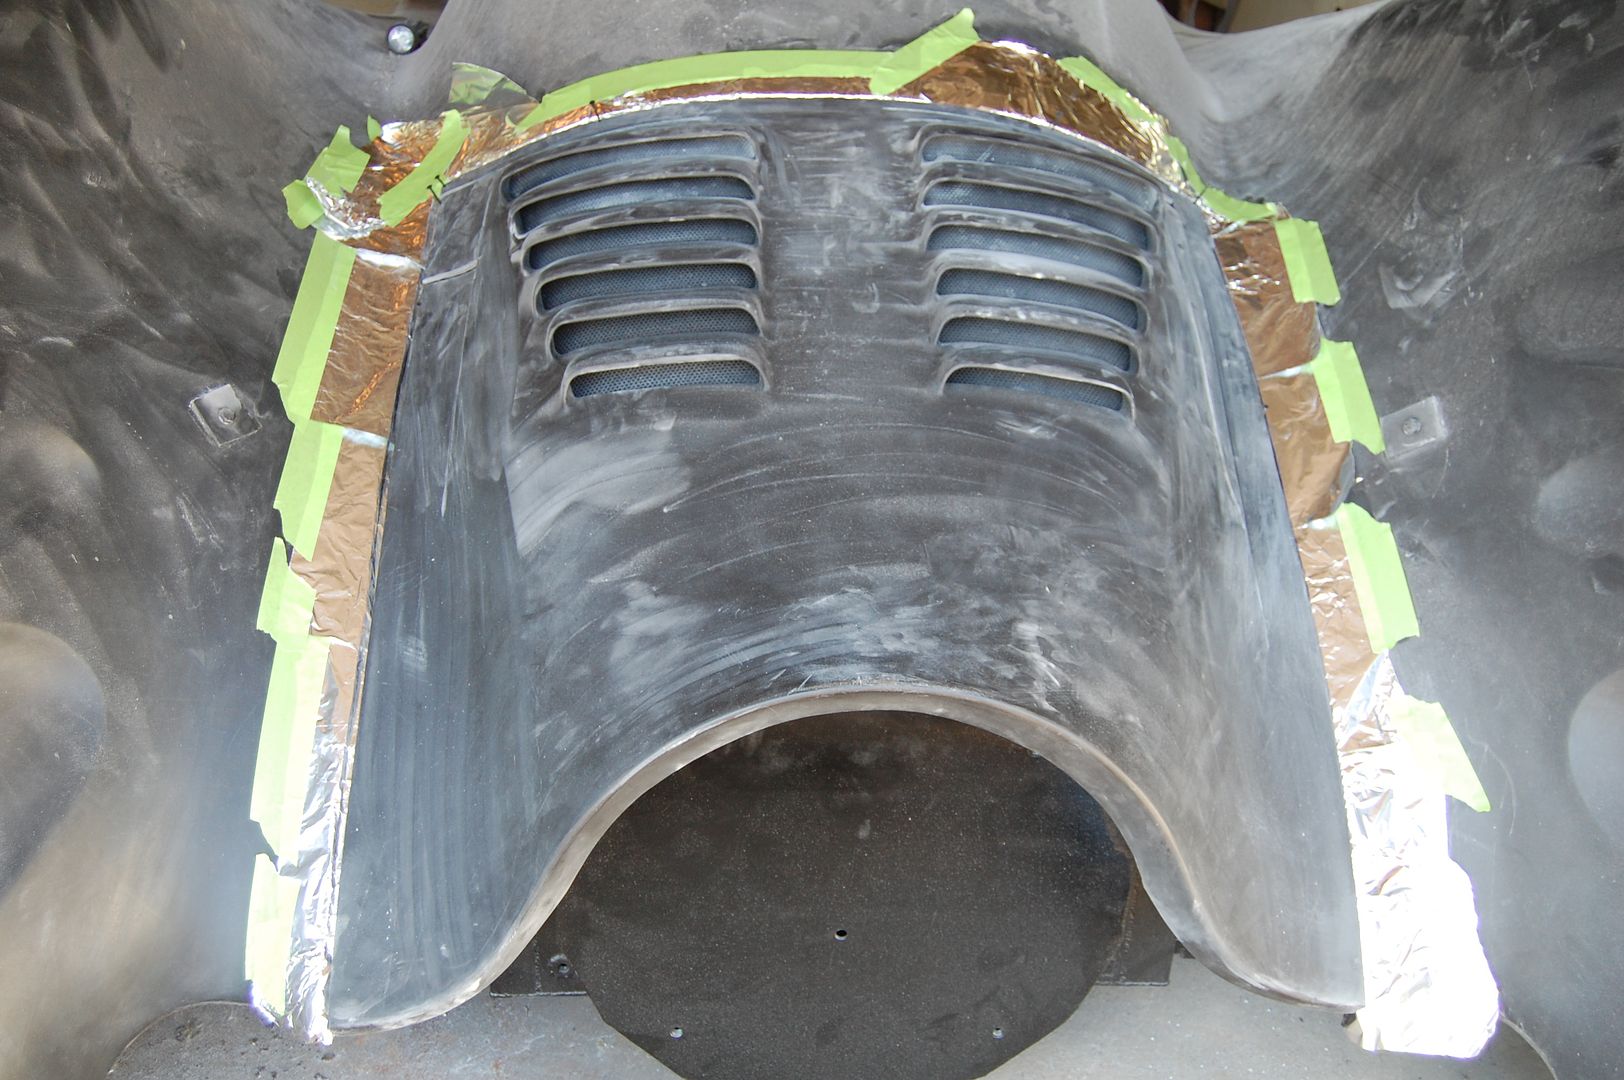
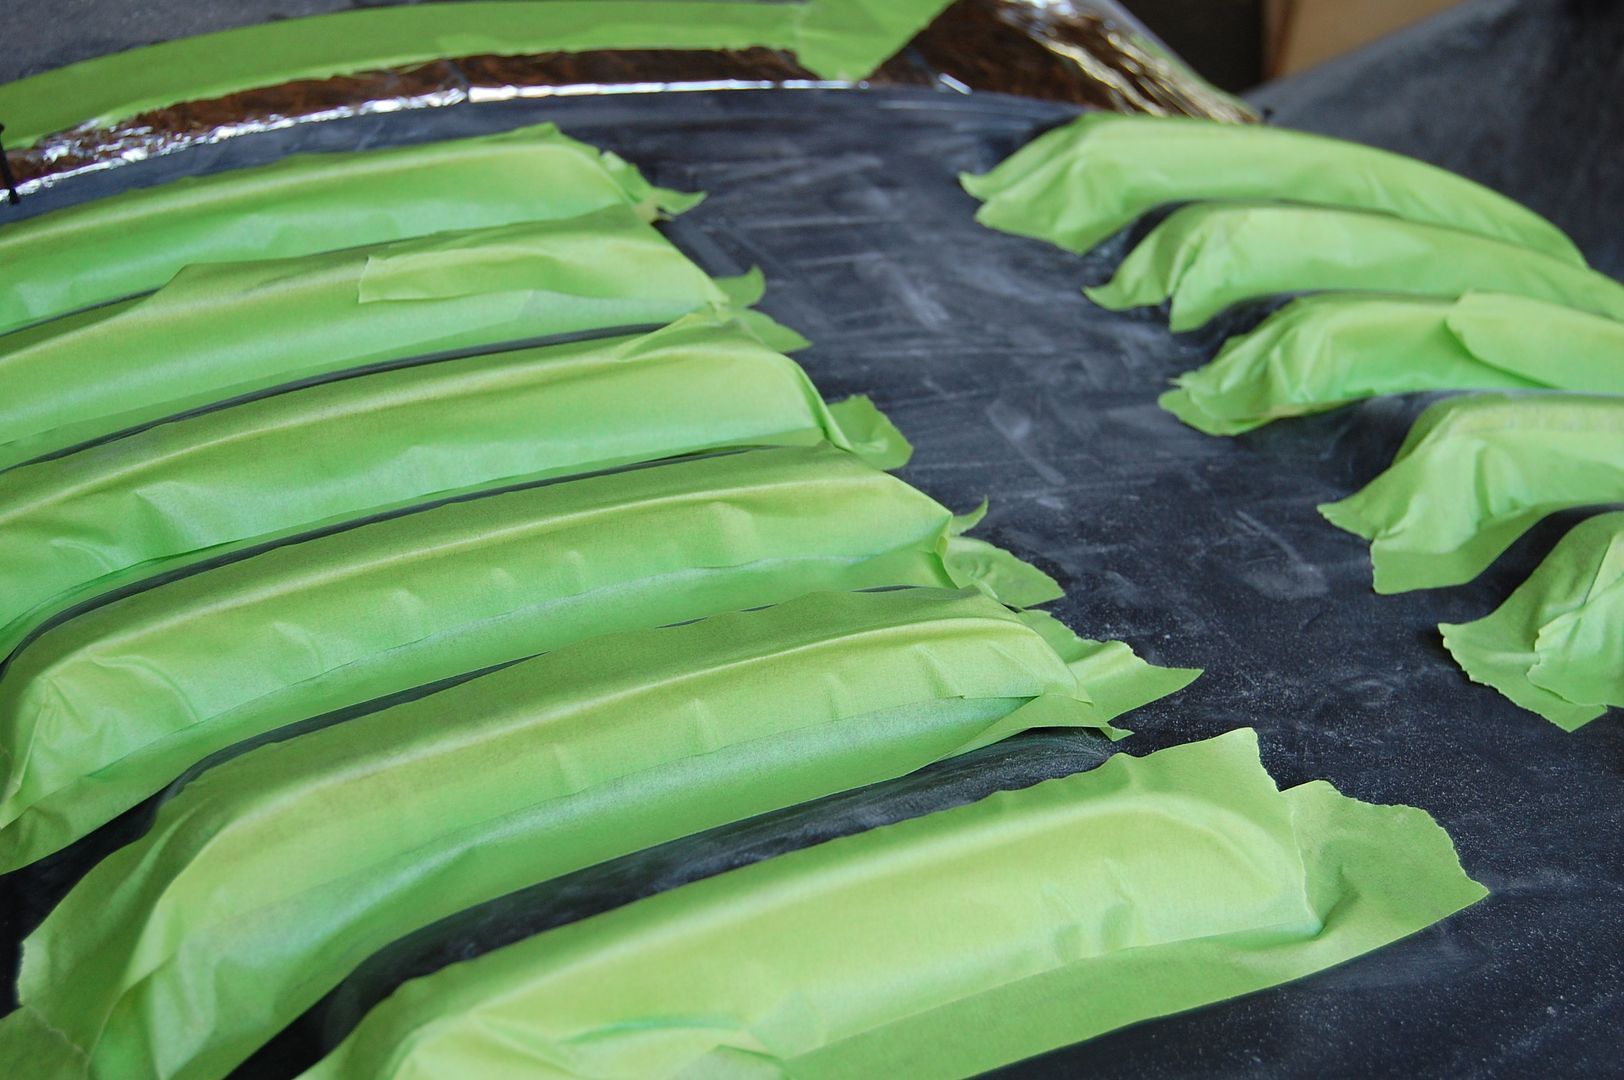
I also decided to tape off the trunk vents because I didn’t want to mess up my hard work that took forever getting them the way I like 🙂
Last step was to lay down three layers of fiberglass matt/resin to connect all of the pieces separated by relief cuts. I used the technique of pre-soaking the first layer of matt with resin before “dabbing” it in-place on the trunk lid. This allowed the first layer to stick and not drip resin all through the gaps.
I decided to leave everything held in-place overnight so that everything had lots of time to cure. You can see all the fiberglass in the photo at the very top of this post.
Next step will be trimming off the excess and filling the gaps with short strand fiberglass filler so that I can grind and file everything into a shape that I like.
