

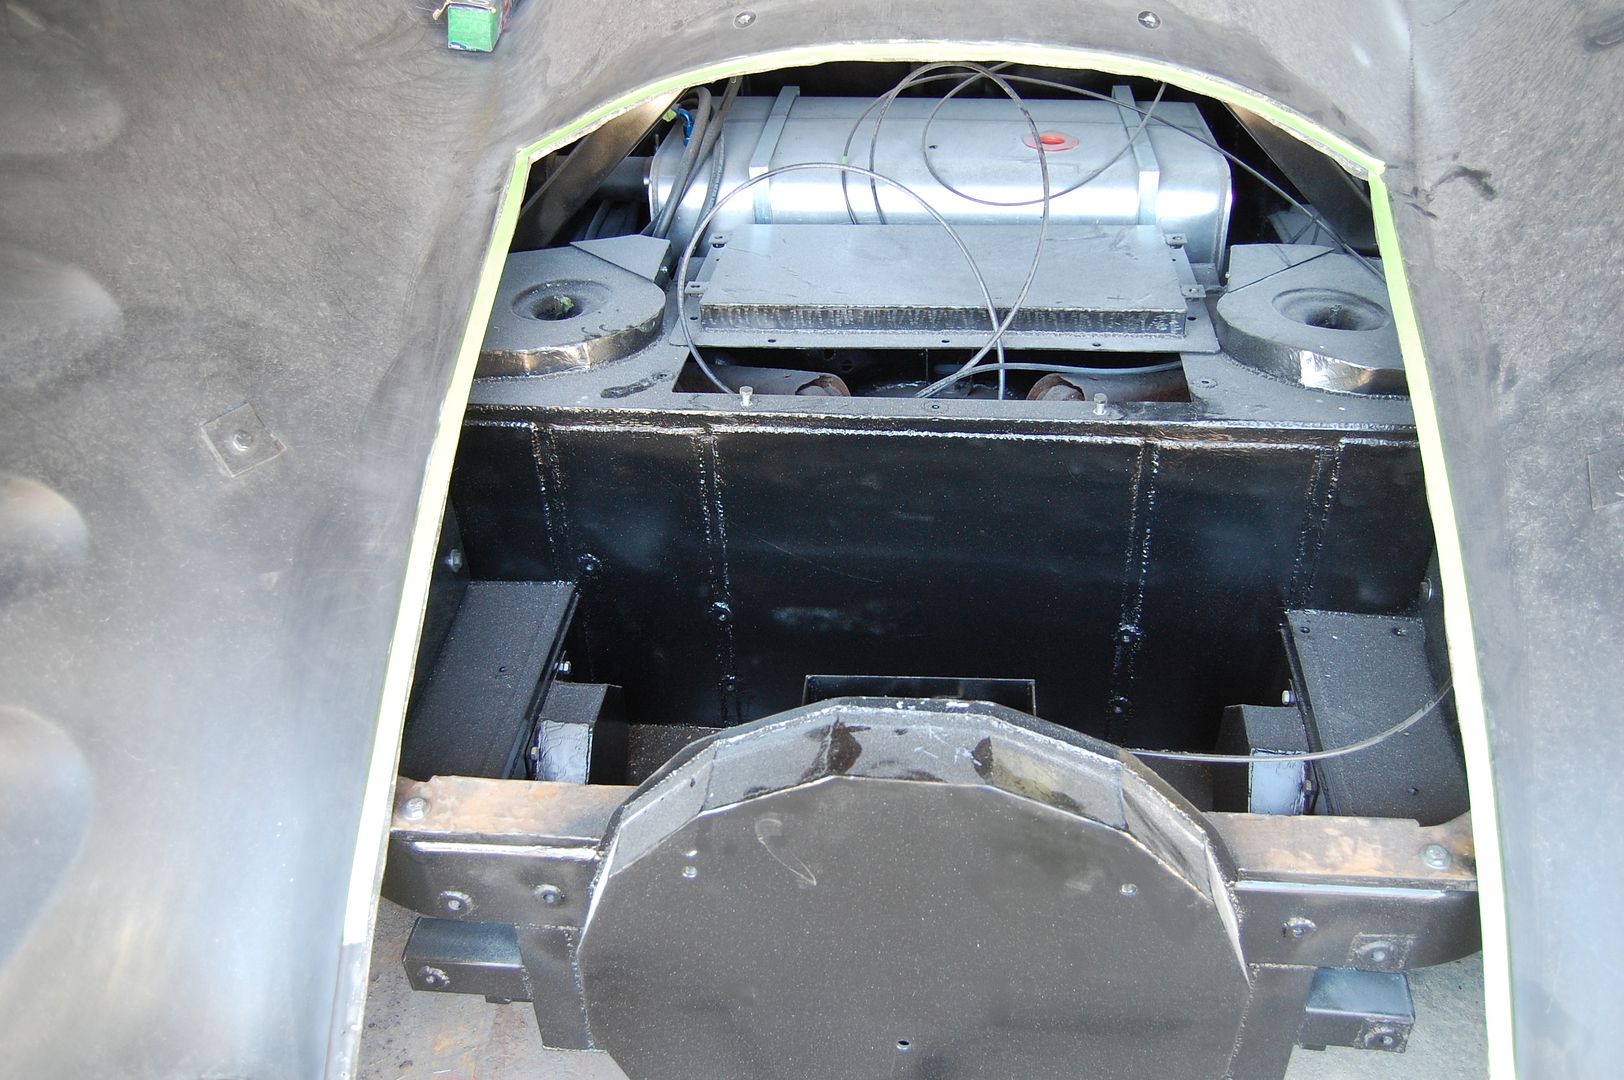
After getting my trunk vents shaped and water tight I decided to continue forward with waterproofing the trunk area. The trunk lid will eventually need to be better shaped to the body, but before that happens I need to deal with water run-off.
Something that you’ll notice if you look in the trunk of your own car is that there’s a rubber seal that goes around the entire opening. This is usually rubber that presses down over top of a ridge which goes all around the opening. Essentially the ridge creates a water trough to channel the water and the rubber acts as a seal against the trunk lid.
Of course this isn’t a feature of the body shells you get as part of a Batmobile kit. So if you want to make sure you don’t have a bathtub in your trunk every time you wash the car you need to take care of some business 🙂
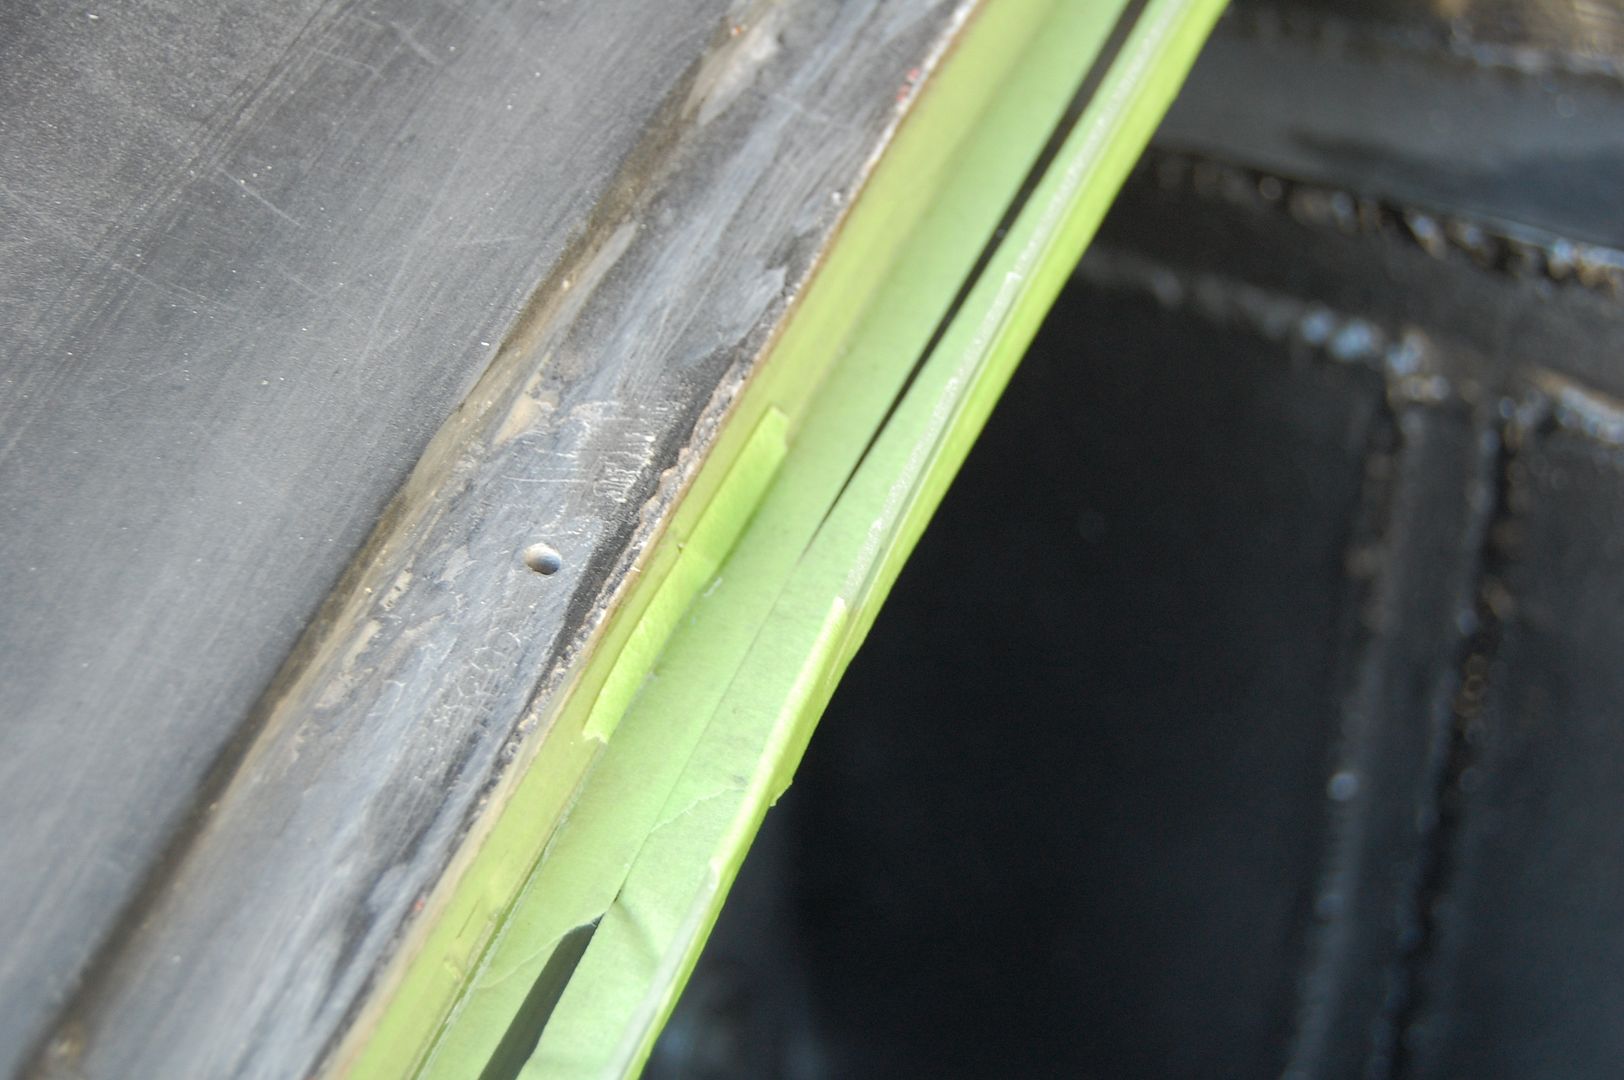
I decided to create the same kind of trough around the edge of the trunk opening as found in a standard trunk. This will allow the water to channel around the edges of the opening and then drain from the rear of the car. First step was to lay down some tape to get an even lip all around the opening. Currently there’s a “lip” but it is uneven in shape and size.
Once the edges were all trimmed I started to cut thin strips of Lexan. I decided to use Lexan since it’s a very smooth surface and fiberglass doesn’t really stick to it. That way once the fiberglassing is completed the Lexan will peel away.
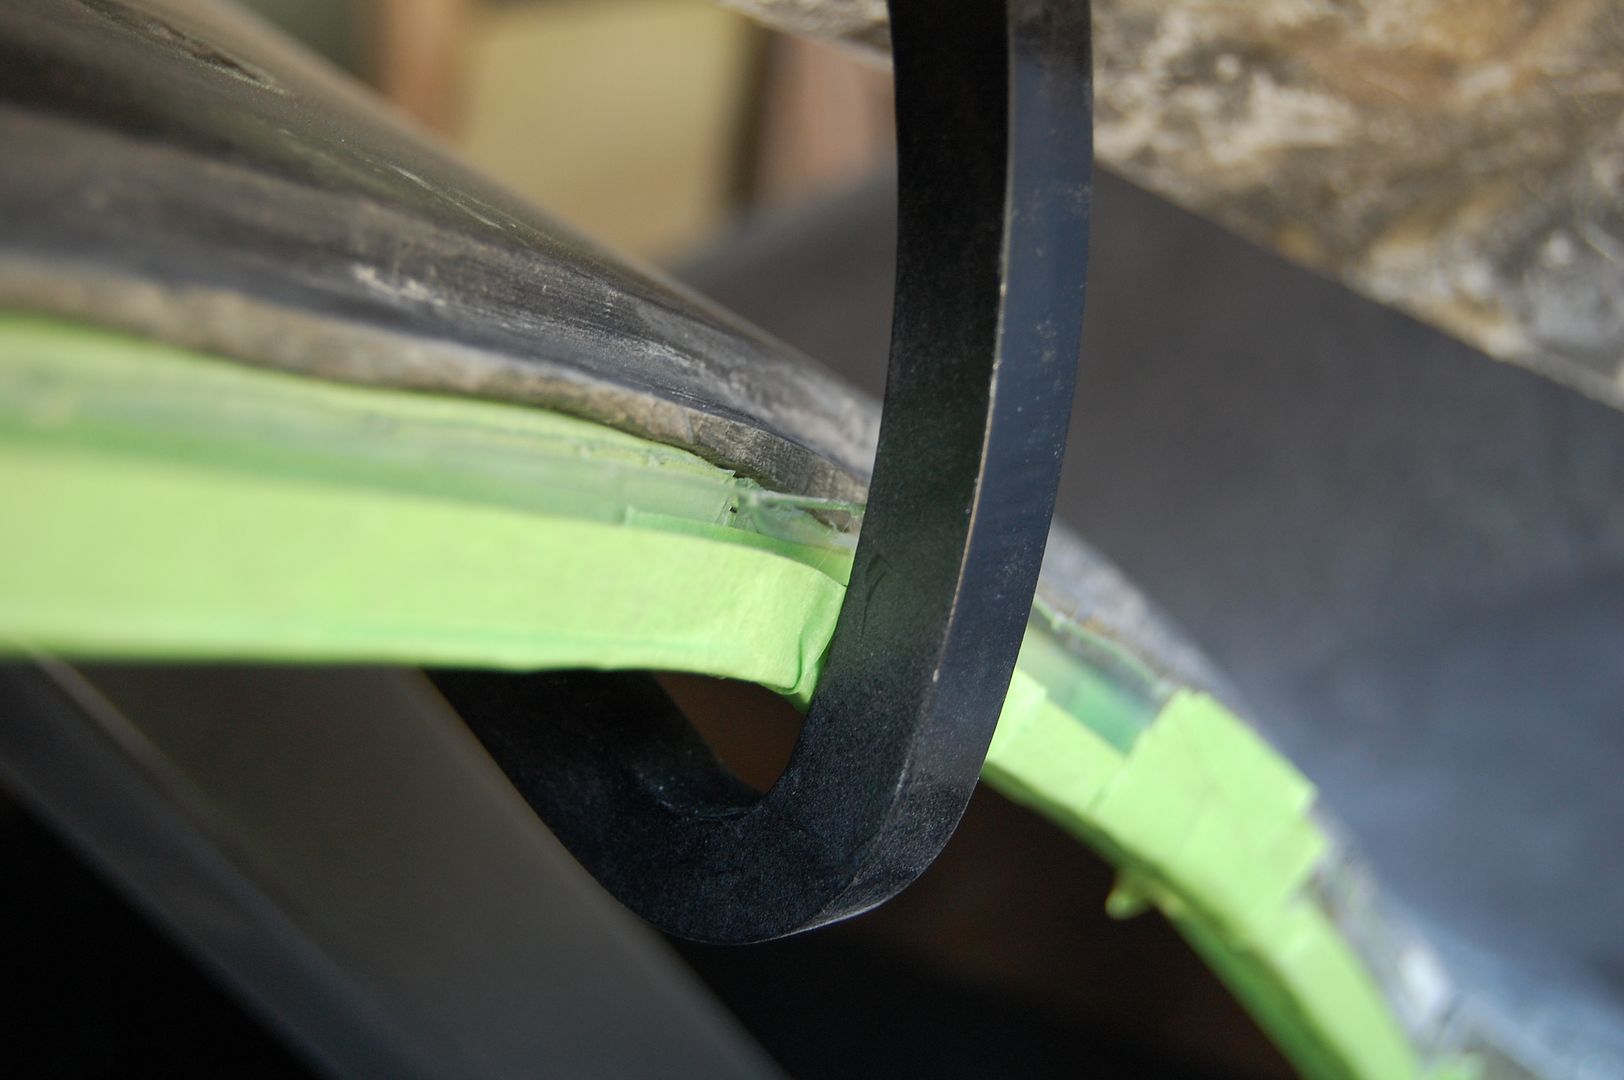
These pieces of Lexan were then taped to the trunk opening and taped together to create a form for the fiberglass trough.

I also temporarily re-installed the trunk lid to ensure that when the trunk was fully open that the hinges wouldn’t hit the new water trough. Since the forms are on the outsides of the fiberglass I can be sure that the hinges will clear when the forms are removed.
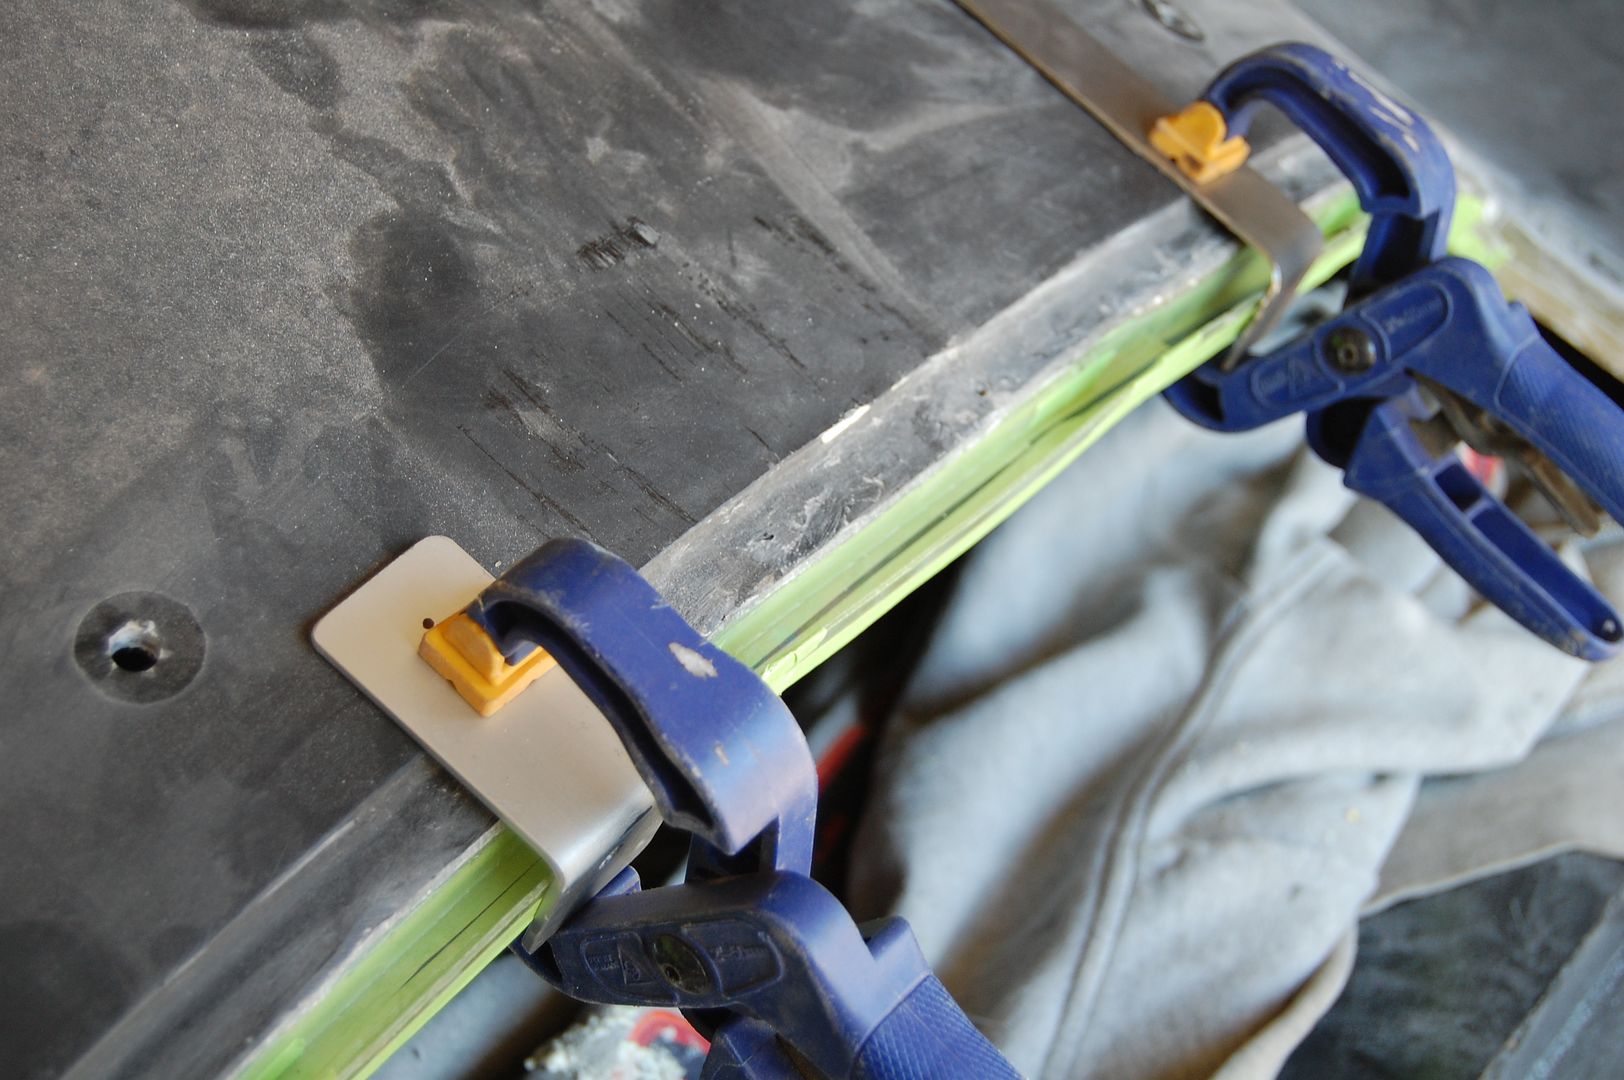
In some cases I clamped a few brackets to the body shell so that the edges of the trough wouldn’t fall out of shape under the weight of the fiberglass.
Then I cut up a bazillion small strips of fiberglass matt and got to work laying down two layers all along the trough.


Once everything had cured I was able to pull off the Lexan forms and trim off all the excess material. I also ran the grinder down the middle/sides of the trough to smooth out any rough spots and sharp points.
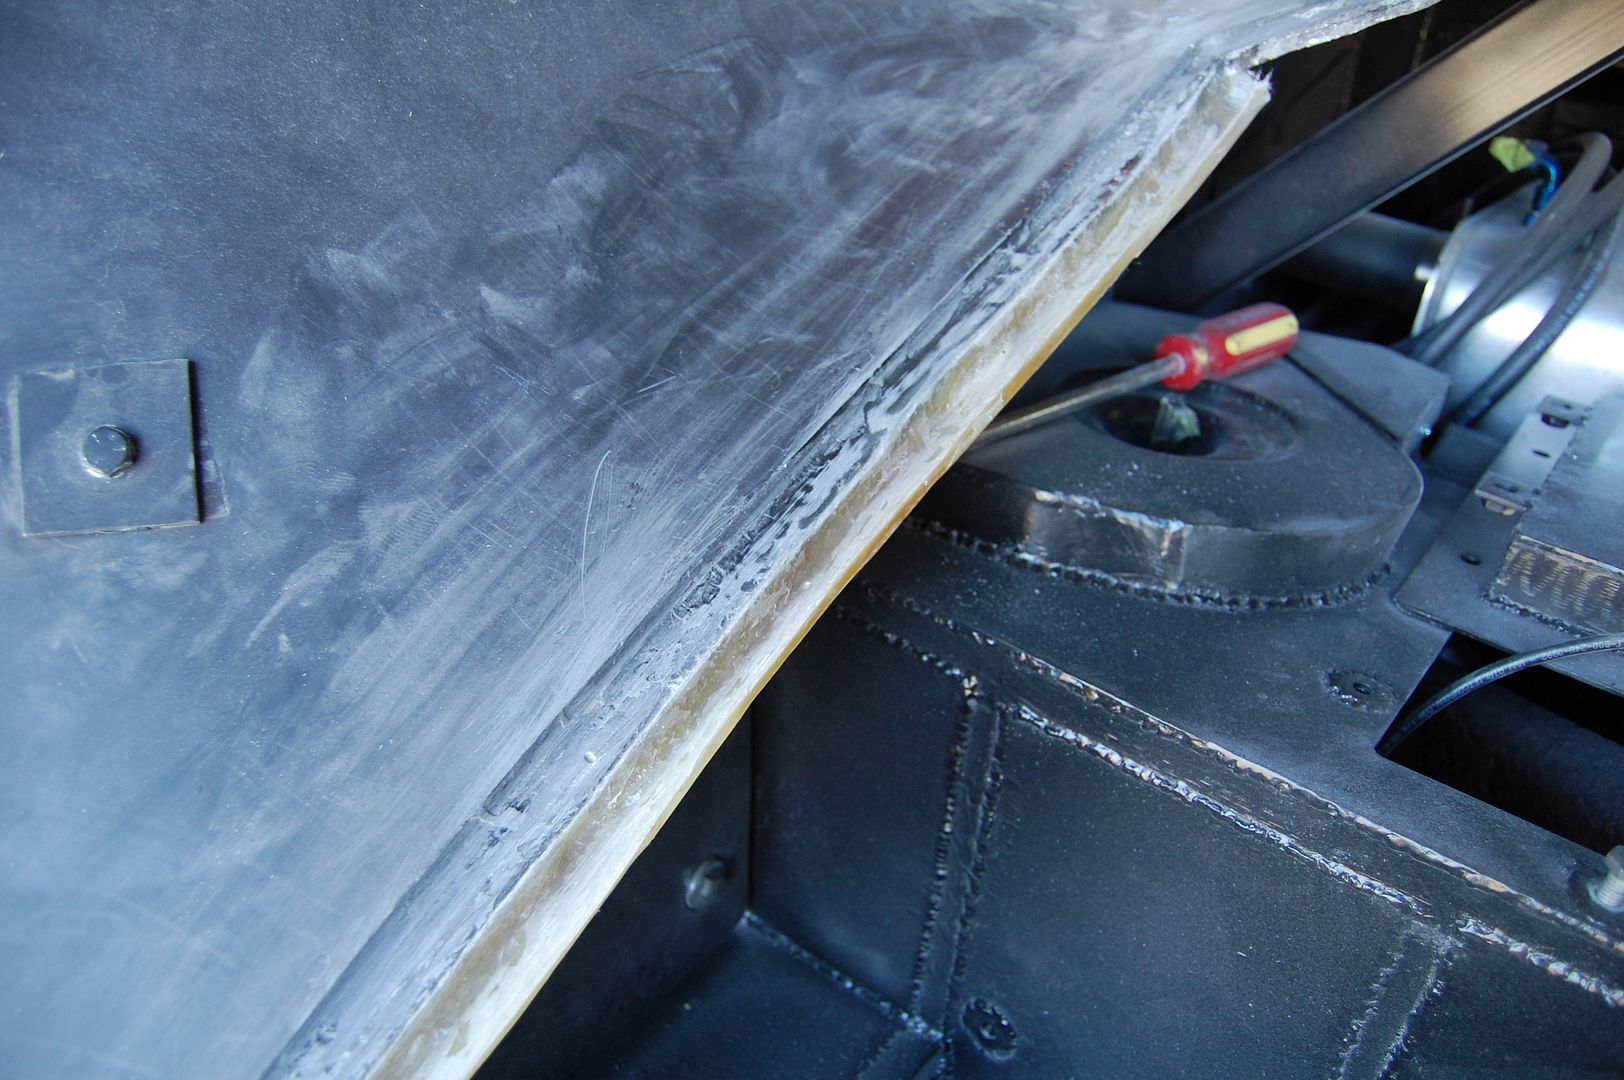
The final result can be seen in the topmost picture of this post. Everything turned out as well as I hoped. Although when doing some more test fitting after the side troughs were finished I found that I had some clearance issues with the brace on the trunk lid.
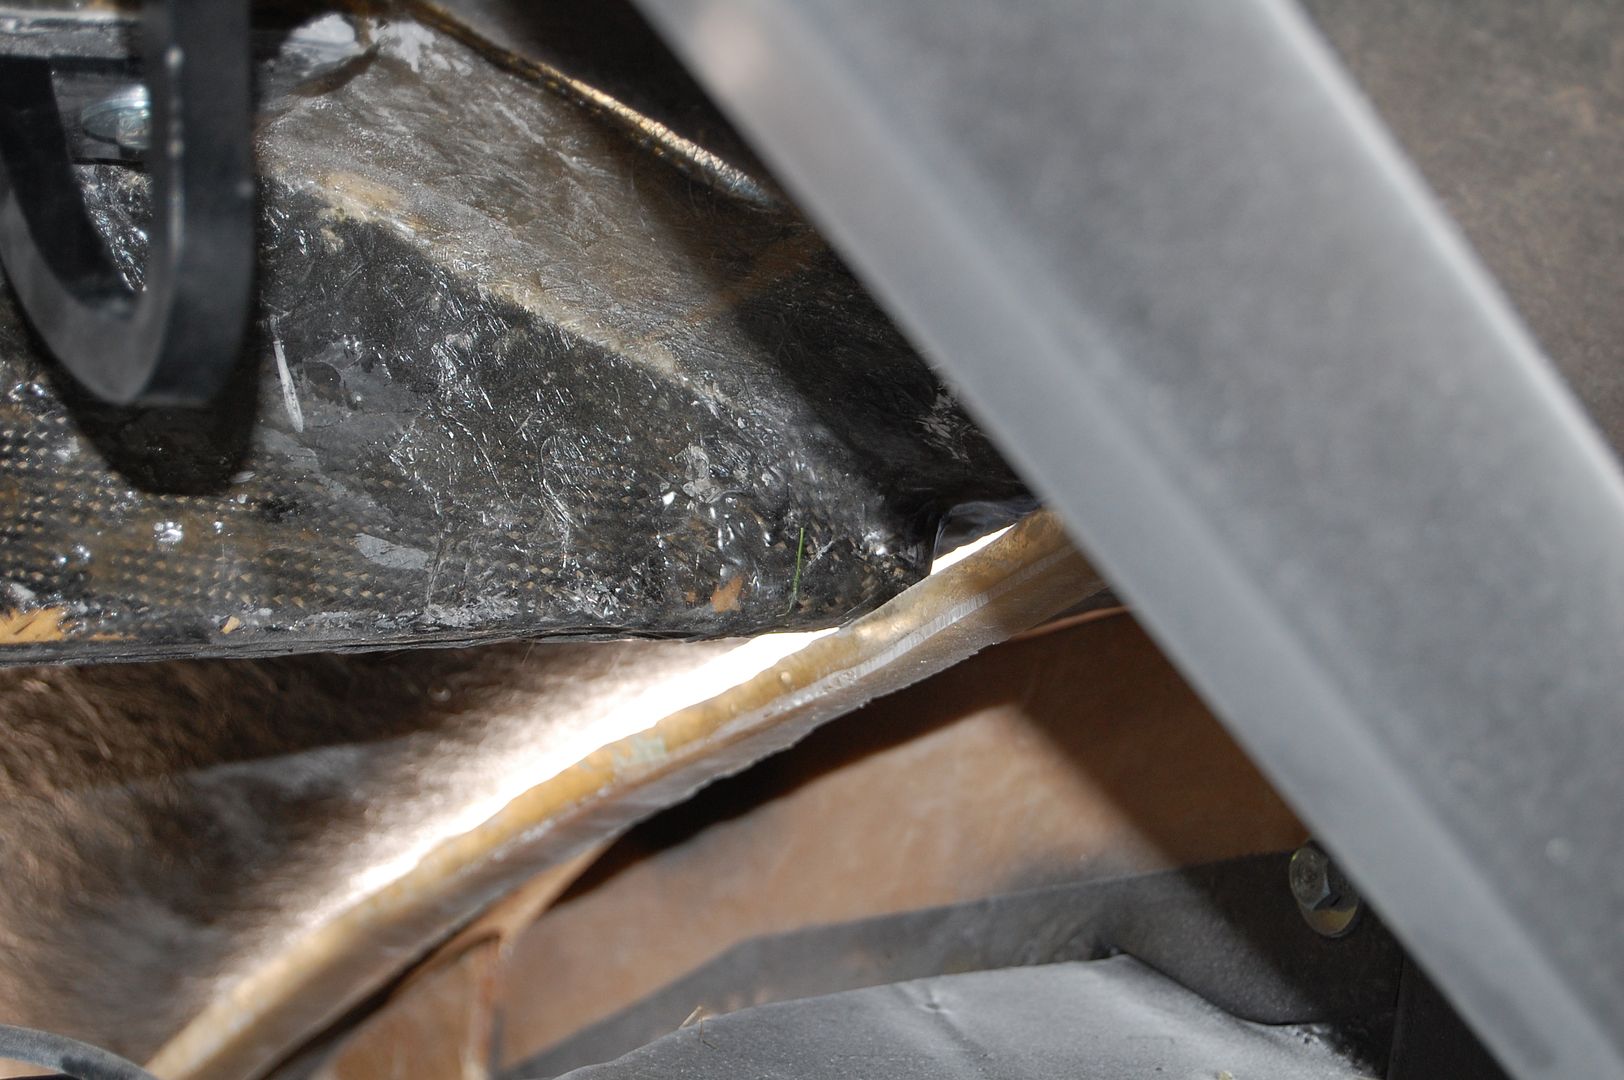
This was simply a matter of trimming off the ends of the brace and then the lid sat down properly.
I still have more test fitting to do along with starting the process of chopping the edges of the trunk lid so that they meet flush with the body… much like I did with the canopy.
